1. Pendahuluan
This manual provides comprehensive instructions for the proper installation, care, and maintenance of your Bushwacker Cutout Pocket/Rivet Style Rear Fender Flares, Model 20074-02. Adherence to these guidelines will ensure optimal performance and longevity of the product. Please read all instructions thoroughly before beginning installation.
2. Produk Lebihview
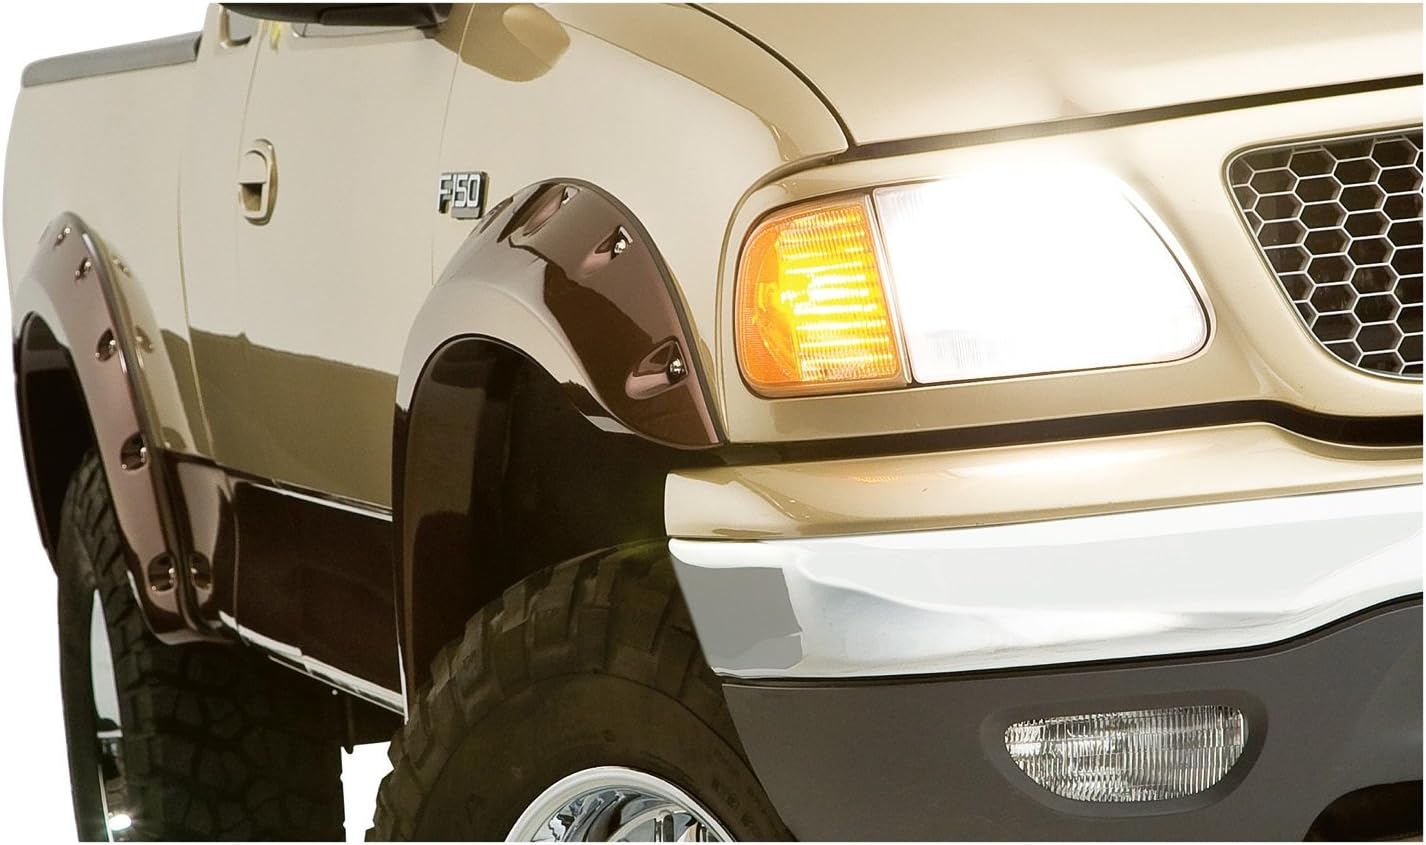
The Bushwacker Cutout Pocket/Rivet Style Rear Fender Flares are designed to provide maximum tire coverage and clearance for off-road applications. Constructed from durable Dura-Flex 2000 material, these flares are engineered to absorb impacts and resist warping. They feature a smooth, OE-style black matte finish and are equipped with surface-mounted steel bolts for a robust appearance.

Image 2.1: Ford F-150 with Bushwacker Cutout Fender Flares installed.
3. Isi Paket
Pastikan semua komponen tersedia sebelum memulai instalasi. Paket tersebut harus berisi:
- Two (2) Rear Fender Flares (Left and Right)
- All necessary mounting hardware (bolts, washers, nuts, seals)
- Petunjuk pemasangan terperinci (manual ini)
If any parts are missing or damaged, please contact Bushwacker customer support before proceeding.
4. Kompatibilitas
These Bushwacker Cutout Pocket/Rivet Style Rear Fender Flares (Model 20074-02) are specifically designed for the following vehicle applications:
- 1997-2003 Ford F-150 Styleside with 6.5-foot or 8-foot bed
- Ford F-2004 Heri 150tage Styleside with 6.5-foot or 8-foot bed
Ensure your vehicle matches these specifications for proper fitment.
5. Informasi Keselamatan
Always prioritize safety during installation. Follow these general safety guidelines:
- Kenakan alat pelindung diri yang sesuai, termasuk kacamata keselamatan dan sarung tangan.
- Pastikan kendaraan diparkir di permukaan yang rata dan rem parkir diaktifkan.
- If lifting the vehicle, use appropriate jack stands to secure it.
- Keep all tools and hardware organized to prevent loss or injury.
- Do not overtighten fasteners unless specified, as this can damage components.
6. Petunjuk Instalasi
The following steps outline the general installation process. Specific details may vary slightly based on your vehicle's condition. Professional installation is recommended if you are unfamiliar with automotive modifications.
Alat yang dibutuhkan:
- Mengebor
- Drill bits (sizes specified in hardware kit)
- Set Kunci Pas/Soket
- Pita Pengukur
- Spidol atau Pensil
- Protective Eyewear and Gloves
Langkah-langkah Instalasi:
- Siapkan Kendaraan: Clean the fender well area thoroughly where the flares will be installed. Remove any existing mud flaps or debris.
- Test Fit Flares: Carefully position each fender flare onto its corresponding wheel well to ensure proper alignment and fit. Mark any areas that require trimming or modification as per the detailed instructions included with the hardware kit.
- Prepare Flares for Mounting: Attach any rubber seals or edge trim to the flares as instructed in the hardware kit. This typically involves pressing the trim onto the flare's edge.
- Lubang Pemasangan Bor: Using the provided templates or pre-marked locations on the flares, carefully drill pilot holes into the vehicle's fender lip. Ensure precise drilling to avoid damage to the vehicle body.
- Secure Flares: Align the flares with the drilled holes. Install the provided hardware (bolts, washers, nuts) to secure the flares to the vehicle. Tighten fasteners evenly until snug, but do not overtighten.
- Inspeksi Akhir: Once both flares are installed, visually inspect them to ensure they are securely mounted and properly aligned. Check for any gaps or loose connections.

Gambar 6.1: Detail view of an installed rear fender flare.
Gambar 6.2: Detail view of an installed front fender flare (for reference, this product is rear flares only).
For visual guidance, please refer to the official Bushwacker website or contact customer support for any available installation videos.
7. Perawatan dan Pemeliharaan
To maintain the appearance and integrity of your Bushwacker fender flares, follow these care instructions:
- Pembersihan: Wash the flares regularly with mild automotive soap and water. Avoid abrasive cleaners or harsh chemicals that can damage the finish.
- Perlindungan: The Dura-Flex 2000 material includes built-in UV protection to prevent chalking. However, periodic application of a non-abrasive UV protectant designed for automotive plastics can further extend their lifespan and maintain their appearance.
- Inspeksi: Periodically check all mounting hardware for tightness. Retighten if necessary to ensure the flares remain securely attached.
8. Penyelesaian masalah
Bagian ini membahas masalah umum yang mungkin Anda temui.
- Issue: Flares do not fit correctly.
Larutan: Double-check the compatibility section (Section 4) to ensure the flares are designed for your specific vehicle year, model, and bed length. Re-verify the installation steps, especially the test-fitting and drilling stages. Contact customer support if the issue persists. - Issue: Flares appear loose after installation.
Larutan: Ensure all mounting hardware is tightened securely. Avoid overtightening, but confirm a firm connection. Inspect for any missing hardware or improperly seated components. - Issue: Finish appears dull or chalky.
Larutan: While the material has UV protection, prolonged exposure to harsh elements can affect the finish. Clean the flares thoroughly and apply a high-quality UV protectant specifically designed for automotive plastics.
9. Spesifikasi
| Nomor Model | Nomor telepon 20074-02 |
| Merek | Bushwacker |
| Gaya | Cutout Pocket/Rivet Style |
| Bahan | Dura-Flex 2000 ABS Plastic |
| Menyelesaikan | Hitam Halus |
| Posisi Bagian Otomatis | Belakang |
| Jenis Layanan Kendaraan | Truk |
| Berat Barang | Sekitar 13.45 pon |
| Dimensi Produk | Sekitar 29 x 54 x 9 inci |

Image 9.1: Product is proudly Made in the USA.
10. Garansi dan Dukungan
Bushwacker Cutout Fender Flares are backed by a Garansi Seumur Hidup Terbatas. This warranty covers defects in material and workmanship under normal use and service. For specific terms, conditions, and to register your product, please visit the official Bushwacker websitus atau menghubungi dukungan pelanggan mereka.
Dukungan Pelanggan:
For technical assistance, warranty claims, or to inquire about replacement parts, please refer to the contact information provided on the official Bushwacker weblokasi: