
1. Pendahuluan dan Selesaiview
The Kemei KM-5021 is a versatile 3-in-1 rechargeable trimmer and clipper designed for precise grooming. It features durable construction and rounded-tip blades for smooth skin contact, minimizing irritation. The device offers adjustable length settings, from a 0.5mm close shave without a comb to a 10mm full beard trim, allowing for various styling options. Its compact design and USB charging compatibility ensure portability and convenience.
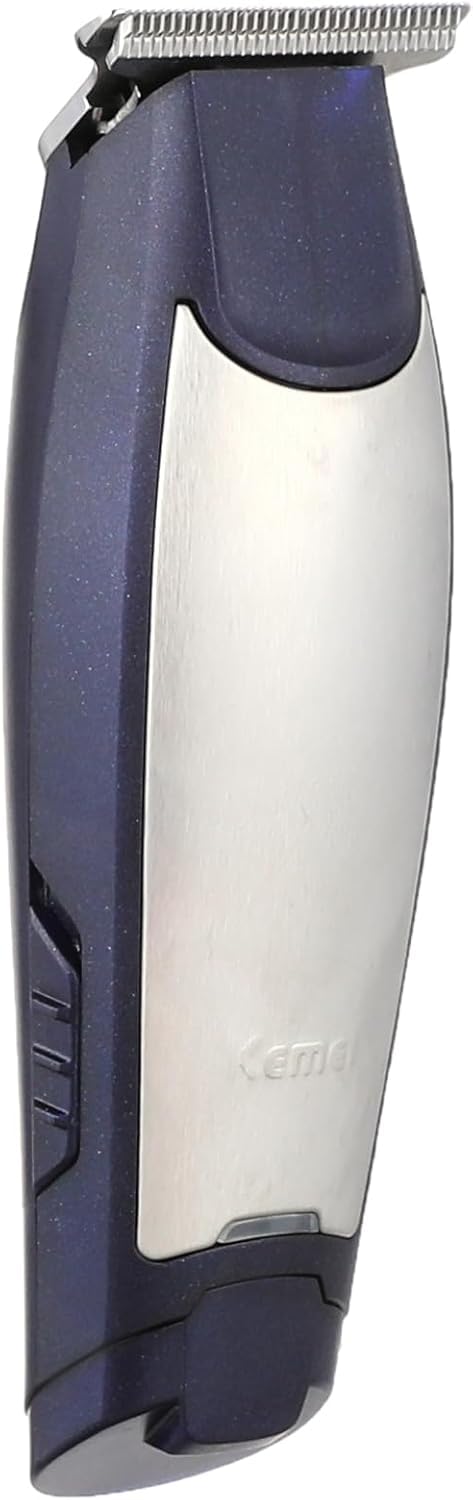
Image: The Kemei KM-5021 trimmer shown with its packaging and various accessories.
2. Informasi Keselamatan
Please read and understand all safety instructions before using the Kemei KM-5021 trimmer.
- Peringatan: Not suitable for infants or children. Keep out of reach of children.
- Protect the device from water and moisture to prevent electric shock. Do not use near water or in wet conditions.
- Use only with the provided power plug and USB charging cable.
- Avoid direct skin contact with sharp blades to prevent injury. Handle blades with care.
- In case of eye contact with any part of the device or accidental injury, seek medical advice immediately.
- Ensure regular cleaning and maintenance for optimal performance and hygiene.
- This product is designed for daily use.
3. Isi Paket
Verifikasi bahwa semua item ada dalam paket:
- Unit Pemangkas Kemei KM-5021
- Kabel Pengisian Daya USB
- Sikat Pembersih
- Oli Pelumas
- Multiple Guide Combs (4 pieces)

Gambar: Close-up view of the Kemei KM-5021 accessories, including the USB charging cable, cleaning brush, lubricating oil, and four guide combs.
4. Pengaturan
4.1 Mengisi Daya Pemangkas
- Pastikan pemangkas dimatikan.
- Connect the USB charging cable to the charging port at the bottom of the trimmer.
- Colokkan ujung kabel USB lainnya ke adaptor daya USB yang kompatibel (tidak termasuk) atau port USB.
- Allow the trimmer to charge fully before first use. The indicator light (if present) will show charging status.
4.2 Memasang Sisir Pemandu
The Kemei KM-5021 comes with multiple guide combs to achieve different hair lengths.
- Pilih sisir pemandu yang sesuai dengan panjang rambut yang Anda inginkan.
- Align the comb with the trimmer blade.
- Dorong sisir perlahan ke mata pisau hingga berbunyi klik dan terpasang dengan aman.
- Untuk melepasnya, tarik sisir perlahan menjauh dari mata pisau.

Image: The Kemei KM-5021 trimmer displayed with its various guide combs, illustrating how different lengths can be achieved.
5. Petunjuk Pengoperasian
5.1 Pemangkasan Umum
- Pastikan pemangkas terisi penuh.
- Attach the appropriate guide comb for your desired hair length (refer to Section 4.2). For a 0.5mm close trim, use without a comb.
- Tekan tombol daya untuk menghidupkan pemangkas.
- Hold the trimmer with the blades facing the area you wish to trim.
- Gerakkan pemangkas berlawanan arah dengan pertumbuhan rambut untuk mendapatkan potongan yang rata.
- Gunakan gerakan yang lambat dan terkontrol.
- After use, turn off the trimmer and clean it (refer to Section 6).
5.2 Menyesuaikan Pengaturan Panjang
The trimmer allows for various length settings. With guide combs, you can achieve lengths up to 10mm. Without a guide comb, the trimmer provides a 0.5mm trim.
6. Pemeliharaan
Pembersihan dan perawatan rutin akan memastikan umur panjang dan kinerja optimal dari mesin pemangkas Kemei KM-5021 Anda.
6.1 Membersihkan Bilah
- Matikan mesin pemangkas dan cabut dari sumber listrik.
- Lepaskan sisir pemandu yang terpasang.
- Gunakan sikat pembersih yang disediakan untuk membersihkan rambut-rambut yang menempel pada mata pisau.
- For a more thorough clean, the blades can be carefully detached (refer to specific instructions if provided in the physical manual) and rinsed under running water. Ensure blades are completely dry before reattaching.
- Do not immerse the entire trimmer unit in water.
6.2 Melumasi Bilahnya
- After cleaning and drying the blades, apply 1-2 drops of the provided lubricating oil onto the blades.
- Nyalakan alat pemangkas selama beberapa detik agar oli dapat terdistribusi secara merata.
- Bersihkan sisa minyak dengan kain lembut.
- Oiling should be done regularly, especially after cleaning or if the trimmer feels sluggish.
7. Penyelesaian masalah
Jika Anda mengalami masalah apa pun dengan mesin pemotong rumput Kemei KM-5021 Anda, silakan lihat solusi umum berikut:
- Pemangkas tidak menyala: Ensure the trimmer is fully charged. Check the charging cable and power source.
- Kinerja pemotongan yang buruk: Clean the blades thoroughly and apply lubricating oil. Ensure no hair is stuck in the blades. The blades may need sharpening or replacement if they are dull (contact support).
- Kebisingan yang tidak biasa: Bersihkan dan lumasi mata pisau. Jika suara berisik tetap ada, hentikan penggunaan dan hubungi layanan pelanggan.
For persistent problems not covered here, please contact Kemei customer support.
8. Spesifikasi
| Fitur | Detil |
|---|---|
| Merek | Kemei |
| Nomor Model | KM-5021 |
| Sumber Daya | Bertenaga Baterai (Dapat Diisi Ulang) |
| Jenis Konektor | USB |
| Bahan Pisau | Baja tahan karat |
| Jumlah Kepala | 4 (Guide Combs) |
| Jumlah Pengaturan Kecepatan | 1 |
| Target Pemirsa | Pria |
| Penggunaan yang Direkomendasikan | Pemangkasan Rambut Wajah dan Tubuh |
| Berat Barang | 300 gram |
| Negara Asal | Cina |
9. Garansi dan Dukungan
This Kemei KM-5021 product comes with a manufacturer's warranty for 2 years from the date of purchase. For warranty claims, maintenance, or further details, please contact the manufacturer/agent or Amazon customer service.
For additional support or inquiries, please refer to the contact information provided with your product packaging or visit the official Kemei weblokasi.