Perkenalan
This manual provides detailed instructions for the safe and efficient operation of your SINGER M1005 Electric Sewing Machine. The M1005 is designed for various sewing projects, offering 4 built-in stitches with 11 options, adjustable thread tension, and a reverse lever for securing seams. Please read this manual thoroughly before using the machine to ensure proper setup and function.
Petunjuk Keselamatan Penting
Saat menggunakan peralatan listrik, tindakan pencegahan keselamatan dasar harus selalu diikuti, termasuk yang berikut ini:
- Baca semua petunjuk sebelum menggunakan mesin jahit ini.
- Keep these instructions in a convenient place near your machine.
- Always unplug the machine from the electrical outlet immediately after using and before cleaning, removing covers, lubricating, or making any other user servicing adjustments mentioned in the instruction manual.
- Jangan biarkan untuk digunakan sebagai mainan. Diperlukan perhatian khusus saat alat ini digunakan oleh atau di dekat anak-anak.
- Gunakan produk ini hanya untuk tujuan yang dimaksudkan sebagaimana dijelaskan dalam manual ini.
- Never operate this sewing machine if it has a damaged cord or plug, if it is not working properly, or if it has been dropped or damaged.
- Jauhkan jari dari semua bagian yang bergerak. Perawatan khusus diperlukan di sekitar jarum mesin jahit.
- Selalu gunakan pelat jarum yang tepat. Pelat yang salah dapat menyebabkan jarum patah.
- Jangan menarik atau mendorong kain saat menjahit. Hal ini dapat menyebabkan jarum bengkok dan patah.
- Matikan mesin jahit saat melakukan penyesuaian apa pun di area jarum, seperti memasukkan benang ke jarum, mengganti jarum, memasukkan benang ke kumparan, atau mengganti sepatu penekan.
Produk Selesaiview
The SINGER M1005 is a compact and user-friendly electric sewing machine designed for ease of use and portability.
Fitur Utama:
- 4 Stitches in 11 Options: Select from various straight stitches, zigzag stitches, blind hem stitch, and multi-stitch zigzag using the Stitch Selector Dial.
- Adjustable Thread Tension: Allows for fine-tuning stitch quality for different fabrics and threads.
- Top Drop-in Bobbin: Features a transparent bobbin cover for easy monitoring of thread supply and simple bobbin insertion.
- Free-Arm Design: Facilitates sewing of cylindrical items like trouser hems and sleeve cuffs.
- Tuas Mundur: Conveniently located for securing the beginning and end of seams with reverse stitches.
- Extra High-Presser Foot Lifter: Provides additional clearance for sewing multiple layers or thicker fabrics.
- Desain Portabel: Lightweight for easy transport and storage.
Komponen yang Termasuk:
Your SINGER M1005 sewing machine package includes the following items:
- 1 Mesin Jahit
- All-purpose Foot
- Extra Needle
- Finger Guard (pre-installed, removable)
- Bobbins: Class 15 (Transparent)
- Pemasang Benang Jarum Manual
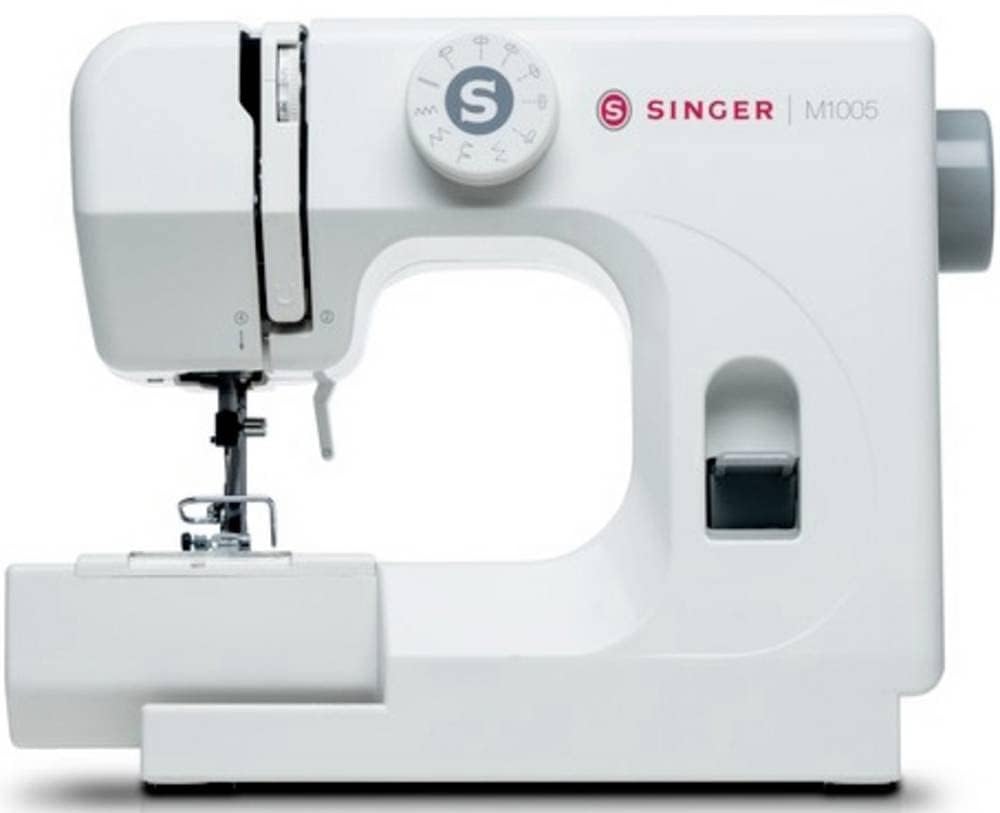
Gambar 1: The SINGER M1005 Electric Sewing Machine, showcasing its compact design and ready-to-use setup.
Pengaturan
1. Koneksi Daya
- Tempatkan mesin pada permukaan yang stabil dan rata.
- Pastikan sakelar daya berada pada posisi "OFF".
- Hubungkan kabel daya ke input daya mesin, lalu ke stopkontak listrik yang sesuai.
2. Winding the Bobbin
Proper bobbin winding ensures smooth stitching.
- Tempatkan gulungan benang pada pin gulungan.
- Arahkan benang melalui pemandu benang atas dan mengelilingi cakram penegang gulungan kumparan.
- Insert the thread through the small hole in the bobbin from the inside out.
- Place the bobbin onto the bobbin winder spindle.
- Dorong poros penggulung kumparan ke kanan.
- Turn on the machine and gently press the foot controller (if applicable) or press the start button to begin winding.
- Once the bobbin is full, push the spindle back to the left and cut the thread.
3. Inserting the Top Drop-in Bobbin
The transparent bobbin cover allows for easy monitoring.
- Ensure the needle is in its highest position.
- Open the transparent bobbin cover plate.
- Place the wound bobbin into the bobbin case with the thread unwinding counter-clockwise.
- Guide the thread into the tension spring and then into the thread guide slot.
- Pull out approximately 10-15 cm (4-6 inches) of thread.
- Pasang kembali pelat penutup gelendong.
4. Memasang Benang Atas
Correct upper threading is crucial for proper stitch formation.
- Angkat pengangkat sepatu kets.
- Tempatkan gulungan benang pada pin gulungan.
- Arahkan benang melalui pemandu benang bagian atas.
- Follow the numbered threading path down the right channel, up the left channel, and through the take-up lever from right to left.
- Continue guiding the thread down to the needle bar thread guide.
- Masukkan benang ke dalam jarum dari depan ke belakang.
- Pull approximately 15-20 cm (6-8 inches) of thread through the needle eye.
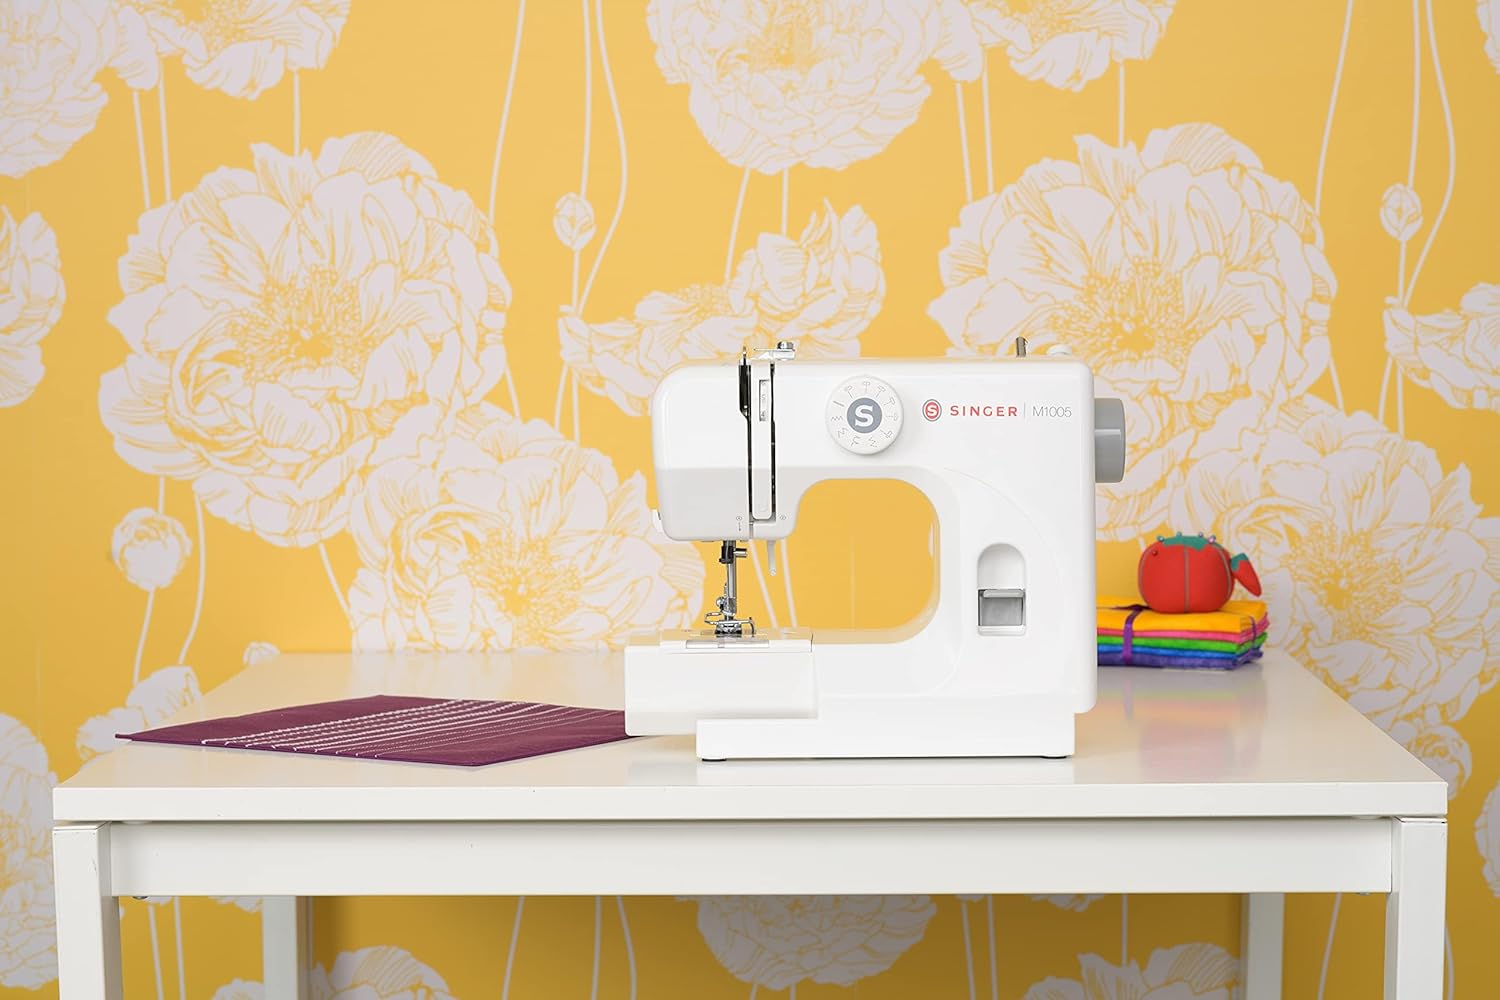
Gambar 2: Depan view of the SINGER M1005, highlighting the stitch selector dial and general threading area.
Petunjuk Pengoperasian
1. Selecting a Stitch
The SINGER M1005 offers 4 core stitch types with 11 different options.
- Putar Tombol Pemilih Jahitan to choose your desired stitch pattern.
- Available stitches include various straight stitches (different lengths/positions), three types of zigzag stitches (different lengths/widths), one blind hem stitch, and one multi-stitch zigzag.
- The optimum stitch width for this machine is 4 mm.
2. Menyesuaikan Ketegangan Benang
Adjust the needle thread tension to achieve balanced stitches.
- The tension dial is usually located on the front of the machine.
- Turn the dial to a higher number for tighter tension, and a lower number for looser tension.
- Test on a scrap piece of fabric to find the ideal setting for your fabric and thread combination.
3. Using the Reverse Lever
The reverse lever is used to secure the beginning and end of seams.
- To sew in reverse, press and hold the Tuas mundur located on the front of the machine.
- Release the lever to resume forward stitching.
4. Free-Arm Sewing
To utilize the free-arm feature for sewing cuffs, pant hems, or other small circular items:
- Remove the accessory storage compartment (if present) by sliding it off to the left.
- The narrow free arm is now exposed, allowing you to slide fabric around it.
5. Extra High-Presser Foot Lifter
For thicker fabrics or multiple layers, the presser foot can be raised higher than its standard position.
- Lift the presser foot lifter to its highest position.
- For extra clearance, push the lifter up further to engage the extra high position.
Pemeliharaan
Perawatan rutin memastikan umur panjang dan kinerja optimal mesin jahit Anda. Selalu cabut steker mesin sebelum melakukan perawatan apa pun.
1. Membersihkan Mesin
- Penghilangan Serat: Gunakan sikat kecil untuk menghilangkan serat dan debu dari area kumparan dan gigi penarik benang.
- Pembersihan Eksterior: Lap permukaan luar dengan lembut, damp kain. Jangan gunakan bahan kimia yang keras.
2. Penggantian Jarum
Replace the needle regularly (after 8-10 hours of sewing) or if it becomes bent, dull, or broken.
- Matikan mesin dan cabut kabelnya.
- Kendurkan jarum clamp sekrup.
- Lepaskan jarum lama.
- Masukkan jarum baru dengan sisi datar menghadap ke belakang mesin, dorong hingga mentok.
- Kencangkan jarum clamp sekrup dengan aman.
Penyelesaian Masalah
Lihat bagian ini untuk solusi masalah umum yang mungkin Anda temui.
| Masalah | Kemungkinan Penyebab | Larutan |
|---|---|---|
| Jahitan yang Dilewati | Jarum yang salah, jarum yang bengkok, pemasangan benang yang tidak tepat. | Ganti jarum dengan tipe/ukuran yang benar, pasang kembali benang pada mesin dengan benar. |
| Putusnya Benang | Kesalahan pemasangan benang, tegangan terlalu kencang, jarum rusak, benang berkualitas buruk. | Re-thread machine, adjust tension, replace needle, use good quality thread. |
| Kain Mengkerut | Tension too tight, incorrect stitch length, wrong needle for fabric. | Loosen tension, adjust stitch length, use appropriate needle. |
| Kemacetan Mesin | Thread tangled in bobbin area, lint buildup, incorrect bobbin insertion. | Remove bobbin and clean bobbin case, re-insert bobbin correctly. |
| Jahitan Tidak Rata | Incorrect thread tension, improper threading, worn needle. | Adjust tension, re-thread machine, replace needle. |
Spesifikasi
Technical specifications for the SINGER M1005 Electric Sewing Machine.
- Merek: PENYANYI
- Nomor Model: M1005 (Part Number: 230246102)
- Warna: Putih
- Bahan: Plastik
- Berat Barang: 3 Kilogram
- Sumber Daya: Listrik Kabel
- Stitch Options: 4 built-in stitches with 11 options
- Max Stitch Width: 4 mm
- Jenis gelendong: Class 15 (Transparent, Top Drop-in)
- Fitur Khusus: Adjustable Thread Tension, Free-Arm Design, Reverse Lever, Extra High-Presser Foot Lifter
Garansi dan Dukungan
For warranty information, service, or technical support, please refer to the warranty card included with your product or contact SINGER customer service directly. Keep your purchase receipt as proof of purchase.
You can typically find contact information for SINGER support on their official weblokasi atau dalam kemasan produk.


