1. Pendahuluan
This manual provides essential information for the safe and efficient operation, maintenance, and troubleshooting of your Profile GE Automatic Espresso Machine + Milk Frother. Please read these instructions thoroughly before first use and retain for future reference.

Image 1.1: The Profile GE Automatic Espresso Machine with a prepared espresso and a latte.
2. Informasi Keselamatan
Selalu ikuti tindakan pencegahan keselamatan dasar saat menggunakan peralatan listrik untuk mengurangi risiko kebakaran, sengatan listrik, dan cedera pada orang.
- Ensure the appliance is connected to a grounded outlet.
- Jangan merendam mesin, kabel, atau steker dalam air atau cairan lainnya.
- Cabut dari stopkontak saat tidak digunakan dan sebelum membersihkan.
- Jangan mengoperasikan peralatan apa pun dengan kabel atau steker yang rusak.
- Jauhkan tangan dan kabel dari permukaan yang panas.
- Gunakan hanya perlengkapan tambahan yang direkomendasikan pabrik pembuat.
3. Produk Lebihview
Yang Profesionalfile GE Automatic Espresso Machine is designed for convenience and quality, featuring an integrated grinder, milk frother, and smart connectivity.
3.1 Komponen
- Panel Kontrol: Touch-sensitive buttons for various drink selections and functions.
- Pelompat kacang: Stores whole coffee beans for grinding.
- Tandon air: Tangki yang dapat dilepas untuk pasokan air.
- Corong Kopi: Dispenses brewed coffee.
- Tongkat Uap: Untuk membuat buih susu.
- Baki Tetes: Collects excess liquids.
- Wadah Tanah: Mengumpulkan ampas kopi bekas.

Image 3.1: The top control panel with buttons for Espresso, Americano, My Brew, Steam, and Hot Water.

Image 3.2: The integrated bean hopper with whole coffee beans and grind size adjustment knob.

Image 3.3: The removable water reservoir being lifted from the machine.
4. Pengaturan
4.1 Pembongkaran dan Penempatan Awal
- Lepaskan semua bahan kemasan dengan hati-hati.
- Place the machine on a stable, level surface away from heat sources and direct sunlight.
- Pastikan tersedia ruang yang cukup di sekitar mesin untuk ventilasi dan akses ke komponen.
4.2 Pembersihan Awal
Before first use, clean all removable parts with warm water and mild detergent. Rinse thoroughly and dry. Wipe the exterior of the machine with a damp kain.
4.3 Mengisi Waduk Air
- Remove the water reservoir from the machine (refer to Image 3.3).
- Fill with fresh, cold drinking water up to the MAX line.
- Replace the reservoir securely into the machine.
4.4 Menambahkan Biji Kopi
- Open the lid of the bean hopper (refer to Image 3.2).
- Pour whole coffee beans into the hopper. Do not overfill.
- Tutup rapat.
4.5 Menghidupkan dan Pembilasan Awal
- Sambungkan kabel daya ke stopkontak listrik yang diarde.
- Press the power button on the control panel. The machine will perform an initial rinse cycle.
- Place a container under the coffee spout to collect the rinse water.
4.6 SmartHQ App Connection
For enhanced customization and software updates, connect your espresso machine to the SmartHQ app.
- Download the SmartHQ app from your device's app store.
- Follow the in-app instructions to pair your espresso machine.
- Customize drink preferences, volume, and strength through the app.

Image 4.1: Using the SmartHQ app to control and customize the espresso machine.
5. Petunjuk Pengoperasian
5.1 Menyeduh Kopi
The machine offers Espresso, Americano, Lungo, and Hot Water options. The 'My Cup' setting is pre-set to Ristretto and can be adjusted via the SmartHQ app.
- Ensure the water reservoir is filled and the bean hopper contains coffee beans.
- Tempatkan cangkir di bawah cerat kopi.
- Select your desired drink (Espresso, Americano, Lungo, My Cup) from the control panel.
- Mesin ini akan secara otomatis menggiling biji kopi, menyeduh, dan menyajikan kopi Anda.

Image 5.1: The espresso machine dispensing a fresh shot of espresso.
5.2 Menyesuaikan Ukuran Gilingan
The integrated conical burr grinder allows for 5 levels of grind size adjustment, from coarsest to finest, to optimize flavor extraction.
- Locate the grind size adjustment knob inside the bean hopper (refer to Image 3.2).
- Turn the knob to select your desired grind setting. Finer grinds are suitable for espresso, while coarser grinds are better for longer coffee types.
5.3 Using the Steam Frother
The steam frother creates various milk textures for cappuccinos, lattes, and more.
- Fill the included stainless steel frothing pitcher with cold milk.
- Masukkan ujung tongkat uap ke dalam susu.
- Tekan tombol 'Steam' pada panel kontrol.
- Move the pitcher to achieve desired foam texture.
- Once finished, press the 'Steam' button again to stop.
- Immediately clean the steam wand after each use to prevent milk residue buildup.
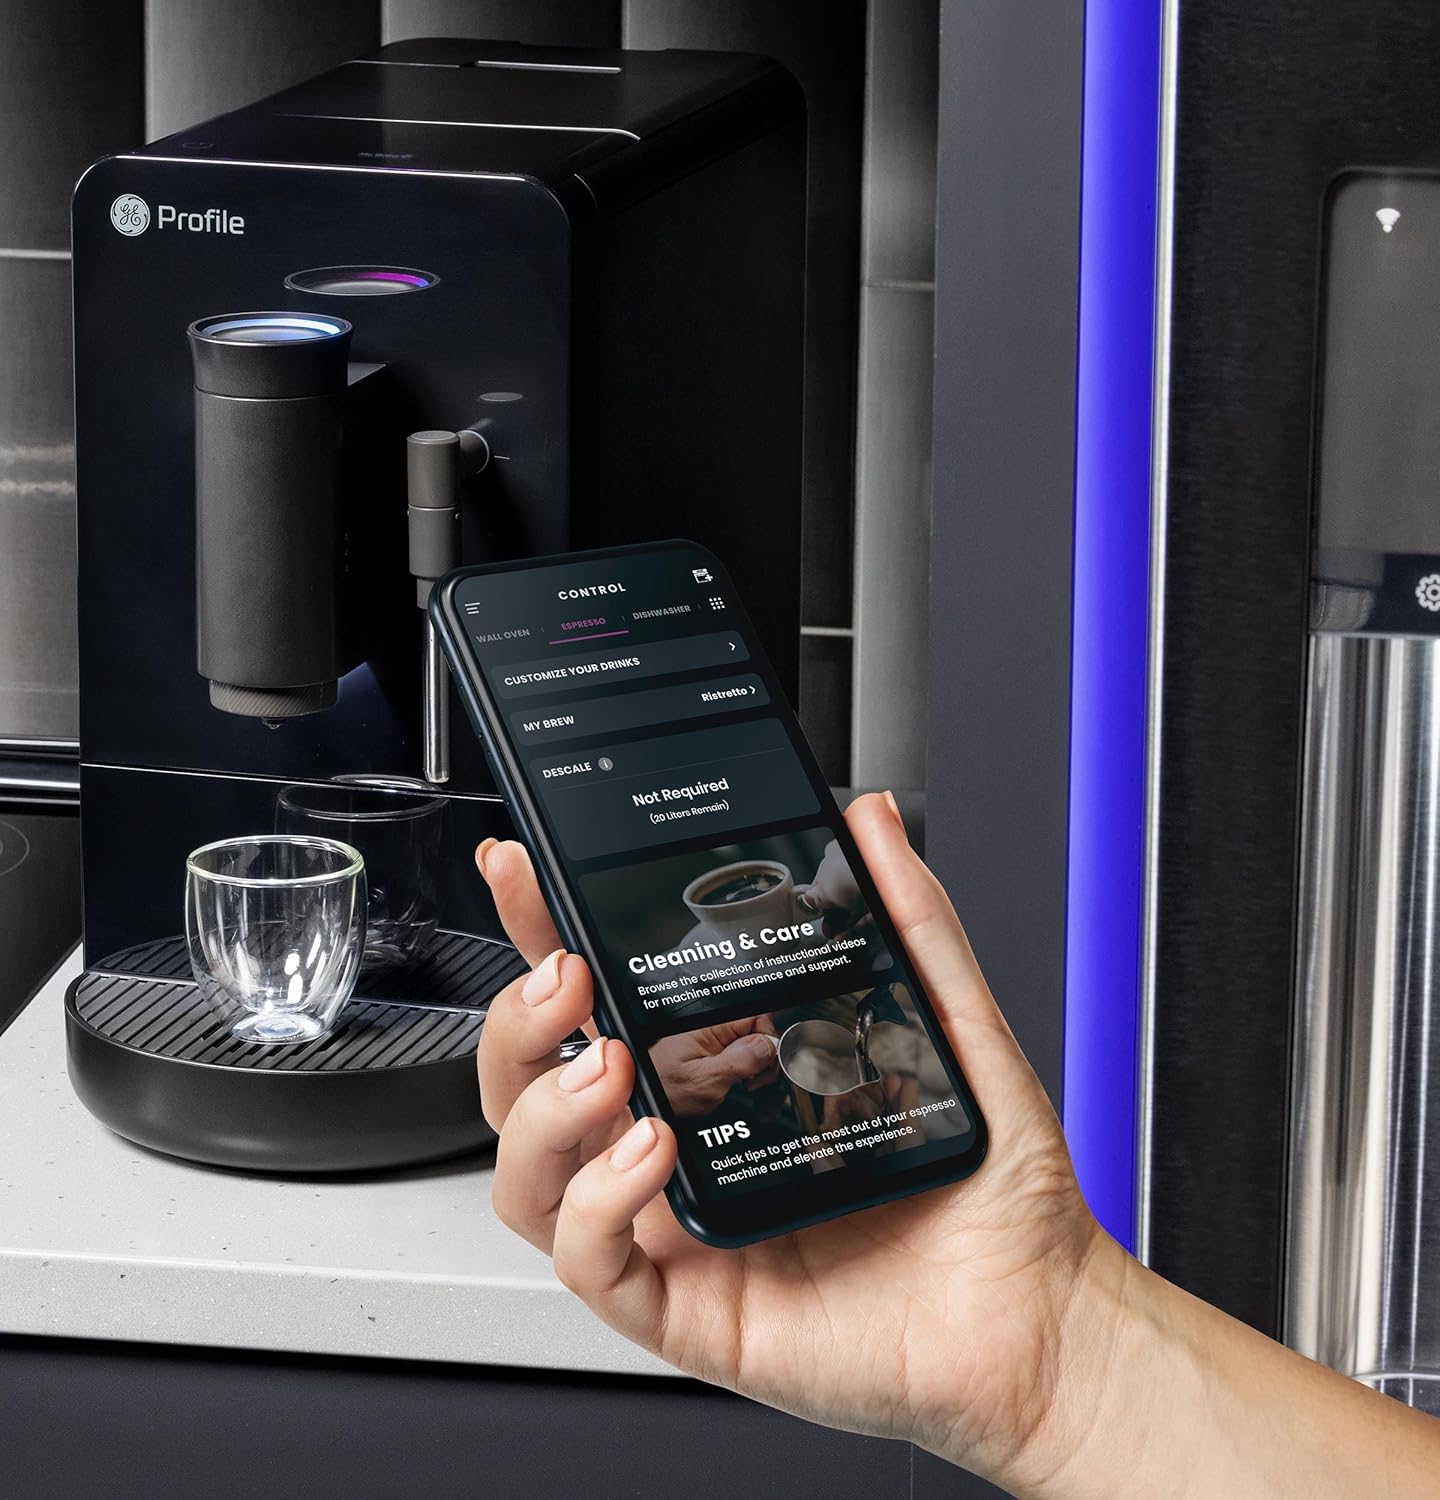
Image 5.2: A hand using the steam wand to froth milk in a stainless steel pitcher.
6. Pemeliharaan
Pembersihan dan perawatan rutin memastikan kinerja optimal dan umur pakai yang lebih panjang untuk mesin espresso Anda.
6.1 Pembersihan Harian
- Tongkat Uap: Setelah setiap penggunaan, bersihkan tongkat uap dengan kain.amp cloth. Purge steam briefly to clear any milk residue from the nozzle.
- Nampan Tetes dan Wadah Bubuk: Kosongkan dan bilas setiap hari. Mesin akan memberi tahu kapan wadah ampas kopi perlu dikosongkan.
- Tandon air: Bilas setiap hari dan isi ulang dengan air bersih.
6.2 Pembersihan Mingguan
- Unit Seduh: The brew unit is typically removable for rinsing under running water. Refer to the included cleaning kit instructions for detailed steps.
- Pelompat kacang: Periodically clean out any oil residue or old beans.
6.3 Kerak
The machine will prompt you when descaling is required. Use a descaling solution specifically designed for espresso machines and follow the instructions provided with the descaling agent or in the SmartHQ app.
7. Penyelesaian masalah
Bagian ini membahas masalah umum yang mungkin Anda temui dengan mesin espresso Anda.
| Masalah | Kemungkinan Penyebab | Larutan |
|---|---|---|
| No coffee dispensed / "Add Beans" message | Bean hopper empty or beans not feeding correctly. | Refill bean hopper. Gently stir beans to ensure they feed into the grinder. |
| Kopinya terlalu encer atau berair. | Grind size too coarse, insufficient coffee dose, or descaling needed. | Adjust grind size to a finer setting. Check SmartHQ app for strength settings. Perform descaling if prompted. |
| Susu tidak berbusa dengan baik | Steam wand clogged, milk type unsuitable, or insufficient steam pressure. | Clean steam wand thoroughly. Use fresh, cold milk. Ensure machine is heated to steam temperature. |
| Mesin tidak menyala | Tidak terpasang, daya padamtage, atau pemutus arus tersandung. | Check power connection. Verify power outlet functionality. Reset circuit breaker if necessary. |
| SmartHQ app connectivity issues | Incorrect Wi-Fi password, network interference, or app bug. | Verify Wi-Fi credentials. Ensure machine is within Wi-Fi range. Restart app and machine. Check for app updates. |
8. Spesifikasi
- Merek: Profile
- Nama Model: GE Profile Automatic Espresso Machine + Frother
- Nomor Model Barang: P7CEBBS6RBB
- Warna: Hitam
- Dimensi Produk: 7"Panjang x 16"Lebar x 12.5"T
- Berat Barang: 16 pon
- Jil.tage: 120V
- Mode Operasi: Sepenuhnya Otomatis
- Fitur Khusus: Built-In Bean Hopper, Built-In Conical Burr Grinder & Adjustable Grind Size, Programmable My Brew Setting, Steam Frother & Frothing Pitcher, WiFi Connected
- Komponen yang Termasuk: Perlengkapan Pembersih, Wadah Biji Kopi, Mesin Espresso, Tongkat Uap, Teko Susu, Tangki Air
- Jenis Input Kopi: Kacang Utuh
- Masukan Antarmuka Manusia: Layar sentuh

Image 8.1: Product dimensions of the espresso machine.
9. Garansi dan Dukungan
This product is covered by a manufacturer's warranty. For specific warranty details, registration, or technical support, please refer to the warranty card included with your product or visit the official GE Profile website. You may also contact customer service through the SmartHQ app for assistance.