1. Pendahuluan
This manual provides instructions for the PUSOKEI 1600DPI 2.4G Ergonomic Wireless Optical Mouse. This device is designed for comfortable use with computers and laptops, featuring a 2.4Ghz wireless connection and adjustable optical resolution.
Fitur utama meliputi:
- Desain ergonomis untuk penanganan yang nyaman.
- 2.4Ghz wireless connectivity for a stable connection up to 10 meters.
- Adjustable optical resolution: 800, 1200, and 1600 DPI.
- Four buttons for versatile control.
- Intelligent circuit management for power efficiency.

Figure 1: PUSOKEI 2.4G Ergonomic Wireless Optical Mouse on a desk setup.

Gambar 2: Sisi view dari tikus, menunjukkanasindesain ergonomisnya.
2. Isi Paket
Silakan periksa paket untuk item berikut:
- 1 x PUSOKEI Wireless Mouse
- 1 x USB Receiver
Note: 2 x AAA batteries are required and are not included in the package.
3. Panduan Pengaturan
3.1 Memasang Baterai
- Temukan penutup kompartemen baterai di bagian bawah mouse.
- Geser atau angkat penutupnya perlahan untuk membuka kompartemen.
- Masukkan dua (2) baterai AAA, pastikan polaritasnya benar (+/-) seperti yang ditunjukkan di dalam kompartemen.
- Pasang kembali penutup ruang baterai hingga terkunci dengan aman di tempatnya.

Gambar 3: Kompartemen baterai dengan penutup dilepas.
3.2 Menghubungkan Penerima USB
- Locate the USB receiver, typically stored within the mouse's battery compartment or packaged separately.
- Colokkan USB receiver ke port USB yang tersedia di komputer atau laptop Anda.
- Sistem operasi Anda akan secara otomatis mendeteksi dan menginstal driver yang diperlukan. Proses ini mungkin memakan waktu beberapa saat.
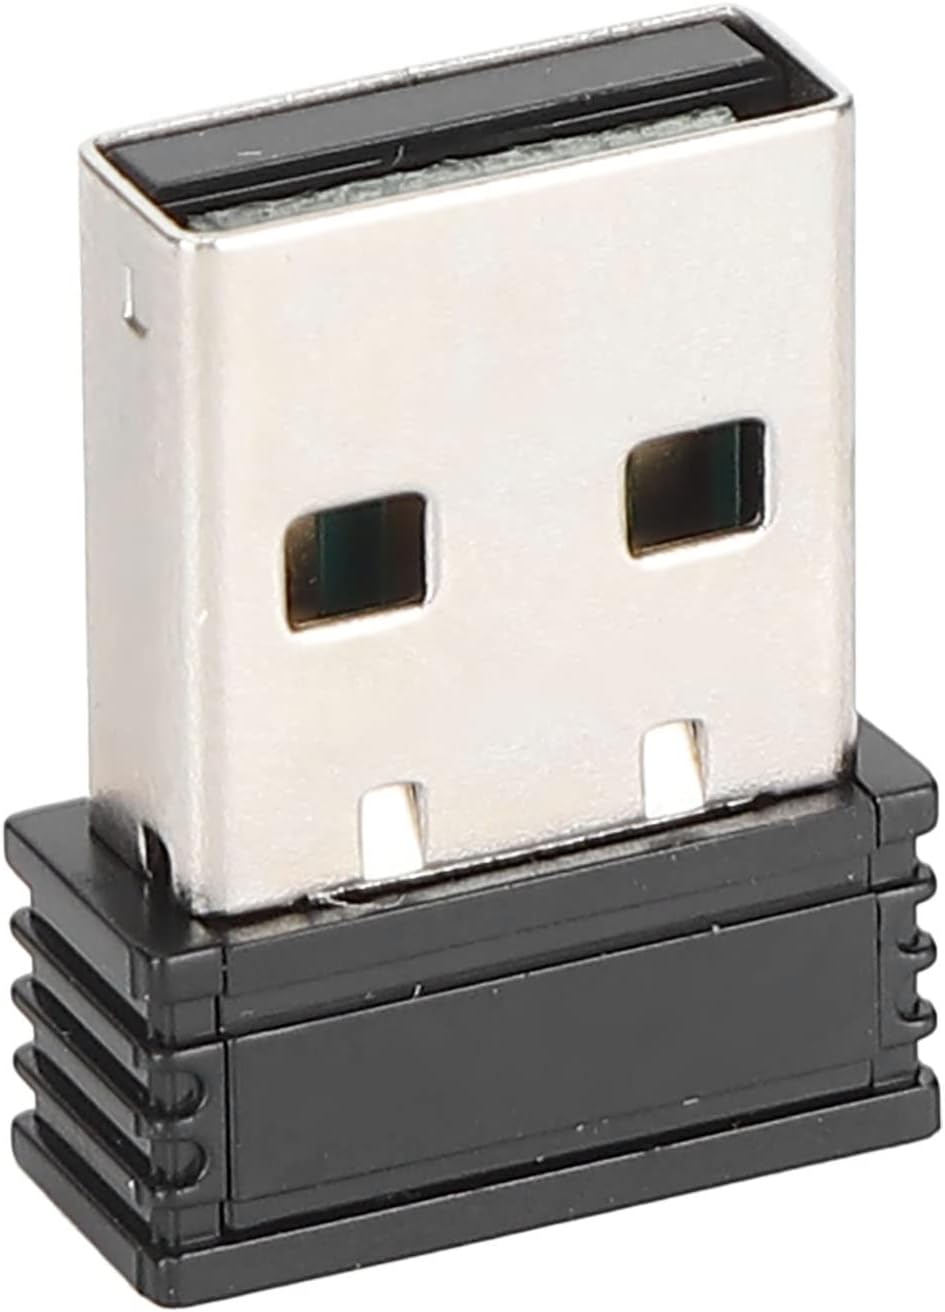
Figure 4: The compact USB receiver.
3.3 Powering On the Mouse
After installing the batteries and connecting the USB receiver:
- Locate the ON/OFF switch on the underside of the mouse.
- Geser sakelar ke posisi "ON".
- The mouse should now be ready for use. Move the mouse to test its functionality.

Figure 5: Underside of the mouse with the ON/OFF switch.
4. Petunjuk Pengoperasian
4.1 Fungsi Dasar
- Klik kiri: Pemilihan dan aktivasi utama.
- Klik kanan: Mengakses menu konteks.
- Roda Gulir: Menggulir dokumen dan web halaman. Dapat juga diklik untuk fungsi klik tengah.
4.2 Menyesuaikan DPI (Sensitivitas)
The mouse features an adjustable DPI setting, allowing you to change the cursor sensitivity to suit your preference or task. The available DPI settings are 800, 1200, and 1600 DPI.
- Locate the DPI button, usually positioned below the scroll wheel on the top of the mouse.
- Press the DPI button to cycle through the available sensitivity settings. Each press will switch to the next DPI level.
- Observe the cursor movement on your screen to determine the desired sensitivity.

Figure 6: DPI button for sensitivity adjustment.
4.3 Jangkauan Nirkabel
The mouse operates wirelessly up to a distance of approximately 10 meters (393.7 inches) from the USB receiver. Performance may vary depending on environmental factors and obstacles.
Video 1: Selesaiview of the PUSOKEI 1600DPI 2.4G Ergonomic USB Mouse. This short video demonstrates the mouse's design and highlights its wireless functionality.
5. Pemeliharaan
5.1 Penggantian Baterai
When the mouse performance degrades or it stops responding, it is likely time to replace the batteries. Follow the steps in Section 3.1 to replace the two (2) AAA batteries.
5.2 Membersihkan Mouse
Untuk menjaga kinerja dan kebersihan yang optimal:
- Gunakan kain lembut dan kering untuk menyeka bagian luar mouse.
- Untuk kotoran membandel, sedikit dampBilas kain dengan air atau larutan pembersih ringan, lalu segera lap hingga kering.
- Hindari penggunaan bahan kimia keras, pembersih abrasif, atau merendam mouse dalam cairan.
- Periodically clean the optical sensor area on the underside of the mouse with a cotton swab to ensure accurate tracking.
6. Penyelesaian masalah
If you encounter issues with your PUSOKEI Wireless Mouse, please refer to the following common solutions:
| Masalah | Kemungkinan Penyebab | Larutan |
|---|---|---|
| Mouse not responding or intermittent connection | Low batteries, mouse is off, USB receiver disconnected, interference. | 1. Replace AAA batteries. 2. Ensure the ON/OFF switch is in the 'ON' position. 3. Re-insert the USB receiver into a different USB port. 4. Move the mouse closer to the receiver or away from other wireless devices. |
| Cursor movement is erratic or inaccurate | Dirty optical sensor, unsuitable surface, low DPI setting. | 1. Clean the optical sensor on the underside of the mouse. 2. Use the mouse on a clean, non-reflective surface or a mouse pad. 3. Press the DPI button to increase sensitivity. |
| USB receiver not recognized by computer | Driver issue, faulty USB port. | 1. Try plugging the USB receiver into a different USB port. 2. Restart your computer. 3. Ensure your operating system is up to date. |
7. Spesifikasi
| Fitur | Detil |
|---|---|
| Merek | PUSOKEI |
| Nomor Model | PUSOKEIgmh839iocb1355-11 |
| Teknologi Konektivitas | USB, Wireless (2.4Ghz) |
| Teknologi Deteksi Gerakan | Optik |
| Resolusi Optik | 800-1200-1600DPI |
| Jumlah Tombol | 4 |
| Jarak Nirkabel | Approx. 10m / 393.7in |
| Sumber Daya | Ditenagai baterai (2 x AAA, tidak termasuk) |
| Perangkat yang Kompatibel | Laptop, Komputer Pribadi |
| Sistem Operasi | Windows (Minimum Windows 7) |
| Bahan | ABS |
| Orientasi Tangan | Sangat pandai |
8. Garansi dan Dukungan
Specific warranty information for this product is not provided in the available documentation. For warranty claims, technical support, or further assistance, please contact the retailer or manufacturer directly through their official support channels.