1. Pendahuluan
Thank you for choosing the Yanmis Mini Projector. This compact and portable device is designed to provide a versatile viewing experience for movies, games, and presentations. Please read this manual carefully to ensure proper setup, operation, and maintenance of your projector.

Image: The Yanmis Mini Projector is designed to be compact and easily portable, fitting comfortably in one hand.

Image: The projector is constructed from environmentally friendly ABS plastic and weighs approximately 290 grams, highlighting its lightweight design.
2. Isi Paket
Silakan periksa paket untuk item berikut:
- Yanmis Mini Projector
- Adaptor Daya (Colokan AS)
- Panduan Pengguna
- Remote Control (jika disertakan dengan model Anda)
3. Pengaturan
3.1 Menghidupkan Proyektor
The projector does not have an internal battery. It requires an external 5V 2A power supply. Connect the provided power adapter to the projector's power input port and then to a standard electrical outlet.
3.2 Menghubungkan Perangkat Input
The mini projector is equipped with multiple ports for various input sources:
- Port USB: Untuk menghubungkan flash drive USB atau hard drive eksternal.
- HD Multimedia Interface (HDMI) Port: For connecting devices such as laptops, TV sticks, gaming consoles (e.g., Xbox, PlayStation), or other HDMI-enabled devices.
- Port AV: Untuk menghubungkan perangkat lama menggunakan kabel AV.
- Storage Card Slot (MicroSD): For inserting a MicroSD card with media files.
- Jack Audio 3.5mm: Untuk menghubungkan speaker atau headphone eksternal.
For direct connection to smartphones or tablets, an additional adapter may be required:
- For iOS devices: An HD multimedia interface device or a Lightning to HD multimedia interface adapter.
- For Android devices: A Micro USB to HD multimedia interface or a Type-C to HD multimedia interface adapter.

Gambar: Atas view of the projector, illustrating the control buttons and various input ports for connectivity.

Gambar: Samping view of the projector, highlighting the lens, ventilation, and approximate dimensions of 12x8.5x4.6 cm (4.7x3.3x1.8 inches).
3.3 Memposisikan Proyektor
Place the projector on a stable, flat surface. Ensure there is adequate ventilation around the device. The optimal projection distance is between 1.5 to 2 meters (4.9 to 6.6 feet) to achieve a screen size of up to 60 inches.

Image: This diagram illustrates the relationship between projection distance and screen size, showing that a distance of 1.6m can produce a 47-inch screen, and 2.0m can produce an 80-inch screen.

Image: Another diagram demonstrating the range of possible projection sizes, from 24 inches up to 152 inches, depending on the distance from the projection surface.
4. Petunjuk Pengoperasian
4.1 Daya Hidup/Mati
Press the power button on the projector or remote control to turn the device on or off.
4.2 Penyesuaian Fokus
Rotate the focus ring located near the lens to achieve a clear image. Adjust until the projected image is sharp.
4.3 Pemilihan Sumber
Use the input source button on the projector or remote control to cycle through available input sources (HDMI, USB, AV, MicroSD).
4.4 Navigation and Playback
Use the directional buttons and OK button on the projector or remote control to navigate menus, select files, and control media playback (play, pause, stop, fast forward, rewind).
4.5 Keluaran Audio
The projector has built-in speakers for audio playback. For a more immersive experience or private listening, connect external speakers or headphones to the 3.5mm audio jack.
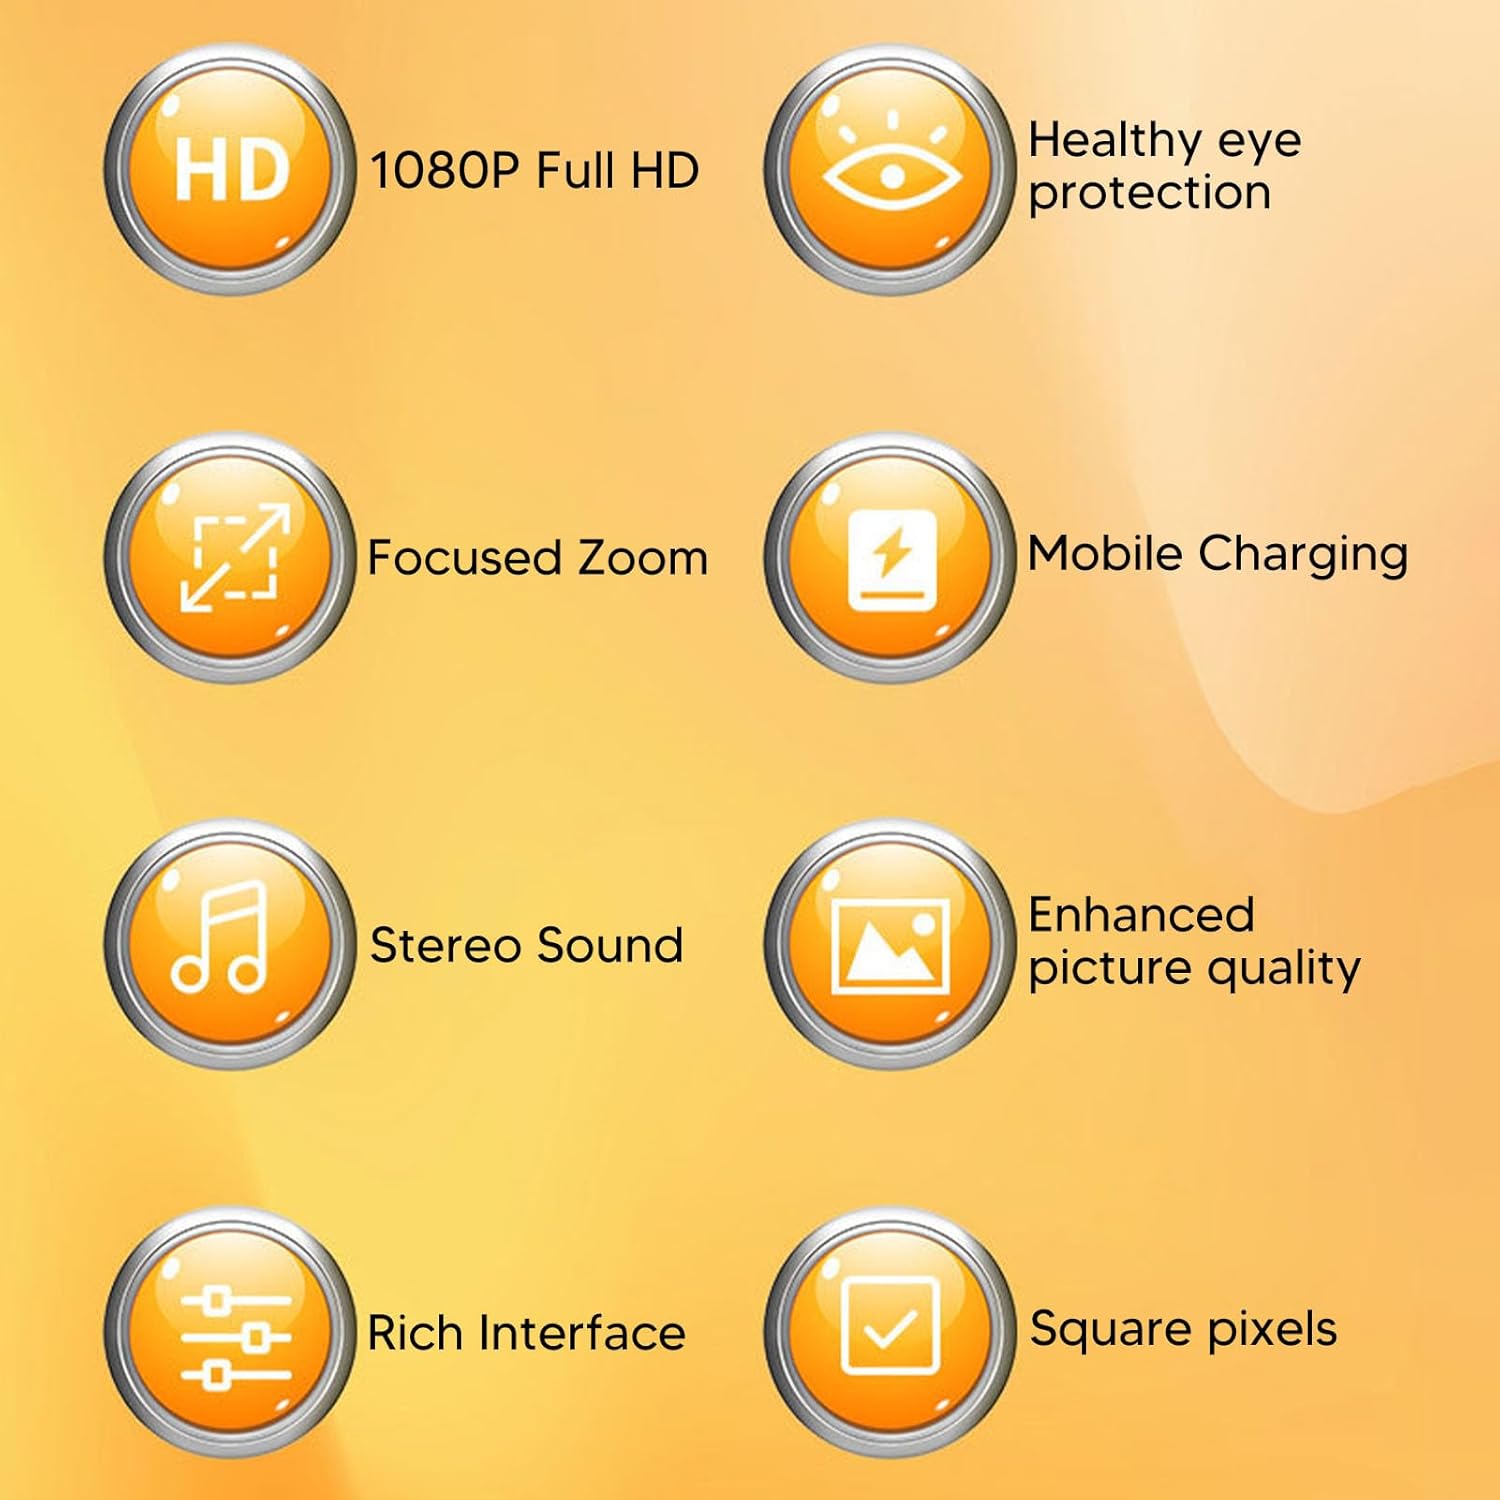
Image: This graphic highlights key features such as 1080P Full HD support, focused zoom capability, stereo sound, and a rich interface for diverse connectivity.
5. Pemeliharaan
5.1 Membersihkan Lensa
Gently wipe the projector lens with a soft, lint-free cloth specifically designed for optical surfaces. Avoid using abrasive materials or harsh chemicals.
5.2 Membersihkan Badan Proyektor
Use a soft, dry cloth to clean the exterior of the projector. Do not use liquid cleaners directly on the device.
5.3 Ventilasi
Ensure that the ventilation openings are not blocked to prevent overheating. Regular cleaning of dust from these vents with a soft brush or compressed air can help maintain optimal performance.
5.4 Penyimpanan
When not in use, store the projector in a cool, dry place, away from direct sunlight and extreme temperatures. Consider using a protective cover to prevent dust accumulation.
6. Penyelesaian masalah
- Tidak Ada Daya: Ensure the power adapter is securely connected to both the projector and a working electrical outlet. Verify the power supply meets the 5V 2A requirement.
- Tidak ada gambar: Check that the correct input source is selected. Ensure the input device (laptop, TV stick, etc.) is powered on and sending a signal. Verify all cables are securely connected.
- Gambar Buram: Adjust the focus ring on the projector lens until the image is clear. Ensure the projection distance is within the recommended range (1.5-2m).
- Tidak ada suara: Check the projector's volume settings and the volume of the input device. If using external speakers, ensure they are properly connected and powered on.
- Kontrol Jarak Jauh Tidak Berfungsi: Periksa baterai pada remote control. Pastikan tidak ada penghalang antara remote dan penerima IR proyektor.
If you encounter issues not listed here, please refer to the manufacturer's websitus untuk dukungan lebih lanjut.
7. Spesifikasi
| Merek | Yanmis |
| Nomor Model | Yanmis73bh0icrk4-13 |
| Projection Light Source Life | 30,000 jam |
| Kecerahan | 200 ANSI Lumens |
| Resolusi Asli | Ukuran 320x240 |
| Resolusi yang Didukung | Up to 1920 x 1080 (1080P) |
| Rasio Kontras | 800:1 |
| Rasio Aspek | 4:3 |
| Jarak Proyeksi | 1.5 - 2 meters (4.9 - 6.6 feet) |
| Maximum Projection Size | 60 inci |
| Konektivitas | USB, HDMI, AV, MicroSD Card, 3.5mm Audio Jack |
| Fitur Khusus | USB Connectivity, Built-In Speaker, Portable, HDMI Connectivity, Lightweight |
| Catu Daya | 5V 2A (external) |
| Dimensi (Perkiraan) | 12 x 8.5 x 4.6 cm (4.7 x 3.3 x 1.8 inci) |
| Berat (Perkiraan) | 290 gram |
| Bahan | ABS |
8. Garansi dan Dukungan
8.1 Informasi Garansi
Specific warranty details for the Yanmis Mini Projector are not provided in this manual. Please refer to the product packaging, the retailer's purchase terms, or the official Yanmis websitus untuk informasi garansi yang lengkap.
8.2 Dukungan Pelanggan
For technical assistance, troubleshooting beyond this manual, or inquiries regarding your product, please visit the official Yanmis support websitus web atau hubungi departemen layanan pelanggan mereka. Informasi kontak biasanya dapat ditemukan di situs web produsen. websitus atau kemasan produk.