Bmi Muse M-192-CR
Bmi Muse M-192-CR Radio Alarm Clock
Manual Instruksi Pengguna
Perkenalan
Terima kasih sudah membeliasing the Bmi Muse M-192-CR Radio Alarm Clock. This device combines a PLL FM radio, a dual alarm system, and a convenient USB charging port, all displayed on a large, clear white LED screen. This manual provides detailed instructions for setup, operation, and maintenance to ensure optimal performance and longevity of your product. Please read this manual thoroughly before use and retain it for future reference.
Informasi Keselamatan
- Do not expose the unit to rain or moisture to prevent fire or electric shock hazards.
- Ensure the power adapter is easily accessible in case of malfunction.
- Gunakan hanya adaptor daya yang disertakan dengan unit.
- Jangan letakkan benda berisi cairan seperti vas di atas unit.
- Hindari meletakkan unit di dekat sumber panas atau terkena sinar matahari langsung.
- Jauhkan unit dari medan magnet yang kuat.
- Jangan mencoba membongkar atau memodifikasi unit. Serahkan semua servis kepada teknisi yang berkualifikasi.
- Buang baterai bekas secara bertanggung jawab sesuai dengan peraturan setempat.
Isi Paket
Harap periksa apakah item berikut disertakan dalam paket Anda:
- Bmi Muse M-192-CR Radio Alarm Clock
- Adaptor Daya
- User Manual (dokumen ini)
Note: AAA batteries for backup power are not included and must be purchased separately.
Produk Selesaiview
Familiarize yourself with the main components and controls of your radio alarm clock.
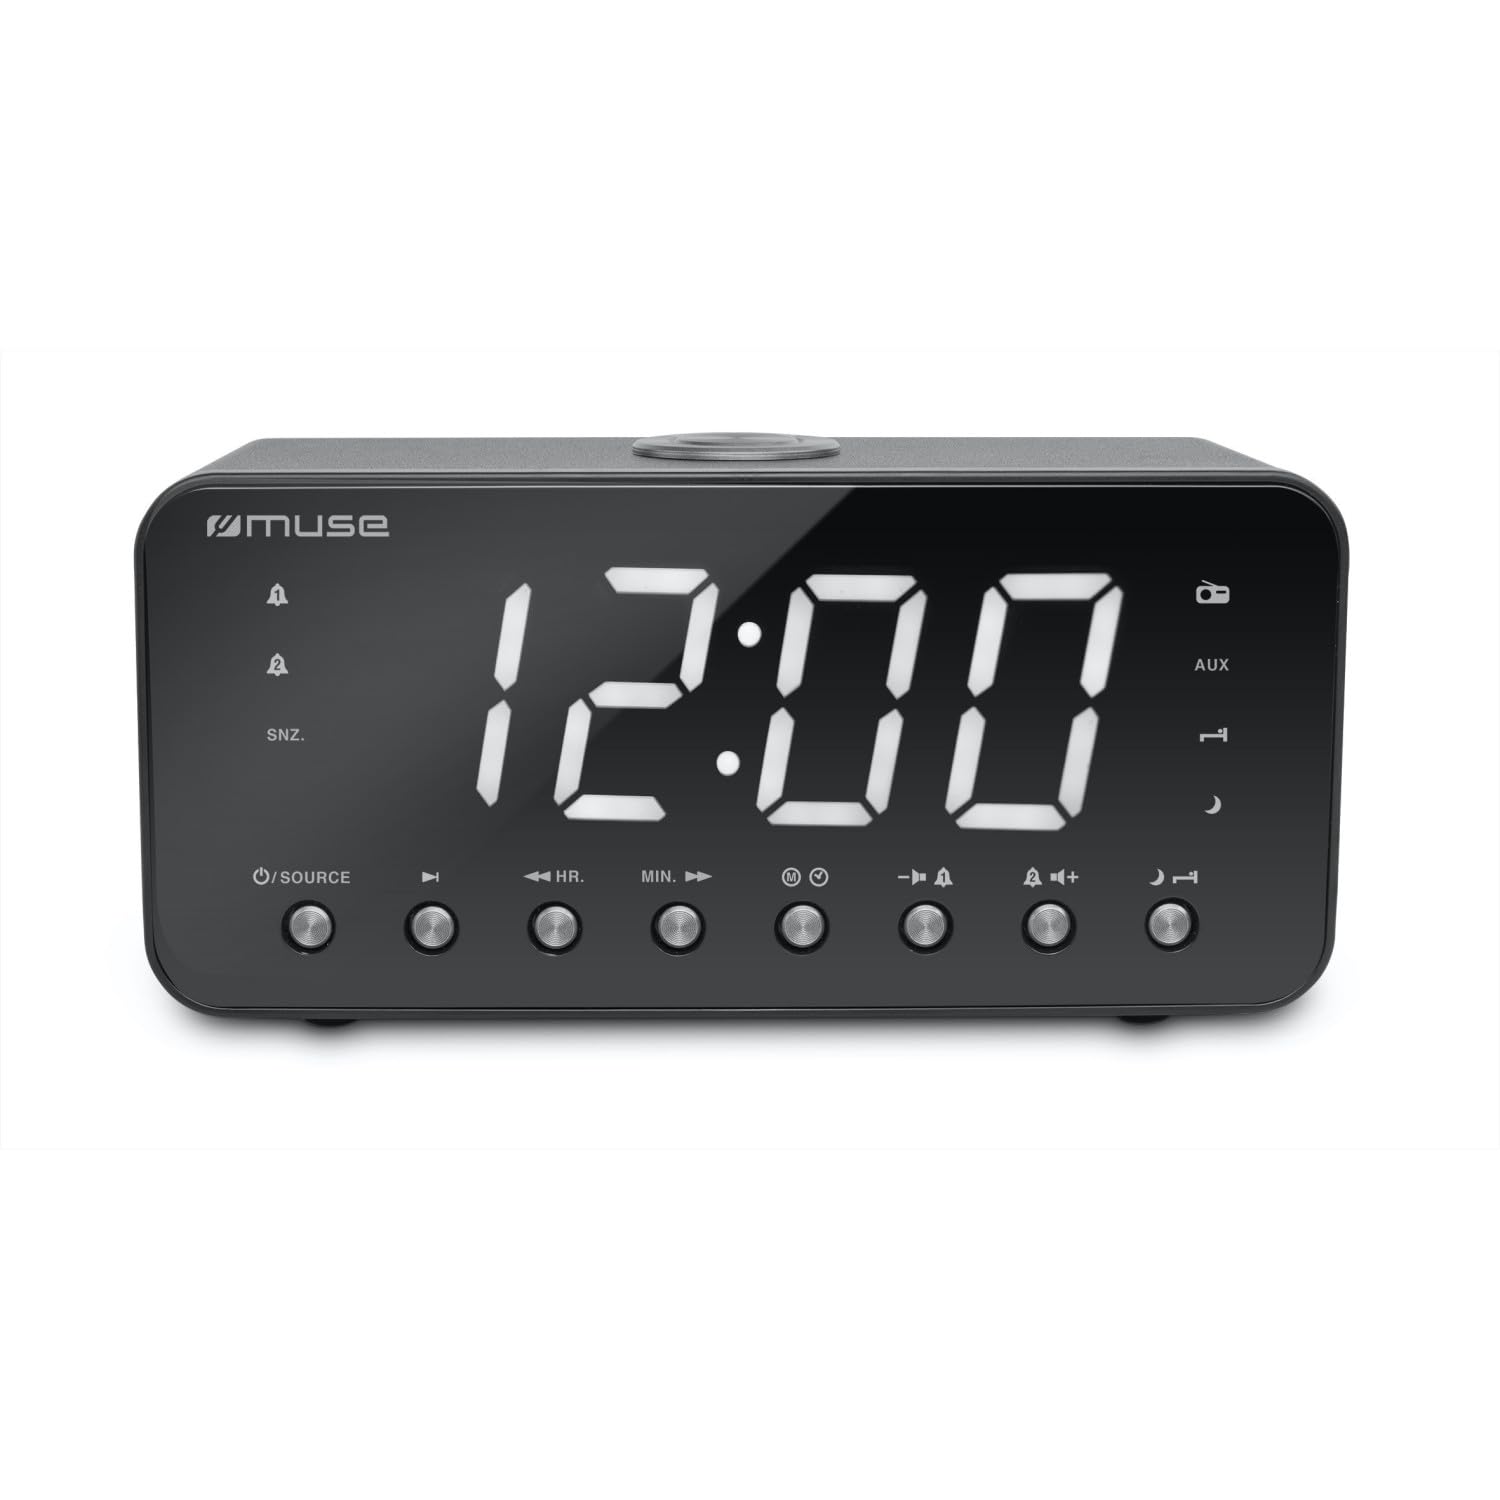
Gambar 1: Depan view of the Bmi Muse M-192-CR Radio Alarm Clock, showing the large white LED display, speaker grille, and various control buttons on the top panel.
Panel Depan
- 1.8-inch White LED Display: Shows time, radio frequency, and alarm status.
- Pembicara: For audio output from radio or buzzer.
Top Panel Controls (Typical Layout)
- SET WAKTU: Tekan untuk mengatur waktu.
- ALARM 1 / ALARM 2: Press to set or activate Alarm 1 or Alarm 2.
- SNOOZE / SLEEP / DIMMER: Press to activate snooze, set sleep timer, or adjust display brightness.
- VOL - / VOL +: Sesuaikan volume.
- TUNE - / TUNE +: Tune radio frequency or navigate menu options.
- PENGATURAN / MEMORI: Save or recall radio presets.
- RADIO ON/OFF: Nyalakan atau matikan radio.
Rear Panel / Side Panel
- Jack Masuk DC: Hubungkan adaptor daya.
- Port Pengisian USB: Untuk mengisi daya perangkat eksternal (misalnya, ponsel pintar).
- Jack AUX IN: Hubungkan perangkat audio eksternal.
- Kompartemen Baterai: For backup AAA batteries.
- Antena FM: Rentangkan untuk penerimaan FM yang lebih baik.
Pengaturan
1. Koneksi Daya
- Insert 2 x AAA batteries (not supplied) into the battery compartment on the bottom of the unit. These batteries provide backup power for time and alarm settings during a power outage.
- Connect the supplied power adapter to the DC IN jack on the rear of the unit.
- Plug the power adapter into a standard AC wall outlet (100-240V, 50/60Hz). The display will light up.
2. Mengatur Waktu
- Dalam mode siaga, tekan dan tahan tombol PENGATURAN WAKTU tekan tombol hingga angka jam berkedip di layar.
- Tekan tombol LAGU + or LAGU - tombol untuk mengatur jam.
- Tekan tombol PENGATURAN WAKTU tombol lagi. Angka menit akan berkedip.
- Tekan tombol LAGU + or LAGU - tombol untuk menyesuaikan menit.
- Tekan tombol PENGATURAN WAKTU button once more to confirm and exit time setting mode. The time is displayed in 24-hour format.
Petunjuk Pengoperasian
Radio Operation (PLL FM)
- Menyalakan/Mematikan: Tekan tombol RADIO HIDUP/MATI tombol untuk menghidupkan atau mematikan radio.
- Stasiun Penyetelan:
- Penyetelan Manual: Tekan LAGU + or LAGU - repeatedly to adjust the frequency step by step.
- Penyetelan Otomatis: Tekan dan tahan LAGU + or LAGU - for a few seconds. The radio will scan and stop at the next available station.
- Menyesuaikan Volume: Tekan VOL+ or JILID - untuk menambah atau mengurangi volume.
- Saving Presets (20 stations):
- Tune ke stasiun yang Anda inginkan.
- Tekan dan tahan tombol PRESET / MEMORI button until "PXX" (XX being the preset number) flashes on the display.
- Menggunakan LAGU + or LAGU - untuk memilih nomor preset yang diinginkan (1-20).
- Tekan PRESET / MEMORI sekali lagi untuk konfirmasi.
- Mengingat Preset: Dalam mode radio, tekan sebentar tombol PRESET / MEMORI tombol berulang kali untuk menelusuri stasiun yang tersimpan.
Alarm Settings (Dual Alarm)
Unit ini memiliki dua alarm independen (Alarm 1 dan Alarm 2).
- Mengatur Waktu Alarm:
- Tekan dan tahan ALARM 1 or ALARM 2 tombol sampai angka jam alarm berkedip.
- Menggunakan LAGU + or LAGU - untuk menyesuaikan jam.
- Tekan ALARM 1 or ALARM 2 lagi. Angka menit akan berkedip.
- Menggunakan LAGU + or LAGU - untuk menyesuaikan menit.
- Tekan ALARM 1 or ALARM 2 sekali lagi untuk memastikan waktu alarm.
- Setting Alarm Source (Radio or Buzzer):
- Setelah mengatur waktu alarm, tekan ALARM 1 or ALARM 2 again. The display will show "BUZ" (Buzzer) or a frequency (Radio).
- Menggunakan LAGU + or LAGU - to select your desired alarm source. If selecting radio, ensure the desired station is tuned or a preset is selected.
- Tekan ALARM 1 or ALARM 2 one last time to confirm the alarm settings. An alarm icon will appear on the display.
- Mengaktifkan/Menonaktifkan Alarm: Tekan sebentar ALARM 1 or ALARM 2 to toggle the alarm on or off. The alarm icon will appear/disappear.
- Stopping an Active Alarm: Saat alarm berbunyi, tekan tombol RADIO HIDUP/MATI button to turn it off for 24 hours.
- Fungsi Tunda: Saat alarm berbunyi, tekan tombol TIDUR SEBENTAR button. The alarm will pause for approximately 9 minutes and then sound again.
Sleep Timer Fungsi
Pengatur waktu tidur memungkinkan radio untuk terus beroperasi selama durasi tertentu sebelum mati secara otomatis.
- Saat radio sedang diputar, tekan tombol TIDUR button (often combined with SNOOZE/DIMMER).
- Tekan berulang kali TIDUR button to cycle through available sleep times (e.g., 90, 60, 30, 15 minutes, OFF).
- Radio akan mati secara otomatis setelah durasi yang dipilih.
Tampilan Peredup
Adjust the brightness of the LED display.
- Tekan tombol LAMPU DIM button (often combined with SNOOZE/SLEEP) repeatedly to cycle through brightness levels: High, Low, Off.
Port Pengisian Daya USB
The USB port on the rear of the unit is for charging external devices.
- Connect your smartphone, MP3 player, or other USB-powered device to the USB charging port using a compatible USB cable (not supplied).
- The device will begin charging. Note that this port is for charging only and does not support data transfer.
Masukan AUX
Connect an external audio source (e.g., MP3 player, smartphone) to play audio through the alarm clock's speaker.
- Connect one end of a 3.5mm audio cable (not supplied) to the AUX IN jack on the rear of the unit.
- Hubungkan ujung kabel audio lainnya ke jack headphone atau output audio perangkat eksternal Anda.
- The unit should automatically switch to AUX mode, or you may need to press a dedicated "MODE" or "AUX" button if available (refer to specific button layout if different).
- Control playback from your external device and adjust volume using the unit's VOL + / VOL - tombol.
Pemeliharaan
Membersihkan Unit
- Before cleaning, ensure the unit is unplugged from the power outlet.
- Gunakan kain lembut dan kering untuk menyeka permukaan luar.
- Jangan gunakan pembersih abrasif, lilin, atau pelarut karena dapat merusak lapisan akhir.
- Hindari menyemprotkan cairan langsung ke unit tersebut.
Penggantian Baterai
- If the unit experiences frequent power outages or if the time/alarm settings are lost after a power interruption, the backup batteries may need replacement.
- Buka kompartemen baterai di bagian bawah unit.
- Remove the old AAA batteries and insert two new 1.5V AAA batteries, observing the correct polarity (+/-).
- Tutup rapat tempat baterai.
Penyelesaian Masalah
| Masalah | Kemungkinan Penyebab | Larutan |
|---|---|---|
| Tidak ada daya / Layar mati | Adaptor daya tidak tersambung atau rusak. | Pastikan adaptor daya terpasang dengan aman ke unit dan stopkontak dinding yang berfungsi. |
| Penerimaan radio buruk | FM antenna not extended or unit is in a poor reception area. | Fully extend the FM wire antenna. Try repositioning the unit for better reception. Avoid placing near electronic devices that may cause interference. |
| Alarm tidak berbunyi | Alarm not activated, alarm time incorrect, or volume too low. | Check that the alarm icon is displayed. Verify the alarm time and ensure the volume is set to an audible level if using radio alarm. |
| Pengaturan waktu/alarm hilang setelah listrik padam.tage | Baterai cadangan mati atau tidak terpasang. | Install 2 new AAA batteries or replace existing ones in the battery compartment. |
| Pengisian USB tidak berfungsi | USB cable faulty or device not compatible. | Try a different USB cable. Ensure the device you are trying to charge is compatible with standard USB charging. |
Spesifikasi
| Nomor Model | Muse M-192-CR |
| Merek | BMI |
| Menampilkan | 1.8-inch White LED, 24-hour clock, adjustable brightness |
| Penyetel Radio | PLL FM (87.5 - 108 MHz), 20 preset stations |
| Fitur Alarm | Dual alarm, Wake by Radio or Buzzer, Snooze, Sleep, Nap functions |
| Konektivitas | AUX Input, USB Charging Port |
| Sumber Daya | AC 100-240V ~ 50/60Hz (Corded Electric) |
| Baterai Cadangan | 2x1.5V baterai AAA (tidak termasuk) |
| Bahan | Plastik |
| Warna | Hitam |
| Dimensi (P x L x T) | Ukuran 226 x 86 x 108 mm |
| Berat Bersih | 0.8 kg |
Informasi Garansi
Bmi products are manufactured to the highest quality standards. This product is covered by a standard manufacturer's warranty against defects in materials and workmanship from the date of purchase. Please retain your proof of purchase for warranty claims. The warranty does not cover damage caused by misuse, accident, unauthorized modification, or normal wear and tear. For specific warranty terms and conditions, please refer to the warranty card included with your product or contact customer support.
Dukungan Pelanggan
If you encounter any issues or have questions regarding your Bmi Muse M-192-CR Radio Alarm Clock that are not addressed in this manual, please contact our customer support team. For the most up-to-date contact information, please visit the official Bmi website or refer to the packaging of your product.