Perkenalan
This manual provides comprehensive instructions for the setup, operation, and maintenance of your Diyeeni WH TA11PE Air Conditioner Remote Controller. Please read this manual carefully before using the remote control to ensure proper functionality and longevity.
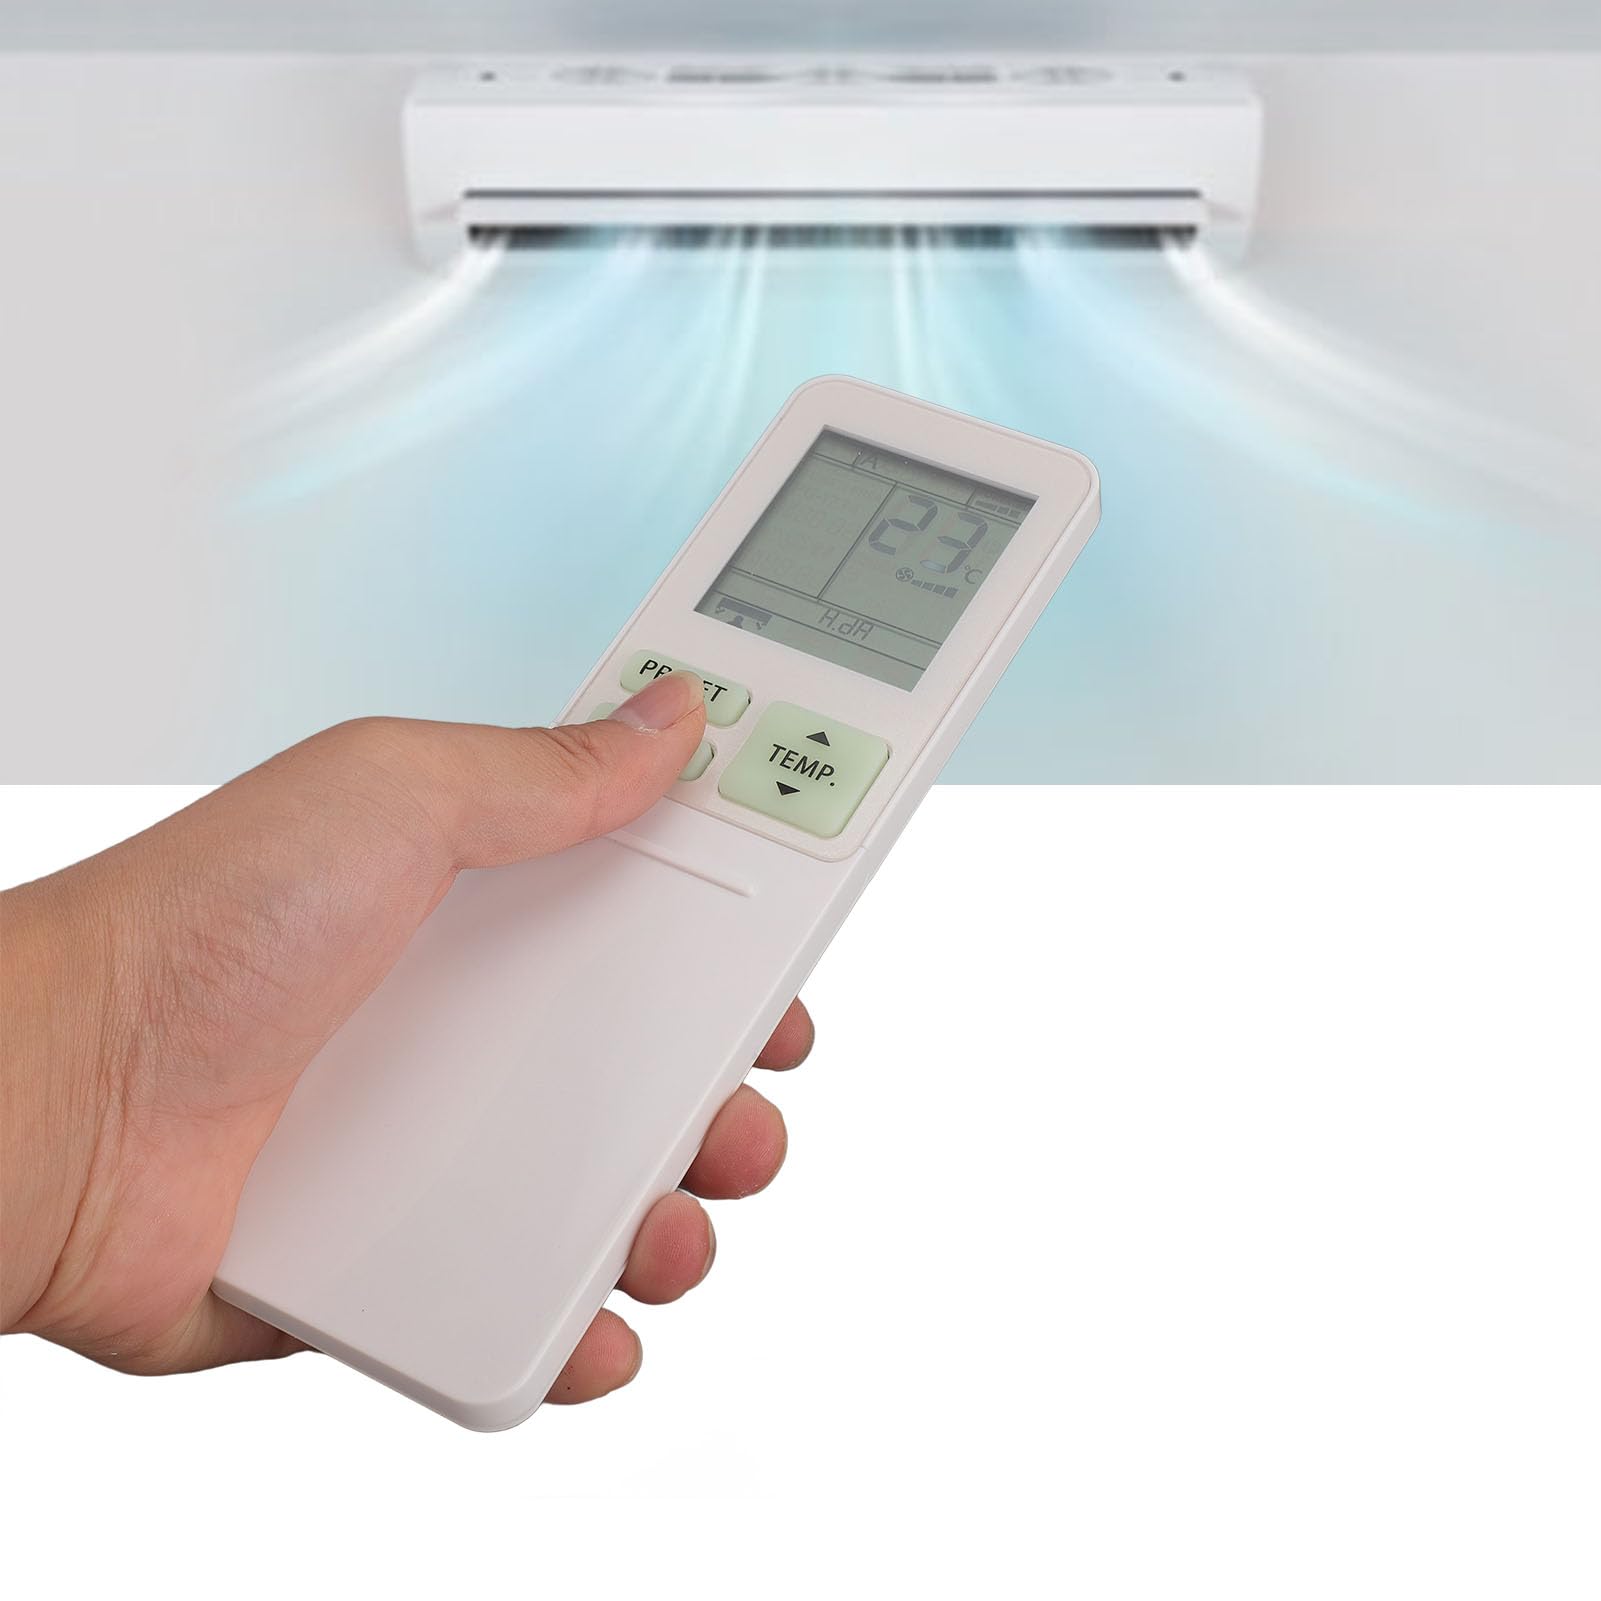
Image: The Diyeeni WH TA11PE remote control in use, with an air conditioner in the background.
Model yang Kompatibel
The Diyeeni WH TA11PE remote controller is designed as a replacement for the following Toshiba Air Conditioner series:
- RAS-10G2KVP Series
- RAS-13G2KVP Series
- RAS-16G2KVP Series
- RAS-18E2KVSG A Series
- RAS-22E2KVSG A Series
- RAS-24E2KVSG A Series
This remote control offers full functionality for these specified models, replicating the original remote's features.
Pengaturan: Pemasangan Baterai
Untuk mulai menggunakan remote control Anda, Anda harus memasang baterai terlebih dahulu.
- Buka Tempat Baterai: Locate the battery compartment cover on the back of the remote control. Gently slide or press the latch to open the cover.
- Masukkan Baterai: Insert two (2) AAA batteries (not included) into the compartment. Ensure the positive (+) and negative (-) terminals of the batteries match the indicators inside the compartment.
- Tutup Tempat Baterai: Pasang kembali penutup ruang baterai dengan menggesernya kembali ke tempatnya hingga terkunci dengan aman.

Image: Remote control with the battery compartment open, illustrating correct battery placement.

Gambar: Detail view of the battery compartment, highlighting the terminals.
Once batteries are installed, the remote control is ready for use. No programming is required for compatible Toshiba air conditioner models.
Petunjuk Pengoperasian
The Diyeeni WH TA11PE remote control provides access to all standard functions of your Toshiba air conditioner. Point the remote control directly at the air conditioner's receiver when operating.

Gambar: Depan view dari remote control, menunjukkan semua tombol.
Fungsi Utama:
- Tombol power (⏻): Menghidupkan atau mematikan AC.
- TEMP. Buttons (▲/▼): Mengatur suhu ke atas atau ke bawah.
- Tombol PRESET: Activates a pre-set operating mode or setting.
- Tombol MODE: Berputar melalui mode pengoperasian (misalnya, Dingin, Panas, Kipas, Kering, Otomatis).
- Tombol SWING: Mengontrol ayunan vertikal deflektor udara.
- Tombol KIPAS: Menyesuaikan kecepatan kipas (misalnya, Rendah, Sedang, Tinggi, Otomatis).
- AIR FLOW Button: Controls horizontal airflow direction.
- 8°C Button: Activates an 8°C heating mode for frost protection (if supported by AC).
- Tombol ECO: Mengaktifkan mode hemat energi.
- Hi POWER Button: Activates maximum power operation for rapid cooling/heating.
- PURE Button: Activates air purification function (if supported by AC).
- COMFORT SLEEP Button: Sets the air conditioner to a comfortable sleep mode.
- P-SEL (Program Select) Button: Selects programmed settings.
- WEEKLY ON/OFF, DAY/EDIT, PROGRAM P1-P4 Buttons: Used for setting and managing weekly timers and programs.
- TIMER ON/OFF, SET, CLR Buttons: Used for setting and clearing basic timers.
- CLOCK, CHECK, FILTER, RESET Buttons: For setting the clock, checking status, filter reset, and general reset functions.

Image: Close-up of the remote's display and primary control buttons.
Refer to your Toshiba air conditioner's original manual for specific details on how each function interacts with your unit.
Pemeliharaan
- Pembersihan: Wipe the remote control with a soft, dry cloth. Do not use liquid cleaners, sprays, or abrasive materials, as these can damage the surface or internal components.
- Penggantian Baterai: Replace batteries when the remote's range decreases or the display becomes dim. Always replace both batteries at the same time with new ones of the same type (AAA).
- Penyimpanan: Jika remote control tidak akan digunakan dalam jangka waktu lama, lepaskan baterai untuk mencegah kebocoran dan potensi kerusakan. Simpan di tempat yang sejuk dan kering.
- Hindari paparan: Jangan biarkan kendali jarak jauh terkena sinar matahari langsung, suhu tinggi, atau kelembapan tinggi.
Penyelesaian Masalah
| Masalah | Kemungkinan Penyebab | Larutan |
|---|---|---|
| Remote control does not operate the AC unit. |
|
|
| Tampilan redup atau kosong. |
|
|
| Certain functions do not work. |
|
|
Spesifikasi
- Model: WH TA11PE
- Bahan: ABS
- Jenis Baterai: 2 baterai AAA (tidak termasuk)
- Kesesuaian: Toshiba RAS-10G2KVP, RAS-13G2KVP, RAS-16G2KVP Series, RAS-18E2KVSG A, RAS-22E2KVSG A, RAS-24E2KVSG A
- Berat: Sekitar 110 Gram

Image: Back of the remote control, displaying the model identifier.