Perkenalan
This manual provides instructions for the installation, operation, and maintenance of your new Generic Dust Bin Lid replacement part, designed for Tineco Pure One S12 series cordless stick vacuums. Please read this manual thoroughly before installation to ensure proper fit and function.
Informasi Keselamatan
Always ensure the vacuum cleaner is powered off and unplugged from its charging base before attempting any installation or maintenance. Handle the replacement part carefully to avoid damage. Keep small parts away from children.
Isi Paket
- 1 x Generic Dust Bin Lid Replacement Part (Clear)
Catatan: The original rubber seal (gasket) is not included with this replacement lid. You must transfer the seal from your old lid to the new one.
Kesesuaian
This replacement dust bin lid is compatible with the following Tineco Pure One S12 series vacuum models:
- Tineco Pure One S12 Pro EX
- Tineco Pure One S12
- VS12100NULL
- VS121200US
- S12US0A10
- VS121000US
- VS121100US
- S12US0A11
Petunjuk Instalasi
- Siapkan alat penyedot debu: Ensure your Tineco Pure One S12 series vacuum is turned off and disconnected from any power source.
- Remove the Dust Bin: Detach the dust bin from the main vacuum body according to your vacuum's original user manual.
- Remove the Old Lid: Carefully unlatch and remove the damaged or old dust bin lid from the dust bin.
- Transfer the Rubber Seal: Locate the rubber seal (gasket) on the inner rim of your old dust bin lid. Gently peel or remove this seal. This seal is crucial for maintaining suction and preventing dust leakage.
- Install Seal on New Lid: Carefully fit the transferred rubber seal into the groove on the new replacement dust bin lid. Ensure it is seated evenly and securely all around the rim.
- Attach New Lid: Align the new lid with the dust bin and securely close it. Ensure the latches engage properly.
- Pasang kembali tempat sampah: Reinstall the dust bin onto the main vacuum body.
- Tes: Power on the vacuum and perform a brief test to ensure the lid is secure and there are no air leaks.

Image: Underside of the replacement dust bin lid, showing the groove for the rubber seal.

Image: The new dust bin lid separated from the vacuum's dust bin.
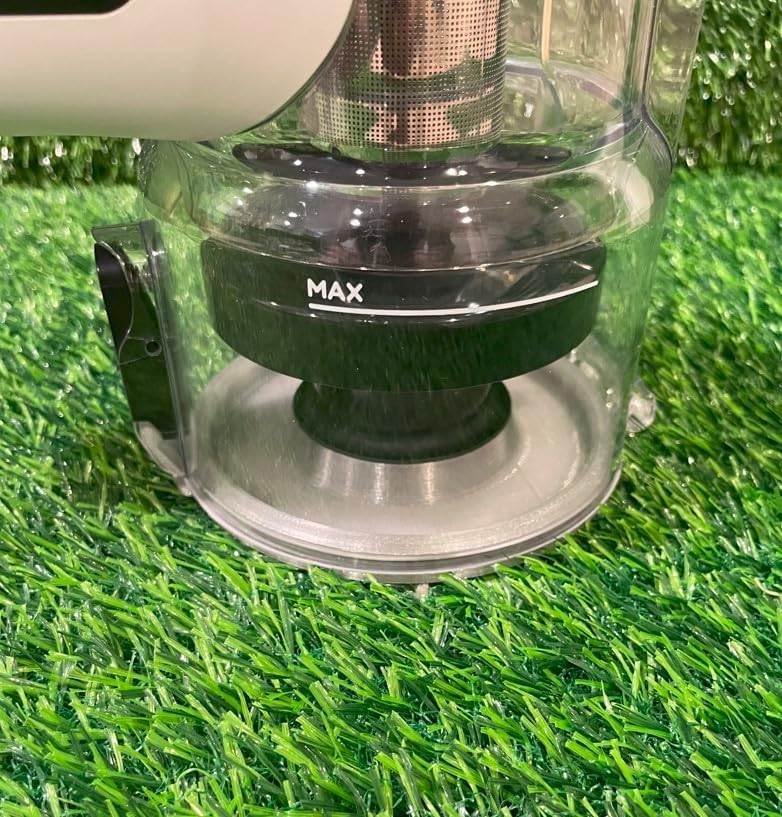
Image: Dust bin lid securely attached to the vacuum's dust bin.
Operating the Dust Bin Lid
The dust bin lid functions identically to the original part. To empty the dust bin, simply unlatch the lid and dispose of the collected debris. Ensure the lid is securely closed after emptying to maintain optimal vacuum performance.

Gambar: Samping view of the dust bin with the lid closed.
Pemeliharaan
To ensure longevity and proper function of your dust bin lid:
- Pembersihan: Bersihkan tutupnya dengan iklanamp kain sesuai kebutuhan. Jangan gunakan bahan kimia keras atau pembersih abrasif.
- Inspeksi Segel: Periodically check the rubber seal for any signs of wear, cracks, or damage. A damaged seal can lead to reduced suction.
- Avoid Dishwasher/Microwave: This part is not dishwasher safe and should not be microwaved.
Penyelesaian Masalah
| Masalah | Kemungkinan Penyebab | Larutan |
|---|---|---|
| Tutupnya tidak tertutup rapat. | Rubber seal improperly seated or damaged. Debris obstructing the latch mechanism. | Ensure the rubber seal is correctly installed. Check for and remove any debris around the latch. |
| Reduced vacuum suction. | Lid not fully closed. Damaged or missing rubber seal. | Verify the lid is securely latched. Inspect the rubber seal for damage and ensure it is present. |
| Lid does not fit the dust bin. | Kompatibilitas model salah. | Double-check your vacuum's model number against the compatibility list in this manual. |
Spesifikasi
- Bahan: Plastik
- Warna: Jernih
- Berat Barang: 3.2 ons
- Manufacturing Method: Dicetak 3D
- Komponen yang Termasuk: 1 Replacement Lid (Seal not included)
Garansi dan Dukungan
As this is a generic replacement part, warranty terms may vary. Please refer to the seller's (EauVita) return policy or contact them directly for specific warranty information and customer support regarding this product.
For issues related to your Tineco vacuum cleaner itself, please refer to the original Tineco user manual or contact Tineco customer service.


