1. Pendahuluan
This manual provides essential information for the installation, operation, and maintenance of your Hikvision IDS-7208HQHI-M1/XT 8-Channel 5MP Turbo HD DVR. Please read this manual thoroughly before using the product to ensure correct and safe operation. Keep this manual for future reference.
The Hikvision IDS-7208HQHI-M1/XT is an advanced 8-channel Digital Video Recorder designed for high-definition surveillance systems. It supports various video input formats, including Turbo HD, AHD, CVI, CVBS, and IP cameras, offering versatile compatibility. Key features include 5MP recording capability, H.265+ video compression for efficient storage, AcuSense technology for intelligent motion detection, and remote access via the Hik-Connect app.
2. Isi Paket
Verify that all items are present and in good condition upon unpacking. If any items are missing or damaged, contact your supplier immediately.
- DVR main unit
- Adaptor Daya
- Mouse USB
3. Fitur Produk
The Hikvision IDS-7208HQHI-M1/XT DVR offers a range of features designed for effective surveillance:
- 8-Channel DVR with 5MP HD Support: Supports multiple analog HD camera formats and up to 8 channels of real-time video monitoring and recording.
- Two-Way Audio Support: Enables audio communication through compatible cameras.
- Built-In AcuSense Technology: Smart analysis minimizes false alarms by focusing on human and vehicle-based motion detection.
- Remote Access via Hik-Connect App: View live video, playback recordings, and receive alerts anytime on your smartphone.
- Efficient Storage with H.265+ Compression: Saves bandwidth and hard disk space while maintaining clear video quality.
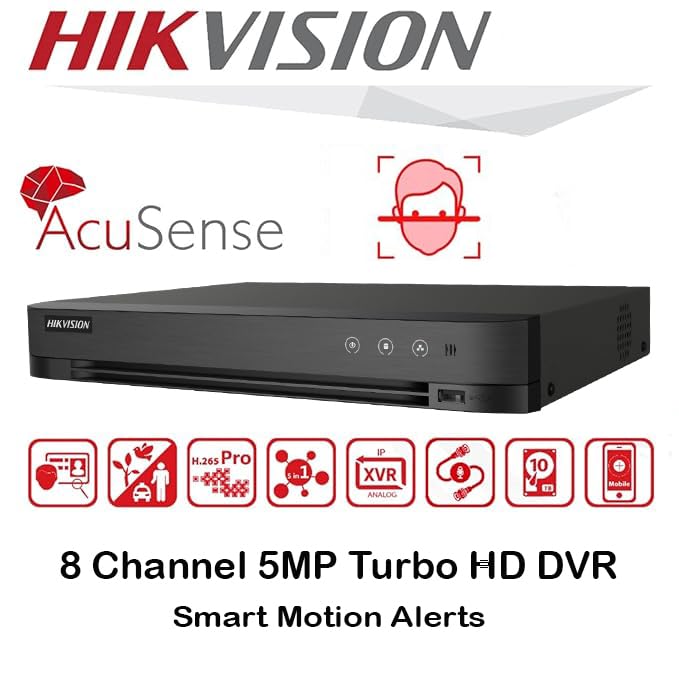
Gambar: Lebih dariview of key features including AcuSense, H.265+ compression, and 5MP resolution support.
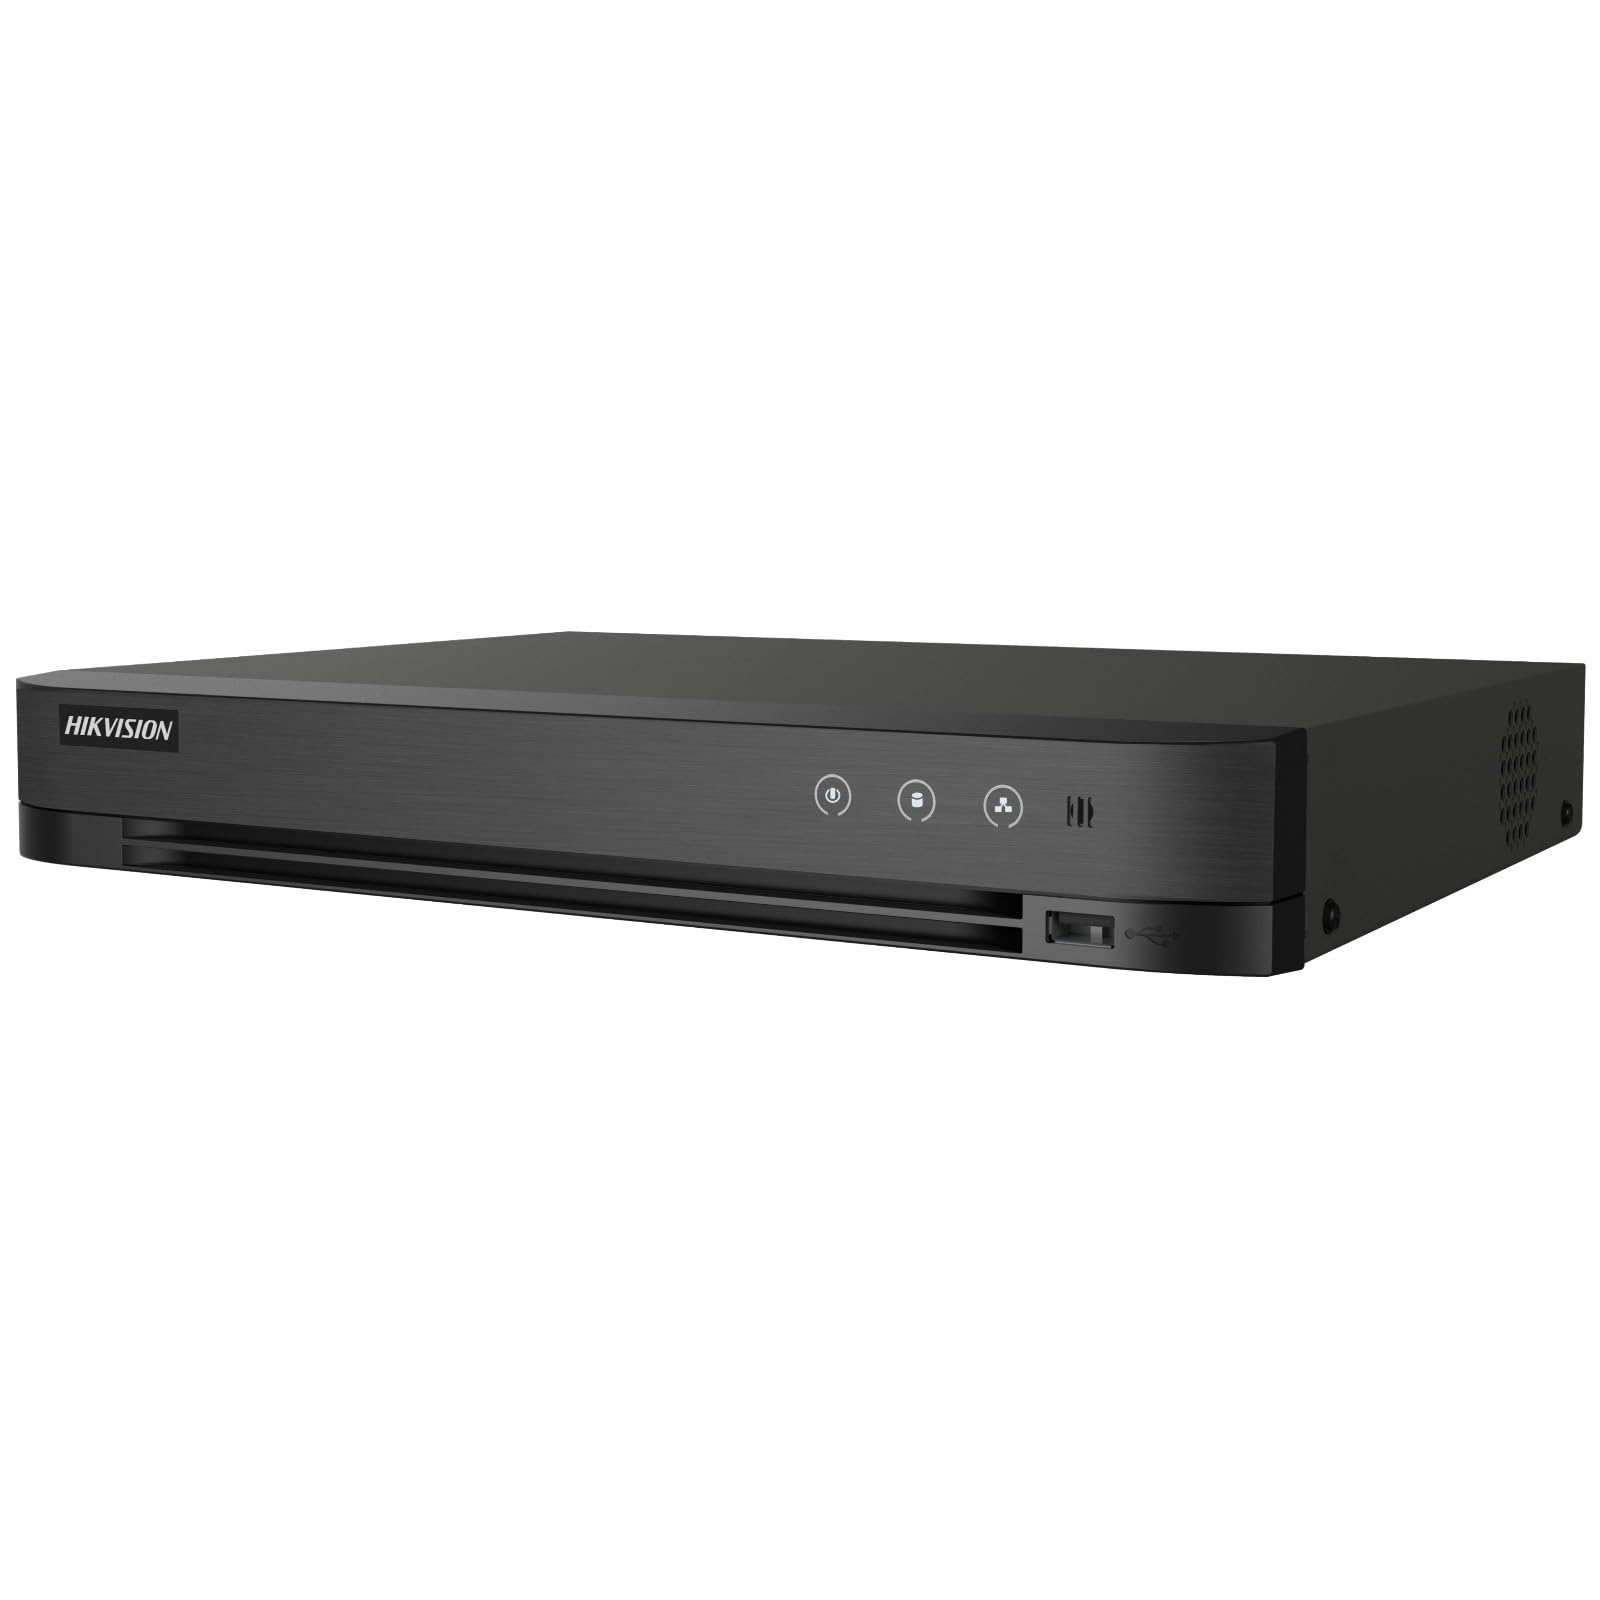
Image: The Hikvision Turbo HD DVR highlighting its support for two-way audio cameras, enabling interactive communication.
4. Antarmuka Fisik
Familiarize yourself with the ports and indicators on the DVR unit. The following diagram illustrates the rear panel of the Hikvision IDS-7208HQHI-M1/XT DVR:

Image: Rear panel connections of the DVR, showing video inputs, audio ports, network, and power.
- Input Video (BNC): Connect analog HD cameras (Turbo HD, AHD, CVI, CVBS).
- Video Out (BNC): Connect to a monitor for local display.
- Input Audio (RCA): Connect external audio input devices.
- Keluaran HDMI: Connect to an HDMI-compatible monitor or TV for high-definition video output.
- Keluaran VGA: Connect to a VGA-compatible monitor.
- Keluaran Audio (RCA): Connect to external audio output devices.
- Port USB: Connect a USB mouse, USB flash drive for backup, or external storage.
- Port LAN (RJ45): Connect to your network for remote access and IP camera integration.
- RS-485: For PTZ camera control (if supported).
- Masukan Daya 12V DC: Hubungkan adaptor daya yang disertakan.
- Terminal Darat: For grounding the device.
5. Pengaturan
Follow these steps for initial setup of your DVR system:
5.1 Hard Drive Installation (if not pre-installed)
- Buka dan lepaskan penutup atas DVR.
- Hubungkan kabel data SATA dan kabel daya ke hard drive.
- Amankan hard drive ke rangka DVR menggunakan sekrup yang disediakan.
- Pasang kembali penutup atas dan kencangkan dengan sekrup.
5.2 Menghubungkan Periferal
- Connect your cameras to the Video dalam (BNC) ports.
- Hubungkan monitor ke Video yang menggunakan HDMI or VGA pelabuhan keluaran.
- Connect the USB mouse to a lubang USB.
- Connect the DVR to your network router using an Ethernet cable plugged into the Port LAN.
- Sambungkan adaptor daya ke Masukan Daya DC 12V and then plug it into a power outlet.
5.3 Konfigurasi Awal
- Saat pertama kali dinyalakan, DVR akan memandu Anda melalui wizard pengaturan.
- Set a strong password for the administrator account.
- Konfigurasikan pengaturan jaringan (DHCP biasanya sudah cukup untuk sebagian besar jaringan rumah).
- Initialize the hard drive if prompted. This will format the drive for recording.
- Adjust date, time, and other system preferences as needed.
6. Operasi
Once the DVR is set up, you can begin monitoring and recording.
6.1 Langsung View
Setelah masuk, DVR akan menampilkan siaran langsung. view dari kamera yang terhubung di monitor. Anda dapat beralih antara tampilan kamera tunggal. view dan jaringan multi-kamera view menggunakan kontrol di layar atau mouse.
6.2 Perekaman
The DVR is typically configured to record continuously or based on motion detection. You can adjust recording schedules and settings through the DVR's menu system (Configuration > Record > Schedule).
6.3 Pemutaran ulang
untuk mengulangview rekaman footage, navigate to the Pemutaran ulang menu. Select the date, time, and camera channel to view recordings. Use the playback controls (play, pause, fast forward, rewind) to navigate through the footage.
6.4 Remote Access (Hik-Connect App)
The Hik-Connect app allows you to access your DVR remotely from a smartphone or tablet.
- Unduh aplikasi Hik-Connect dari toko aplikasi perangkat Anda.
- Create a Hik-Connect account and log in.
- Add your DVR by scanning the QR code on the DVR's label or by manually entering its serial number.
- Follow the in-app instructions to complete the device addition.
- Setelah ditambahkan, Anda dapat view live feeds, play back recordings, and receive push notifications for events.

Image: Illustration of the Hik-Connect mobile application interface, demonstrating remote access to live video and recordings.
7. Pemeliharaan
Perawatan rutin memastikan kinerja optimal dan umur pakai yang lebih lama untuk sistem DVR Anda.
- Clean the DVR: Bersihkan bagian luar DVR secara berkala dengan kain lembut dan kering. Pastikan lubang ventilasi bebas dari debu untuk mencegah panas berlebih.
- Pembaruan Firmware: Periksa situs resmi Hikvision. website for firmware updates. Updating firmware can improve performance, add features, and fix bugs. Follow update instructions carefully.
- Kesehatan Hard Drive: Monitor the health of your hard drive through the DVR's system menu (Manajemen HDD). Replace the hard drive if it shows signs of failure.
- Cadangan Penting Footage: Regularly back up critical video footagke drive USB eksternal atau penyimpanan jaringan.
- Keamanan Kata Sandi: Change your DVR and Hik-Connect passwords periodically to maintain security.
8. Penyelesaian masalah
Bagian ini membahas masalah umum yang mungkin Anda temui.
8.1 Tidak Ada Output Video pada Monitor
- Check if the monitor is powered on and correctly connected to the DVR's HDMI or VGA port.
- Pastikan sumber input yang benar telah dipilih pada monitor Anda.
- Cobalah menghubungkan ke monitor lain atau menggunakan kabel yang berbeda.
8.2 Kamera Tidak Tampil
- Verify that cameras are powered on and properly connected to the DVR's BNC inputs.
- Check camera power supplies.
- Ensure the camera type (TVI, AHD, CVI, CVBS) is compatible with the DVR and configured correctly in the DVR settings.
8.3 Remote Access Not Working
- Ensure the DVR is connected to the internet via the LAN port.
- Check network settings on the DVR (Configuration > Network).
- Verify that the Hik-Connect service is enabled on the DVR.
- Pastikan telepon pintar Anda memiliki koneksi internet aktif.
- Re-add the device to the Hik-Connect app if necessary.
8.4 Tidak Ada Rekaman
- Check if a hard drive is installed and properly initialized (Configuration > HDD).
- Verify recording schedules are set correctly (Configuration > Record > Schedule).
- Pastikan ada cukup ruang kosong pada hard drive.
9. Spesifikasi
Detailed technical specifications for the Hikvision IDS-7208HQHI-M1/XT DVR:
| Fitur | Spesifikasi |
|---|---|
| Nomor Model | IDS-7208HQHI-M1/XT |
| Masukan Video | 8-Channel (Turbo HD/AHD/CVI/CVBS/IP) |
| Kompresi Video | H.265 + / H.265 / H.264 + / H.264 |
| Resolusi Rekaman | Hingga 5MP |
| Keluaran Video | HDMI, VGA, BNC |
| Masukan/Keluaran Audio | 2-Way Audio Support |
| Network Interface | 1 RJ45 10M/100M Ethernet Interface |
| Antarmuka USB | 2 buah kabel USB 2.0 |
| Dukungan HDD | 1 antarmuka SATA (kapasitas hingga 10 TB per HDD) |
| Catu Daya | Tegangan DC 12V |
| Dimensi (P x L x T) | Ukuran 19.7x19.2x4.1 cm |
| Berat | 1.5 kg |
| Pabrikan | HIKVISION, Prama Hikvision India Pvt. Ltd. |
10. Garansi dan Dukungan
For warranty information and technical support, please refer to the warranty card included with your product or visit the official Hikvision websitus. Simpan struk pembelian Anda sebagai bukti pembelian untuk klaim garansi.
For further assistance, contact Hikvision customer support or your authorized dealer.