Perkenalan
This manual provides essential information for the proper installation, operation, and maintenance of your Oregon 89-001 Aerator Tine. This product is designed as a replacement part for existing lawn aerators. Please read these instructions carefully before proceeding with installation or use to ensure safety and optimal performance.
Produk Selesaiview
The Oregon 89-001 Aerator Tine is a high-quality replacement component for lawn aerators. It features a 1/2-inch closed spoon design, engineered for effective soil penetration and core removal. Manufactured from durable brass material, this tine is built to meet or exceed OEM specifications, ensuring reliability and longevity.
It is designed to replace specific aerator tines, including Bluebird 7190 and Ryan 522361.
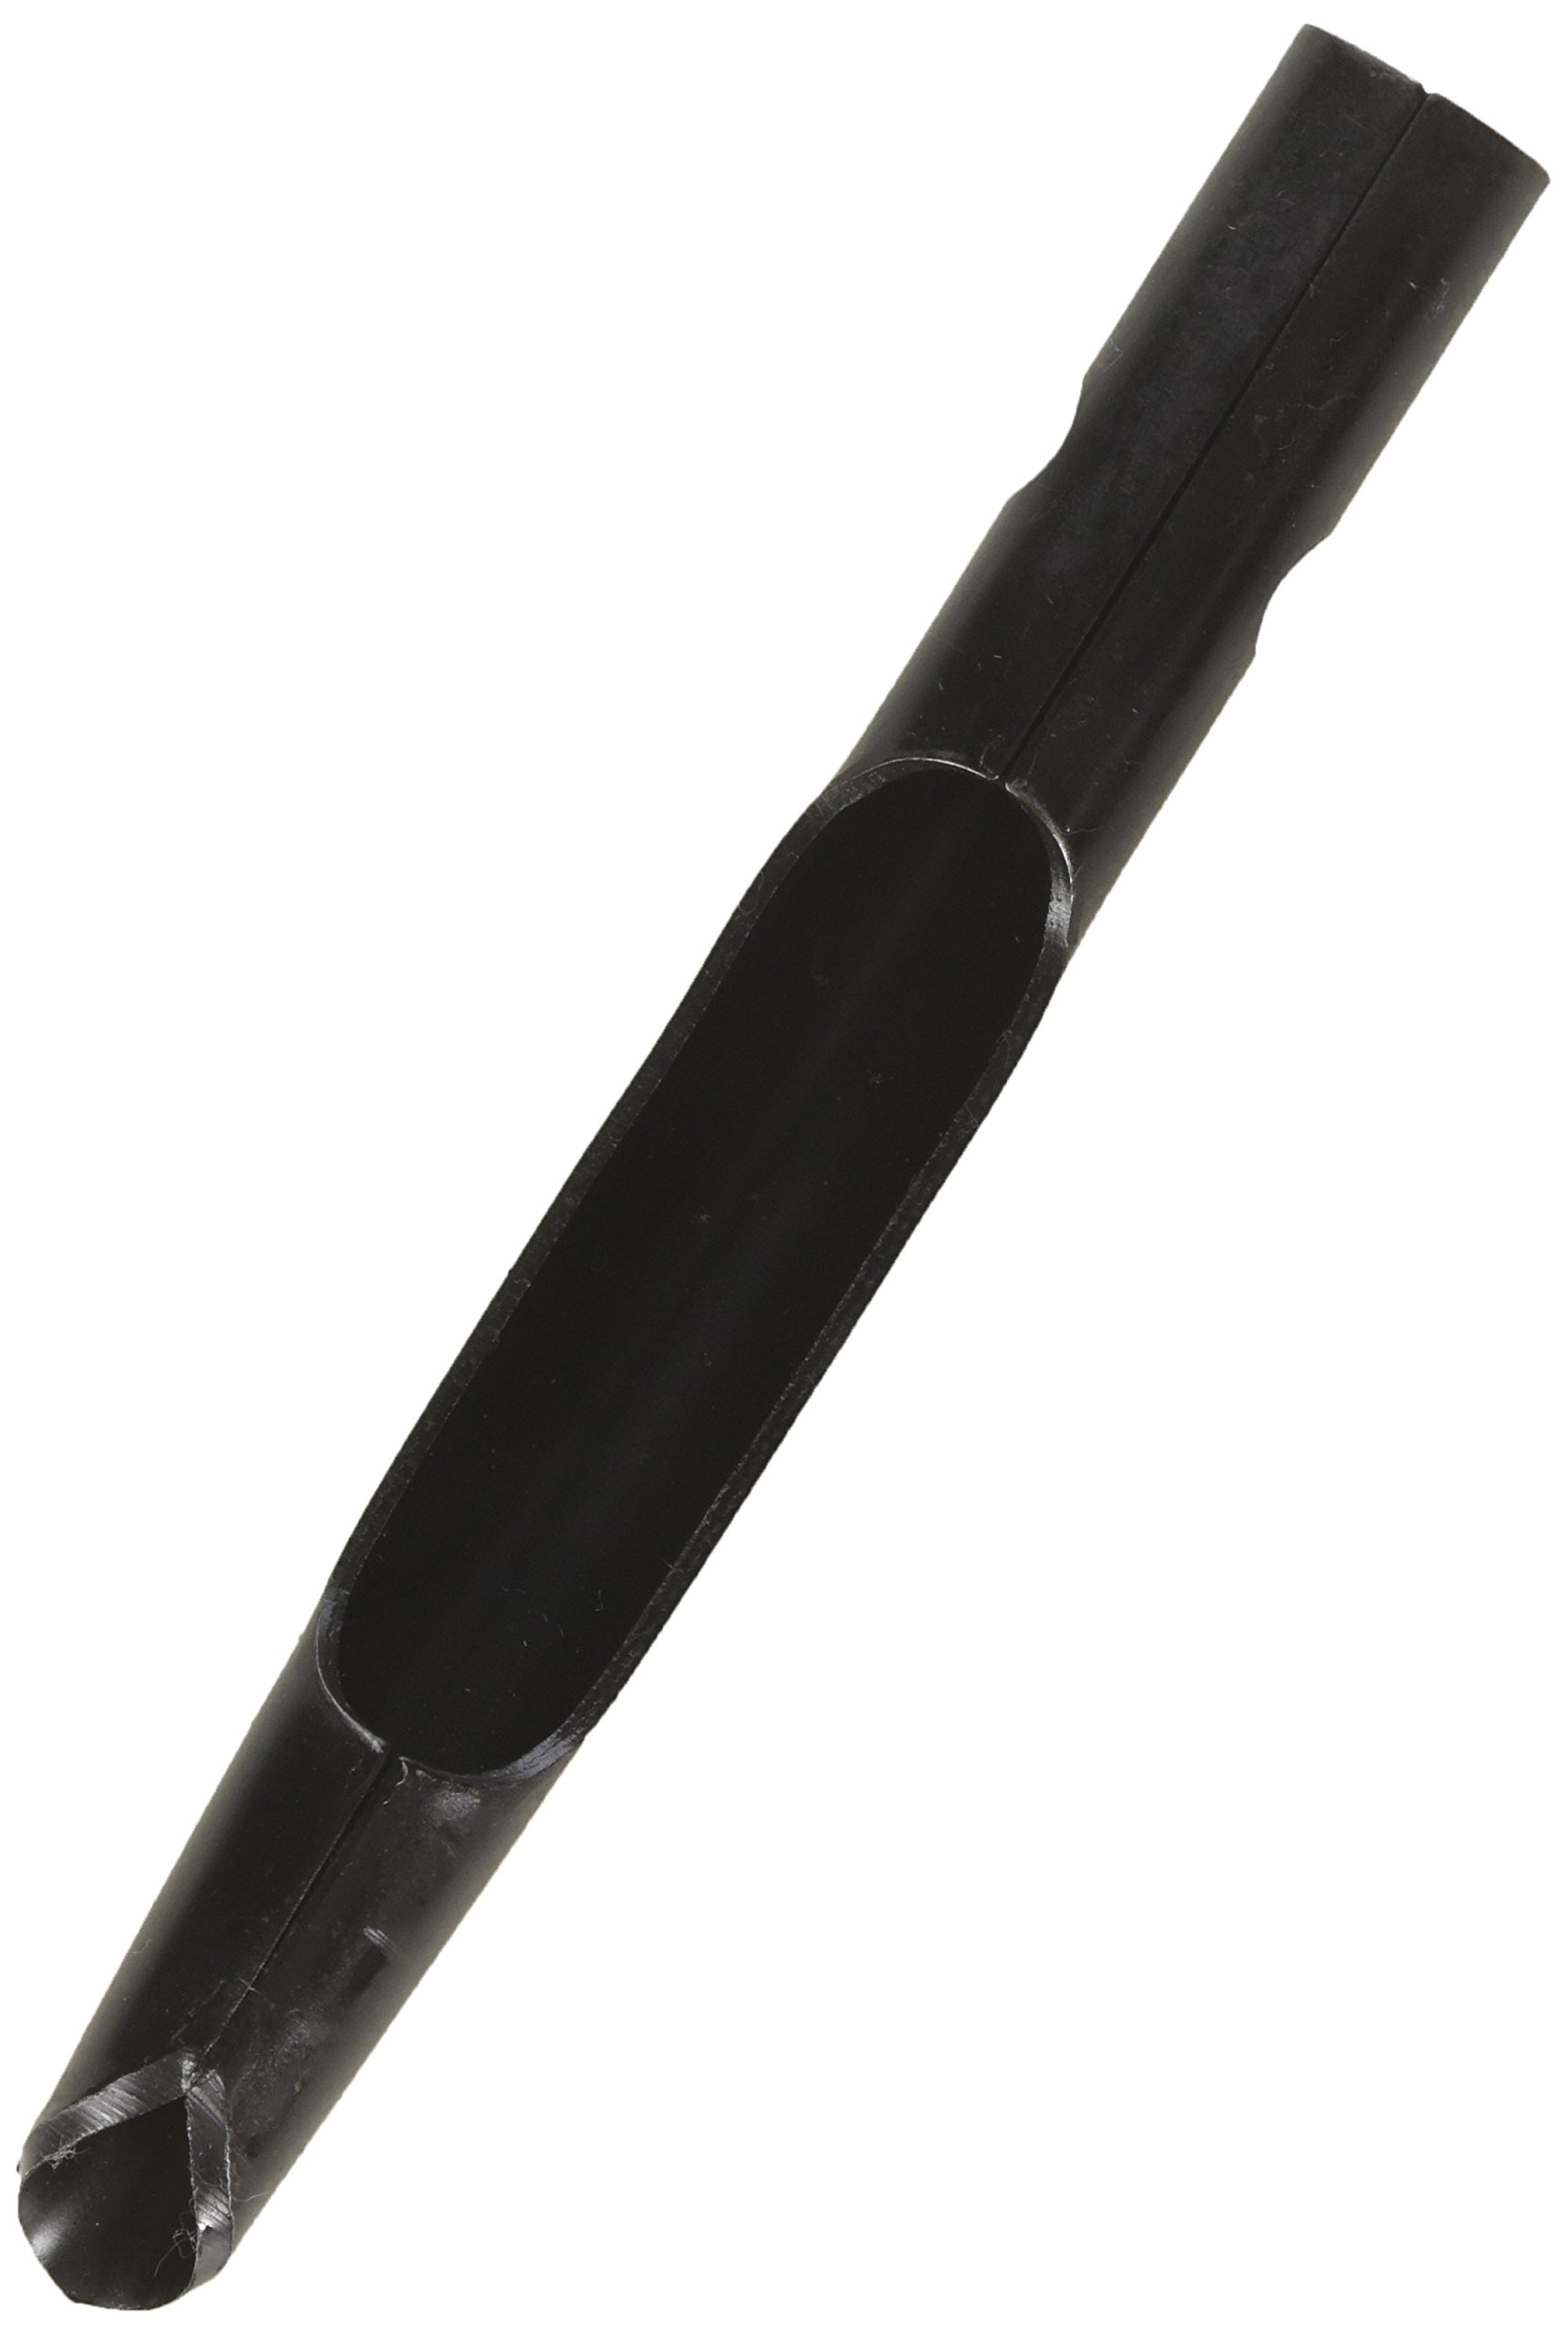
Image: The Oregon 89-001 Aerator Tine, shown with its approximate length of 8.1 inches (20 cm). This image illustrates the physical appearance and scale of the aerator tine.
Pengaturan dan Instalasi
Keselamatan adalah yang utama: Always ensure your aerator equipment is turned off, disconnected from any power source, and secured to prevent accidental startup before beginning any installation or maintenance. Wear appropriate personal protective equipment, such as gloves and eye protection.
- Identify Worn Tine: Locate the aerator tine(s) that require replacement on your equipment.
- Remove Old Tine: Depending on your aerator model, the old tine may be bolted, pinned, or welded in place. Carefully remove any fasteners or cut away the old tine if it is welded. Refer to your aerator's specific manual for detailed removal instructions.
- Mempersiapkan untuk Instalasi: Clean the mounting area on your aerator to ensure a secure fit for the new tine.
- Install New Tine: Position the Oregon 89-001 Aerator Tine in the designated mounting location. Secure it using appropriate fasteners (bolts, pins, or welding, as per your aerator's design). Ensure all connections are tight and secure.
- Verifikasi Kecocokan: After installation, manually check that the new tine is firmly attached and moves freely as intended without obstruction.
Pengoperasian
The Oregon 89-001 Aerator Tine functions as an integral part of your lawn aerator. Once properly installed, it will perform its core-sampling duty as the aerator is operated according to its manufacturer's instructions. Ensure the tine is free from debris before and during operation to maintain efficiency.
Pemeliharaan
Regular maintenance of your aerator tines will extend their lifespan and ensure effective lawn aeration.
- Pembersihan: After each use, clean soil and debris from the tines. This prevents buildup that can hinder performance and cause premature wear.
- Inspeksi: Periodically inspect tines for signs of wear, bending, or damage. Replace any tines that show significant wear or damage to maintain aeration quality and prevent potential damage to the aerator.
- Penyimpanan: Store aerator tines in a dry environment to prevent rust and corrosion, especially during off-season periods.
Penyelesaian Masalah
If you experience issues with your aerator tines, consider the following:
- Poor Soil Penetration: Ensure the soil is adequately moist before aeration. Dry, hard soil can prevent tines from penetrating effectively. Check tines for excessive wear or damage.
- Tine Clogging: Excessive moisture or certain soil types can cause tines to clog. Clean tines regularly during operation if clogging occurs.
- Kebisingan/Getaran yang Tidak Biasa: Inspect all tines for proper attachment and ensure no foreign objects are caught in the aerator mechanism.
Spesifikasi
| Nomor Model | Nomor telepon 89-001 |
| Merek | Negara Bagian Oregon |
| Menggantikan Nomor Bagian OEM | Bluebird 7190, Ryan 522361 |
| Jenis Tine | 1/2" Closed Spoon |
| Bahan | Kuningan |
| Dimensi Produk | 1.45x9.05x1.35 inci |
| Berat Barang | 5.6 ons |
| UPC | 032488890019 |
Garansi dan Dukungan
For specific warranty information regarding the Oregon 89-001 Aerator Tine, please refer to the official Oregon product documentation or contact Oregon customer support directly. As a replacement part, its warranty may be subject to the terms and conditions of the original equipment manufacturer or Oregon's replacement parts policy.
For further assistance or inquiries, please visit the official Oregon websitus atau hubungi departemen layanan pelanggan mereka.


