Perkenalan
This manual provides detailed instructions for the proper application and care of your Disney RideMakerz Cars 2 Lightning McQueen decals. Please read this guide thoroughly before beginning the application process to ensure optimal results and longevity of your decals.
Produk Selesaiview
The Disney RideMakerz Cars 2 Lightning McQueen decals are designed for customizing various surfaces, such as toy cars or other smooth objects. These decals feature designs inspired by the Cars 2 World Grand Prix Lightning McQueen character, allowing for personalized decoration.
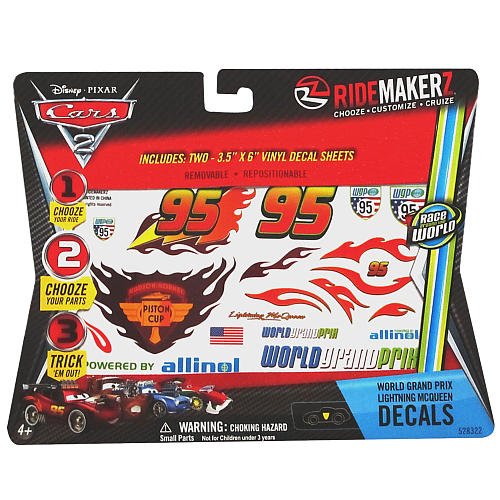
Gambar 1: Example of Disney RideMakerz Cars 2 Lightning McQueen decal sheets. This image displays two sheets of various stickers, including the number '95', flame patterns, and other decorative elements, intended for customizing toy vehicles.
Informasi Keselamatan
- Pengawasan Orang Dewasa: Recommended for children under 8 years of age.
- Bahaya Tersedak: Small parts may be present. Keep away from young children who may put objects in their mouth.
- Permukaan Aplikasi: Ensure the application surface is clean and dry to prevent accidental ingestion of dirt or debris.
Isi Paket
Paket Anda harus berisi item berikut:
- RideMakerz Cars 2 World Grand Prix Lightning McQueen Decal Sheets (typically 2 sheets)
Pengaturan dan Persiapan
- Choose Your Surface: Select a clean, smooth, and dry surface for decal application. Ideal surfaces include plastic, metal, or glass.
- Bersihkan Permukaan: Use a mild cleaner or rubbing alcohol to thoroughly clean the application area. This removes dust, grease, and fingerprints, ensuring optimal adhesion. Allow the surface to dry completely before proceeding.
- Gather Tools (Optional): While not strictly necessary, a small, soft cloth or a plastic squeegee can be helpful for smoothing out decals and removing air bubbles.
Petunjuk Aplikasi
Follow these steps to apply your decals:
- Rencanakan Desain Anda: Before peeling, arrange the decals on your chosen surface to visualize the final layout. This helps prevent misplacement.
- Peel the Decal: Carefully peel one decal from its backing sheet. Avoid touching the adhesive side with your fingers as much as possible to maintain stickiness.
- Posisi dan Lamaran: Gently place the decal onto the desired surface. Once positioned, press down firmly from the center outwards.
- Menghaluskan Gelembung: Using your finger, a soft cloth, or a plastic squeegee, gently smooth out any air bubbles. Work from the center of the decal towards its edges. If a bubble persists, you may carefully lift a small section of the decal and reapply, or gently prick the bubble with a fine needle and smooth it down.
- Mengulang: Continue with remaining decals until your customization is complete.
- Pencetakan Akhir: After all decals are applied, gently press over them one last time to ensure full adhesion.
Perawatan dan Pemeliharaan
- Pembersihan: If the decorated item needs cleaning, gently wipe the surface with a damp, soft cloth. Avoid harsh chemicals or abrasive cleaners, as these can damage the decals.
- Hindari Kondisi Ekstrim: Prolonged exposure to direct sunlight, extreme heat, or cold may affect the decal's adhesion and appearance over time.
- Pemindahan: Decals are generally designed for single use. Attempting to remove and reapply them may result in damage to the decal or reduced adhesion.
Penyelesaian Masalah
| Masalah | Kemungkinan Penyebab | Larutan |
|---|---|---|
| Decal not sticking properly | Surface was not clean or dry; adhesive touched too much during handling. | Ensure surface is thoroughly cleaned and dried before application. Minimize touching the adhesive side. For existing decals, firmly press down again. |
| Air bubbles under decal | Air trapped during application. | Gently smooth from the center outwards with a soft cloth or squeegee. For stubborn bubbles, carefully prick with a fine needle and smooth. |
| Decal peeling at edges | Insufficient pressure during application; edge not fully adhered. | Press down firmly on the edges. Ensure the surface is smooth and free of texture where the decal is applied. |
Spesifikasi
- Nomor Model: 528322
- Dimensi Produk: 7.8 x 6.4 x 0.1 inci (L x W x H)
- Berat Barang: 1.76 ons
- Bahan: Plastik
- Usia yang Direkomendasikan: 4 tahun ke atas
- Rekomendasi Permukaan: Window (suitable for other smooth, clean surfaces)
- Dapat digunakan kembali: Penggunaan Tunggal
Garansi dan Dukungan
This product is designed for its intended purpose as described. For any questions regarding product application or issues, please refer to the retailer or manufacturer's customer support channels. Specific warranty information may be available from your point of purchase.