1. Produk Lebihview
The Lutron Maestro MS-OPS6M2N-DV-WH is an advanced occupancy/vacancy sensor switch designed to automatically control lighting in a room. This device utilizes passive infrared (PIR) technology to detect human motion and presence, ensuring lights are only on when needed. It combines the functionality of a standard light switch with an integrated motion sensor, offering convenience and energy savings.
Fitur Utama:
- Passive infrared motion detection with Lutron XCT technology for fine motion sensing.
- 180-degree sensor field-of-view for comprehensive room coverage.
- Requires a neutral wire for installation.
- Occupancy version supports both auto-on/auto-off and manual-on/auto-off modes.
- Vacancy version is available to comply with CA Title 24 requirements.
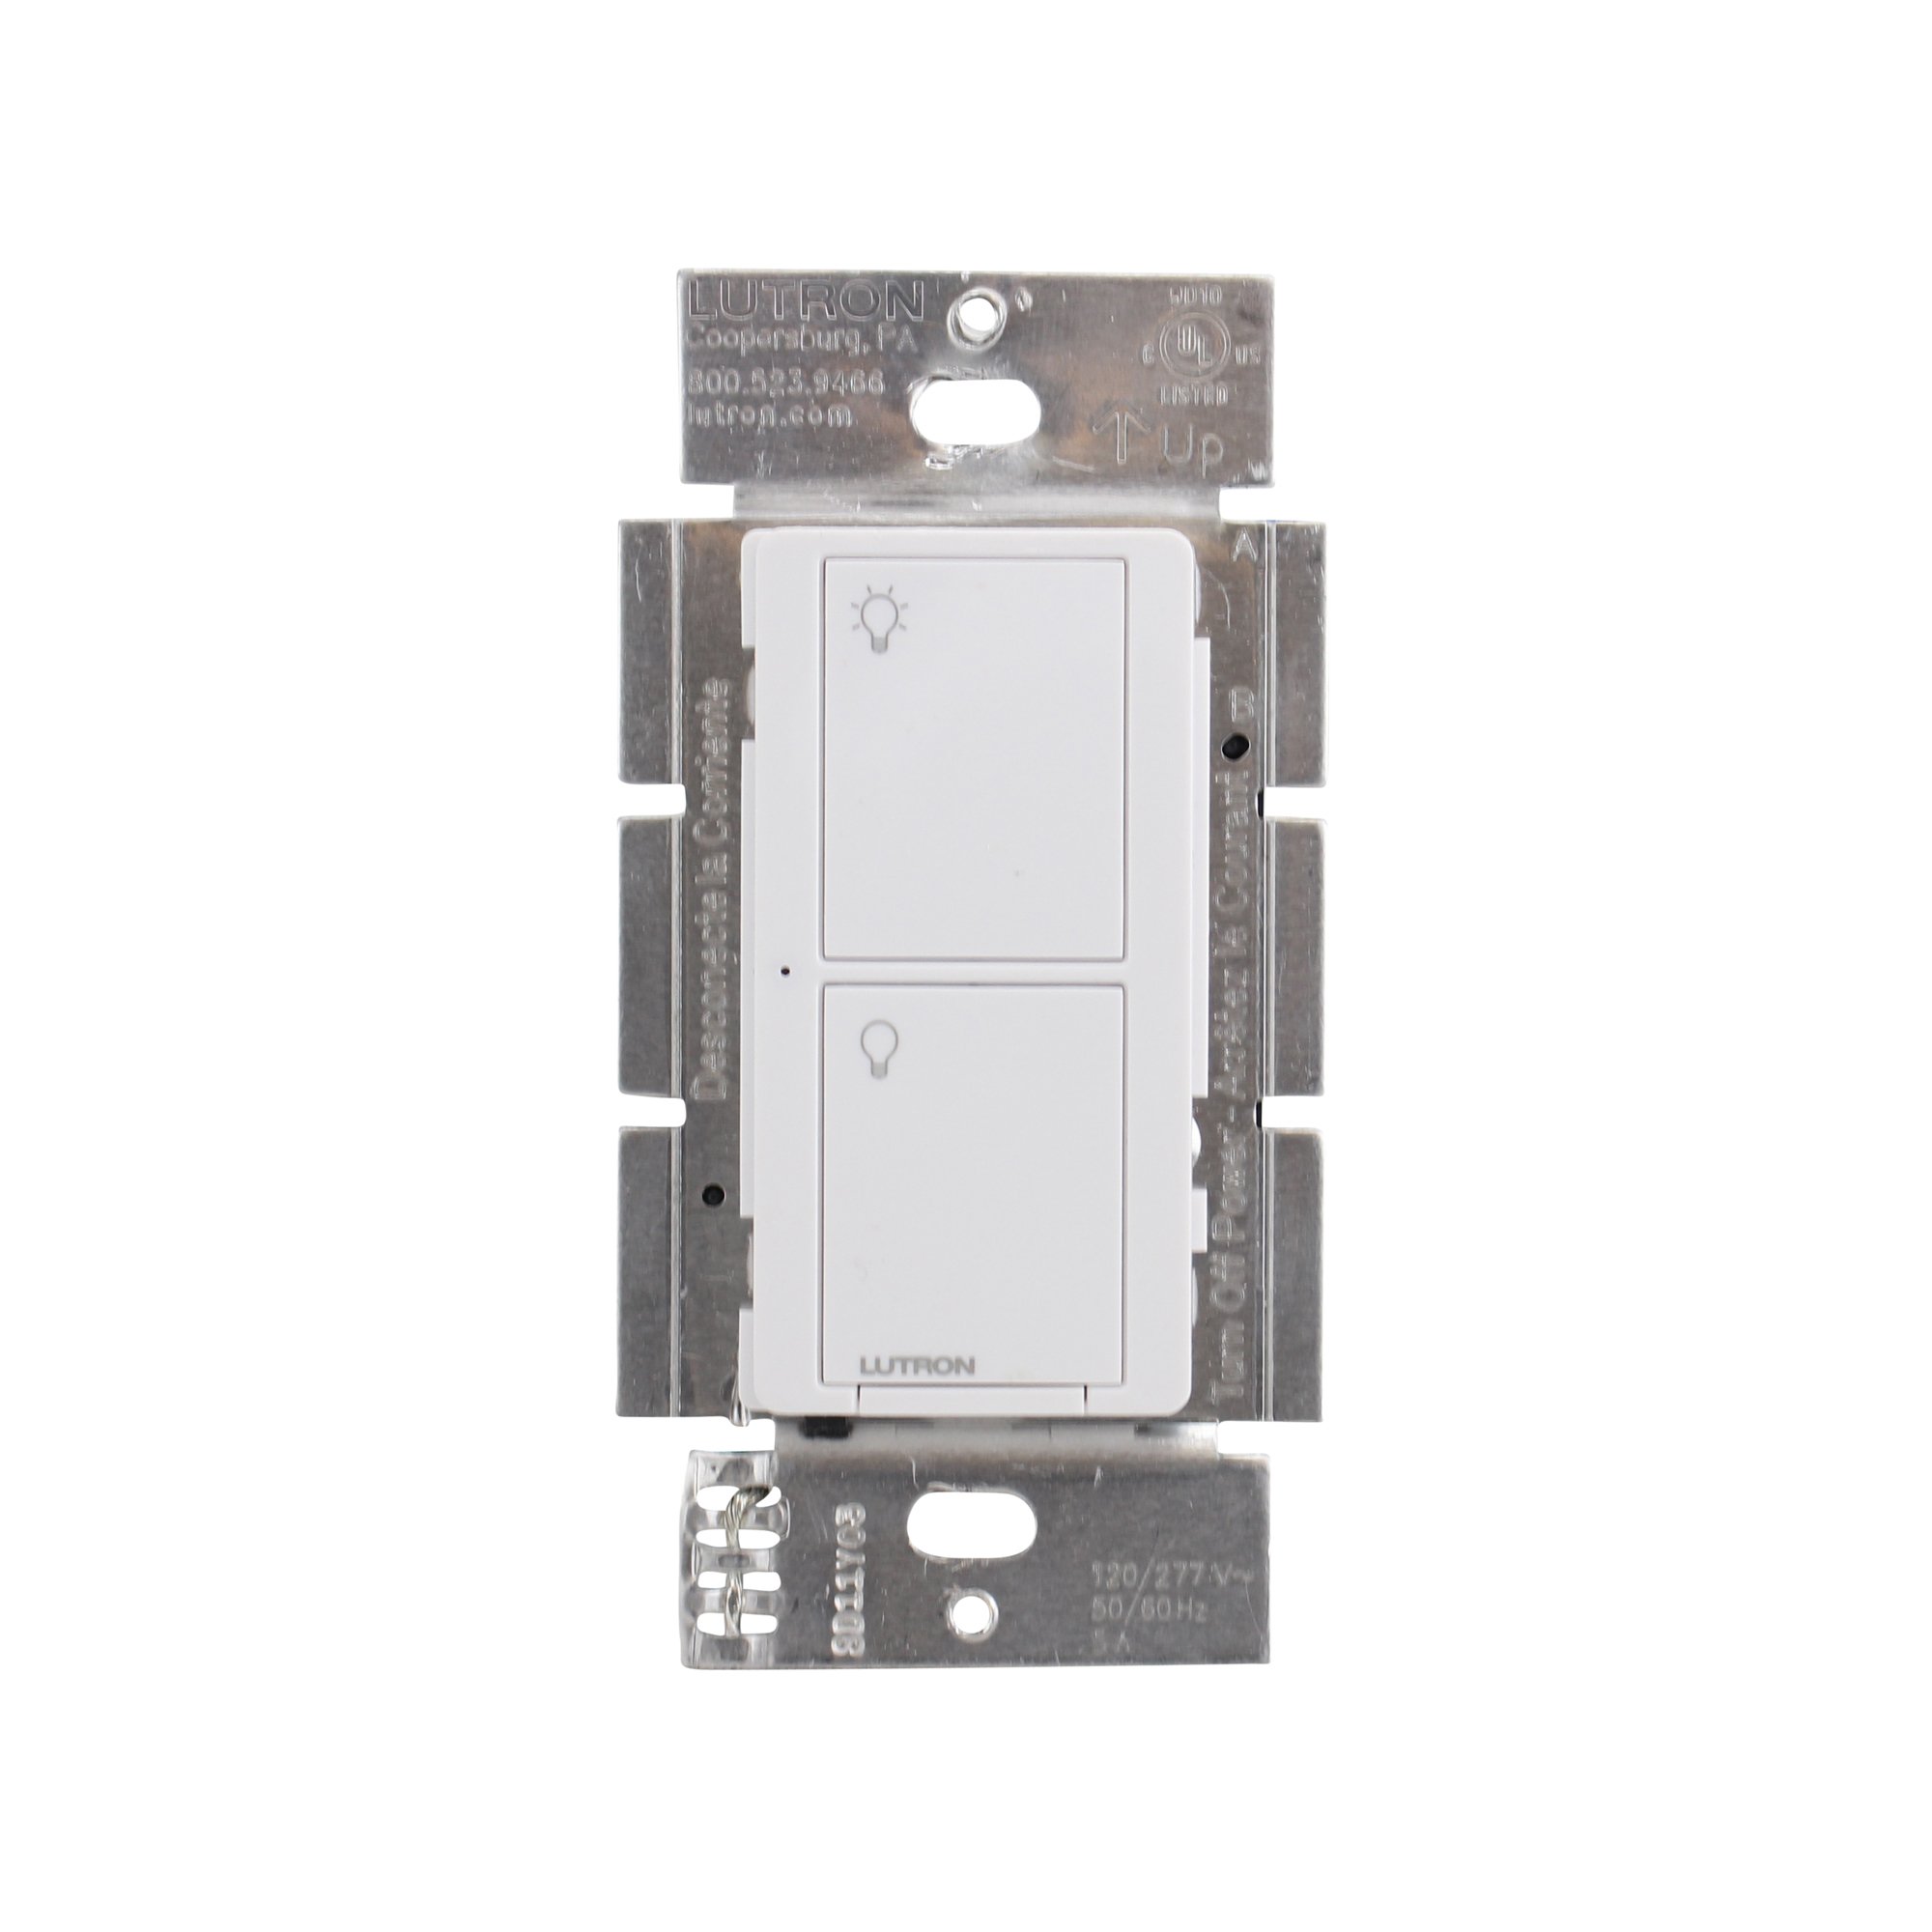
Gambar 1: Depan view of the Lutron Maestro MS-OPS6M2N-DV-WH sensor switch.
2. Pengaturan dan Instalasi
Informasi Keselamatan Penting: Before beginning installation, turn off power at the circuit breaker or fuse box. Incorrect installation can lead to electrical shock or fire. If you are unsure about any part of these instructions, consult a qualified electrician.
Alat yang dibutuhkan: Screwdriver (Phillips and flathead), wire strippers, electrical tape.
2.1 Petunjuk Pengkabelan
- Matikan Daya: Temukan pemutus sirkuit yang mengontrol sakelar yang akan Anda ganti dan matikan. Pastikan daya telah mati menggunakan voltmeter.tage penguji.
- Hapus Sakelar yang Ada: Lepaskan pelat dinding dengan hati-hati dan cabut sakelar yang ada dari kotak dinding. Lepaskan kabel dari sakelar lama.
- Identifikasi Kabel:
- Hot (Line) Wire: Typically black, brings power from the circuit breaker.
- Beban Kawat: Typically black, connects to the light fixture.
- Kabel Netral: Typically white, required for this switch.
- Kabel tanah: Biasanya tembaga polos atau berwarna hijau.
Note: If you are replacing a 3-way switch, you will also have traveler wires. This model supports 3-way circuits. Refer to the detailed wiring diagram for 3-way installations.
- Connect Wires to Maestro Switch:
- Hubungkan kabel tanah from the wall box to the green ground wire on the Maestro switch.
- Hubungkan kabel netral from the wall box to the white neutral wire on the Maestro switch.
- Hubungkan hot (line) wire Dan load wire from the wall box to the two black wires on the Maestro switch. If the light does not function correctly, swap these two black wires.
- For 3-way applications, connect the traveler wires as per the specific 3-way wiring diagram provided with the product packaging.
- Sakelar Aman: Carefully push the wired switch into the wall box, ensuring wires are not pinched. Screw the switch into place.
- Pasang Pelat Dinding: Pasang pelat dinding dekoratif.
- Pulihkan Daya: Nyalakan kembali aliran listrik di pemutus sirkuit.

Gambar 2: Contohample wiring diagram for a single-pole installation. Consult the included manual for 3-way wiring.
3. Petunjuk Pengoperasian
The Maestro sensor switch offers flexible operation modes to suit various needs.
3.1 Mode Operasi
- Occupancy Mode (Auto-On/Auto-Off): In this mode, the lights automatically turn ON when motion is detected and automatically turn OFF after a set time delay when no motion is detected. This is ideal for high-traffic areas where hands-free operation is desired.
- Vacancy Mode (Manual-On/Auto-Off): In this mode, the lights must be manually turned ON by pressing the switch button. They will then automatically turn OFF after a set time delay when no motion is detected. This mode is often used to meet energy codes and provides more control over when lights are initially activated.
3.2 Menyesuaikan Pengaturan
The Maestro sensor switch typically has small buttons or dip switches behind the wall plate for adjusting settings such as:
- Waktu Tunda: How long the lights remain on after the last detected motion (e.g., 1, 5, 15, 30 minutes).
- Kepekaan: The level of motion required to trigger the sensor.
- Mode Operasi: Switching between Occupancy (Auto-On) and Vacancy (Manual-On) modes.
Refer to the detailed instructions included with your product for specific steps on how to access and adjust these settings.
4. Pemeliharaan
The Lutron Maestro sensor switch requires minimal maintenance to ensure optimal performance.
- Pembersihan: To clean the surface of the switch, use a soft, damp Gunakan kain. Jangan gunakan pembersih abrasif, pelarut, atau bahan kimia keras, karena dapat merusak lapisan akhir atau komponen internal.
- Penghalang Sensor: Ensure the sensor lens is not obstructed by furniture, curtains, or other objects that could block its field of view. A clear path to the sensor is crucial for accurate motion detection.
- Akumulasi Debu: Periodically wipe the sensor lens to prevent dust accumulation, which can reduce sensitivity.
5. Penyelesaian masalah
If you encounter issues with your Maestro sensor switch, refer to the following common troubleshooting steps:
- Lights do not turn ON automatically (Occupancy Mode):
- Verify the sensor's field of view tidak terhalang.
- Check the sensitivity setting; it might be too low.
- Ensure the switch is in Occupancy (Auto-On) mode.
- Confirm power is supplied to the switch.
- Lights do not turn OFF:
- Ensure there is no continuous motion within the sensor's range.
- Check the time delay setting; it might be set too long.
- Verify the switch is correctly wired, especially the load wire.
- Lampu berkedip atau berperilaku tidak menentu:
- Confirm that a neutral wire is properly connected. This switch requires a neutral wire for stable operation.
- Pastikan semua sambungan kabel aman.
- If in a 3-way setup, ensure compatible companion switches are used and wired correctly.
- Switch is unresponsive:
- Turn off power at the circuit breaker for 15 seconds, then restore power. This can reset the switch.
- Periksa semua sambungan kabel untuk memastikan tidak ada yang longgar atau terpasang dengan tidak benar.
If these steps do not resolve the issue, contact Lutron customer support for further assistance.
6. Spesifikasi
| Fitur | Detil |
|---|---|
| Nomor Model | MS-OPS6M2N-DV-WH |
| Merek | Lutron |
| Mode Operasi | Secara otomatis |
| Jenis Kontak | Biasanya Terbuka |
| Jenis Konektor | Terminal Sekrup |
| Terminal | Baut |
| Dimensi Barang (P x L x T) | 2.2x2.2x4.5 inci |
| Jenis Sirkuit | 3 arah |
| Jenis Aktuator | Tombol Tekan |
| Bahan Kontak | Tembaga |
| Penilaian Perlindungan Internasional | Tingkat IP54 |
| Metode Kontrol | Menyentuh |
| Protokol Konektivitas | Inframerah |
| Warna | Putih |
| Berat Barang | 3.52 ons |
| Diperlukan Kabel Netral | Ya |
7. Video Produk
7.1 Lutron Maestro Sensor Switch Overview
Video 1: Sebuah overview of the Lutron Maestro sensor switch features and benefits. This video provides a general introduction to the product's capabilities.
7.2 Advanced Features and Configuration
Video 2: A detailed look into the advanced features and configuration options of the Lutron Maestro sensor switch, including setting adjustments.
8. Informasi Garansi
Lutron products typically come with a limited warranty covering defects in materials and workmanship. For specific warranty terms and conditions applicable to your MS-OPS6M2N-DV-WH sensor switch, please refer to the warranty card included in the product packaging or visit the official Lutron websitus. Simpan bukti pembelian Anda untuk klaim garansi.
9. Dukungan Pelanggan
For technical assistance, troubleshooting, or product inquiries, please contact Lutron customer support. You can find contact information on the official Lutron websitus web atau dalam dokumentasi produk.
Sumber Daya Daring:
- Kunjungi situs resminya Lutron Store on Amazon untuk lebih banyak produk dan informasi.
- Refer to the comprehensive FAQs and support documents available on the Lutron corporate weblokasi.


