1. Pendahuluan
This manual provides essential information for the safe and efficient operation of your InFocus IN112a SVGA DLP Projector. Please read it thoroughly before using the projector and retain it for future reference. The InFocus IN112a is designed to deliver clear and bright projections for various applications, featuring SVGA resolution, HDMI connectivity, and 3D support.
2. Informasi Keselamatan
Perhatikan langkah-langkah keselamatan berikut untuk mencegah kerusakan pada proyektor dan memastikan keselamatan pengguna:
- Do not look directly into the projector lens ketika lamp sedang menyala. Cahaya yang sangat terang dapat menyebabkan kerusakan mata.
- Pastikan ventilasi yang baik. Jangan halangi lubang ventilasi.
- Only qualified service personnel should open the projector casing. Tidak ada bagian dalam yang dapat diservis pengguna.
- Gunakan hanya kabel daya yang disediakan bersama proyektor.
- Jauhkan proyektor dari air atau lingkungan lembap.
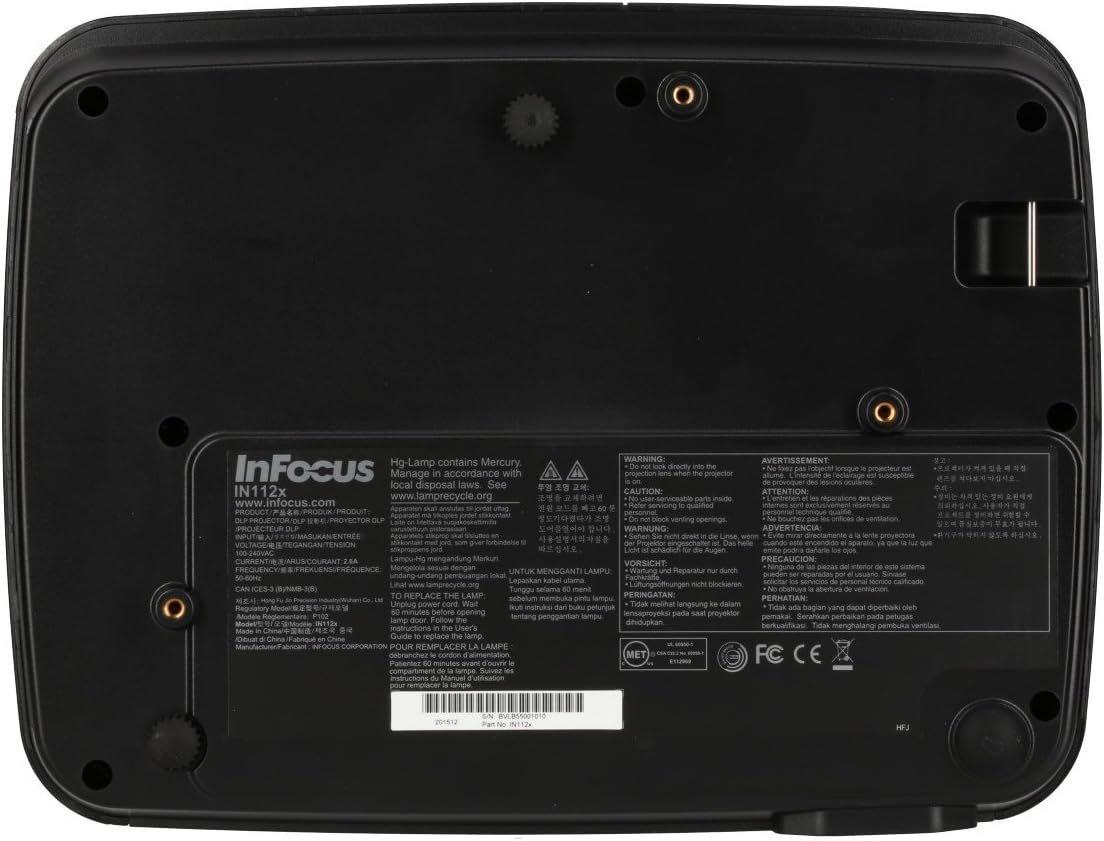
- Proyektor lamp mengandung merkuri. Buanglah lamps according to local regulations. Visit www.lampdaur ulang.org untuk informasi lebih lanjut.

Gambar: Bawah view of the InFocus IN112a projector, displaying various warning labels, regulatory compliance marks (like CE, FCC), and information regarding the mercury content in the lamp and recycling instructions.
3. Produk Lebihview
3.1. Projector Dimensions

Gambar: Depan view of the InFocus IN112a projector, illustrating its physical dimensions. The projector measures approximately 292 mm in width, 220 mm in depth, and 108 mm in height.
3.2. Kontrol Panel Atas
Gambar: Atas view of the InFocus IN112a projector, highlighting the control panel. This panel includes buttons for power, menu access, source selection, and directional navigation for menu adjustments.
The top panel features buttons for power on/off, menu access, input source selection, and navigation arrows for adjusting settings within the on-screen display (OSD) menu. The focus and zoom rings are located near the lens.
3.3. Koneksi Panel Belakang

Gambar: Belakang view of the InFocus IN112a projector, displaying its comprehensive array of connectivity ports. These include HDMI 1.4, two VGA inputs (Computer 1, Computer 2), a VGA monitor output, S-Video, Composite video, two 3.5mm stereo audio inputs, one 3.5mm stereo audio output, an RS232C control port, and a USB-B port.
The rear panel provides a variety of connection options:
- HDMI1.4: Untuk masukan video dan audio digital.
- VGA (Computer 1, Computer 2): Two inputs for analog computer signals.
- VGA Monitor Out: Untuk menghubungkan monitor eksternal.
- Video Komposit: Untuk masukan video definisi standar.
- S-Video: For enhanced standard definition video input.
- Audio In (3.5mm x 2): For stereo audio input.
- Keluaran Audio (3.5mm): For stereo audio output to external speakers.
- RS232C: Untuk mengontrol proyektor melalui komputer atau sistem kontrol.
- USB-B: Untuk layanan atau pembaruan firmware.
4. Pengaturan
4.1. Penempatan
Position the projector on a stable, flat surface or mount it securely to a ceiling. Ensure there is adequate space around the projector for ventilation. The distance from the screen will determine the image size. Refer to the specifications section for throw ratio details.
4.2. Menghubungkan Daya
Connect the supplied power cord to the projector's power inlet and then to a grounded electrical outlet. The power LED will illuminate, indicating standby mode.
4.3. Menghubungkan Sumber Video
Connect your video source (e.g., computer, Blu-ray player, cable box) to the appropriate input port on the projector's rear panel using a compatible cable. For best quality, use the HDMI input.
- HDMI: Connect an HDMI cable from your source to the projector's HDMI port.
- VGA: Connect a VGA cable from your computer to either the Computer 1 or Computer 2 port.
- Composite/S-Video: Connect the respective cable for older video sources.
4.4. Menghubungkan Audio
If using VGA, Composite, or S-Video inputs, connect an audio cable from your source's audio output to one of the projector's 3.5mm Audio In ports. HDMI carries both video and audio, so a separate audio connection is not typically needed for HDMI sources.
4.5. Adjusting Focus and Zoom
After powering on the projector and displaying an image, rotate the Cincin fokus around the lens until the image is sharp and clear. Use the Cincin pembesar to adjust the image size to fit your screen.
5. Operasi
5.1. Menghidupkan/Mematikan
- Untuk menghidupkan: Press the Power button on the projector's top panel or the remote control. The power indicator will turn green.
- Untuk mematikan: Press the Power button twice. The projector will enter a cooling cycle, and the power indicator will turn red (standby) once complete.
5.2. Memilih Sumber Input
Press the "Source" button on the projector or remote control repeatedly to cycle through available input sources (HDMI, VGA1, VGA2, S-Video, Video). The projector will automatically detect an active signal if "Auto Source" is enabled in the menu.
5.3. Navigasi Menu
Press the "Menu" button to access the On-Screen Display (OSD) menu. Use the directional arrows to navigate through menu options and the "Enter" button to select. Press "Menu" again to exit.
5.4. 3D Content Playback
The IN112a supports 3D content from Blu-ray players, cable boxes, dish services (over HDMI), and PC-based 3D content at 120Hz. To view 3D content, you will need 144 Hz DLP Link 3D glasses (sold separately).
- Ensure your 3D source is connected via HDMI.
- Play 3D content from your source.
- Turn on your 144 Hz DLP Link 3D glasses. The projector should automatically detect the 3D signal.
6. Pemeliharaan
6.1. Cleaning the Projector Lens
Usap lensa secara perlahan menggunakan kain lembut bebas serat yang dirancang khusus untuk permukaan optik. Jangan gunakan pembersih abrasif atau tenaga berlebihan, karena dapat menggores lensa.
6.2. Lamp Penggantian
Proyektor lamp memiliki masa pakai hingga 10,000 jam. Ketika lamp life is nearing its end, a warning message may appear, or the lamp indicator LED may illuminate. Refer to the full service manual for detailed lamp petunjuk penggantian. Peringatan: Lamp mengandung merkuri. Buang cairan bekas pakaiamps according to local environmental regulations.
6.3. Membersihkan Filter Udara
Regularly clean the air filters to ensure proper ventilation and prevent overheating. Dust and debris can accumulate, reducing cooling efficiency. Gently remove the filter cover and clean the filter with a soft brush or vacuum cleaner. Replace the filter cover securely.
7. Penyelesaian masalah
| Masalah | Kemungkinan Penyebab | Larutan |
|---|---|---|
| Tidak ada gambar yang ditampilkan |
|
|
| Gambar buram |
|
|
| Tidak ada audio |
|
|
| Proyektor terlalu panas dan mati |
|
|
8. Spesifikasi
| Fitur | Detil |
|---|---|
| Nomor Model | DALAM112X |
| Teknologi Tampilan | Bahasa Indonesia: DLP |
| Resolusi Asli | SVGA (800x600) |
| Kecerahan | Sampai 3200 Lumens |
| Rasio Kontras | 15,000:1 |
| Lamp Kehidupan | Hingga 10,000 jam |
| Konektivitas | HDMI 1.4, VGA x 2, Composite video, S-Video, 3.5 mm stereo in x 2, 3.5mm stereo out, VGA monitor out, RS232C, USB-B |
| Dukungan 3D | Yes (requires 144 Hz DLP Link 3D glasses) |
| Rasio Lemparan | Nomor telepon 1.9 - 2.09 |
| Dimensi Produk | 14.25 x 12 x 7.75 inci (sekitar 36.2 x 30.5 x 19.7 cm) |
| Berat Barang | 5.4 pon (sekitar 2.45 kg) |
| Penggunaan yang Direkomendasikan | Dalam/Luar Ruangan |
| Fitur Khusus | Speaker internal |
9. Garansi dan Dukungan
For warranty information and technical support, please refer to the documentation included with your purchase or visit the official InFocus websitus. Simpan bukti pembelian Anda untuk klaim garansi.


