1. Pendahuluan
The Audio-Technica PRO24CM is a lightweight, compact stereo condenser microphone designed for digital recording with high-fidelity stereo sound. It is optimized for use with camcorders that feature an accessory shoe and a stereo microphone input. The microphone utilizes a pair of cardioid elements in an X-Y configuration to capture the spatial impact and realism of a live sound field.
This manual provides essential information for the proper setup, operation, and maintenance of your PRO24CM microphone.
2. Isi Paket
Verifikasi bahwa semua item berikut disertakan dalam paket Anda:
- PRO24CM Stereo Condenser Microphone with permanently attached 6-12 inch coiled cable and right-angle 3.5 mm stereo mini plug
- Video-camera shoe mount
- LR44 battery (1.5V)
- Kaca depan mobil
- Kantong pelindung lembut

Image: Included accessories for the PRO24CM microphone.
3. Pengaturan
3.1 Pemasangan Baterai
The PRO24CM can operate on a 1.5V LR44 battery or via plug-in power from your camcorder. If your camcorder does not provide plug-in power, battery installation is required.
- Locate the battery compartment on the microphone body.
- Bukalah kompartemen dengan hati-hati.
- Insert one LR44 battery, ensuring correct polarity (+/-).
- Tutup rapat tempat baterai.
Image: The LR44 battery for microphone power.
3.2 Memasang Mikrofon
The PRO24CM is designed to attach to a camcorder's accessory shoe.
- Slide the video-camera shoe mount onto your camcorder's accessory shoe.
- Secure the mount by tightening its locking mechanism.
- Insert the microphone into the shoe mount.
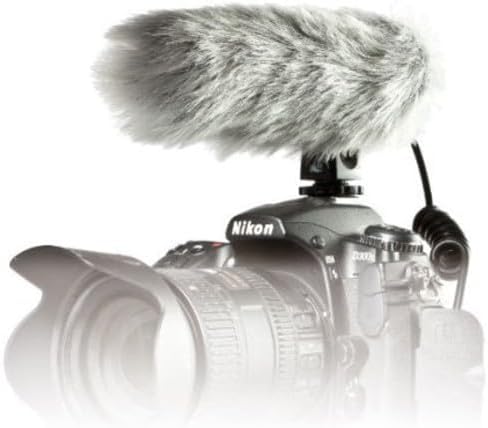
Image: PRO24CM microphone attached to a camcorder.
3.3 Connecting to a Camcorder
Connect the microphone to your camcorder's stereo microphone input.
- Locate the 3.5 mm stereo mini plug on the microphone's coiled cable.
- Insert the plug firmly into the microphone input jack on your camcorder.

Image: The PRO24CM microphone showing its coiled cable and 3.5mm connector.
3.4 Using the Windscreen
For outdoor recording or in windy conditions, attach the included windscreen to reduce wind noise and plosives.
- Gently slide the foam windscreen over the microphone's capsule.
- Ensure it fits snugly without obstructing the microphone elements.
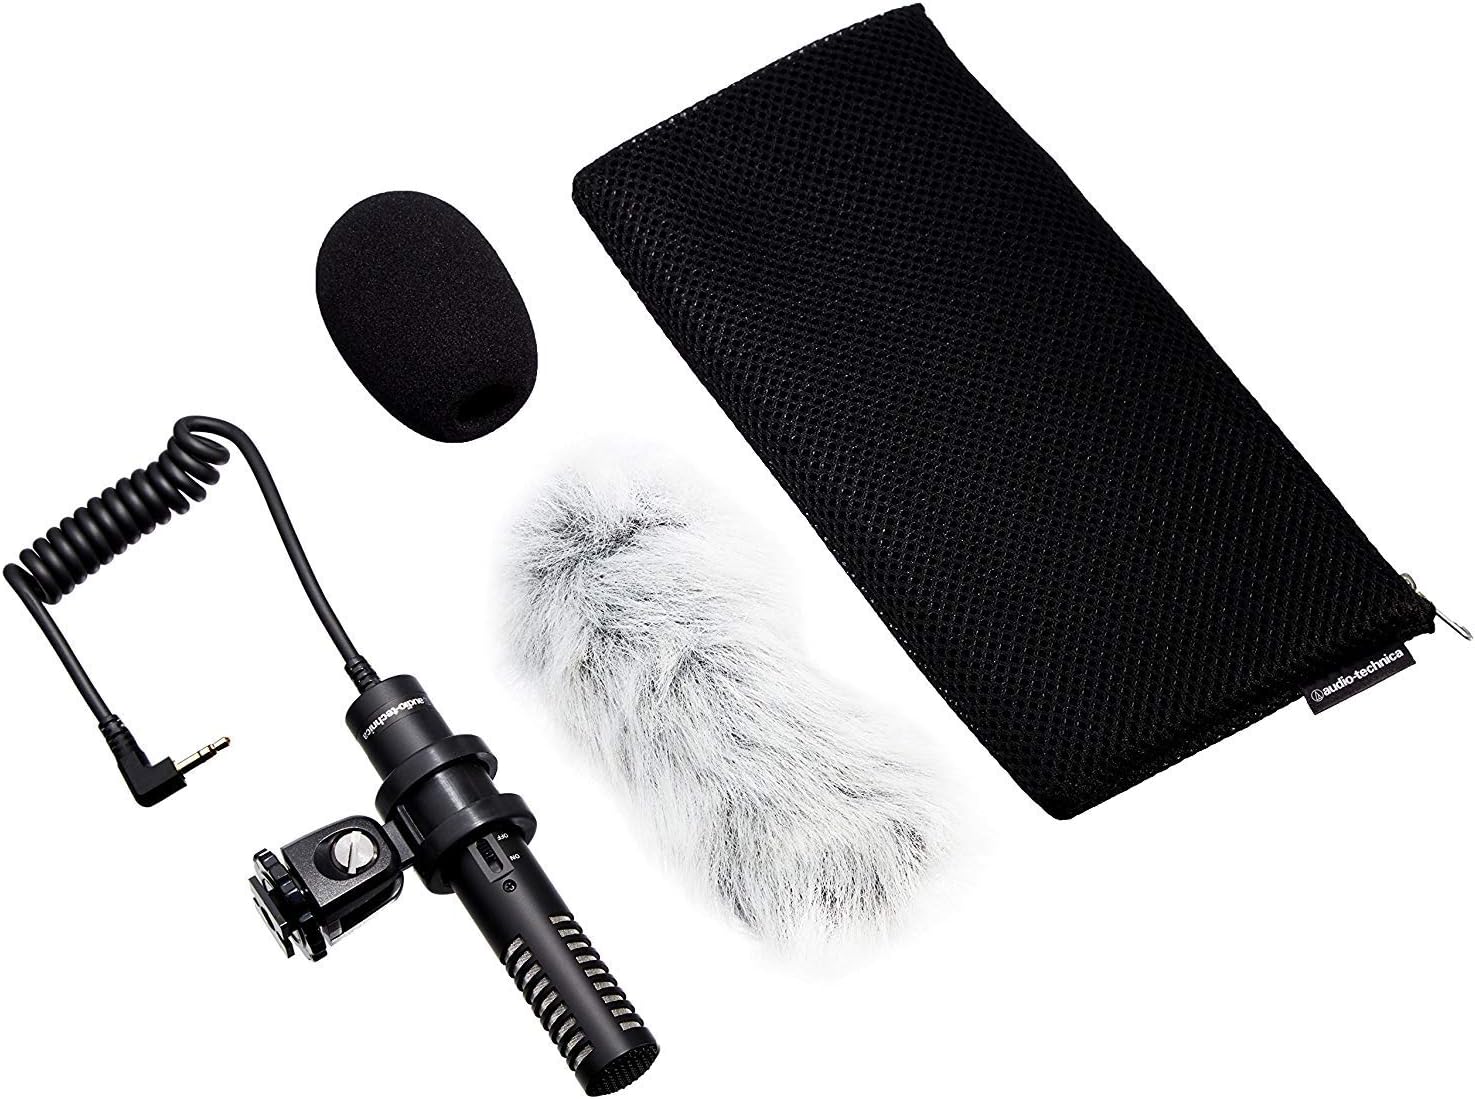
Image: PRO24CM microphone with windscreen and other accessories.
4. Operasi
4.1 Menghidupkan/Mematikan
The PRO24CM features an on/off switch for convenient operation.
- To turn the microphone ONGeser sakelar ke posisi "ON".
- To turn the microphone MATI, geser sakelar ke posisi "OFF".
When using plug-in power from your camcorder, the microphone will draw power directly from the camcorder, and battery operation is not required. However, it is still recommended to turn the microphone off when not in use to conserve battery life if a battery is installed.
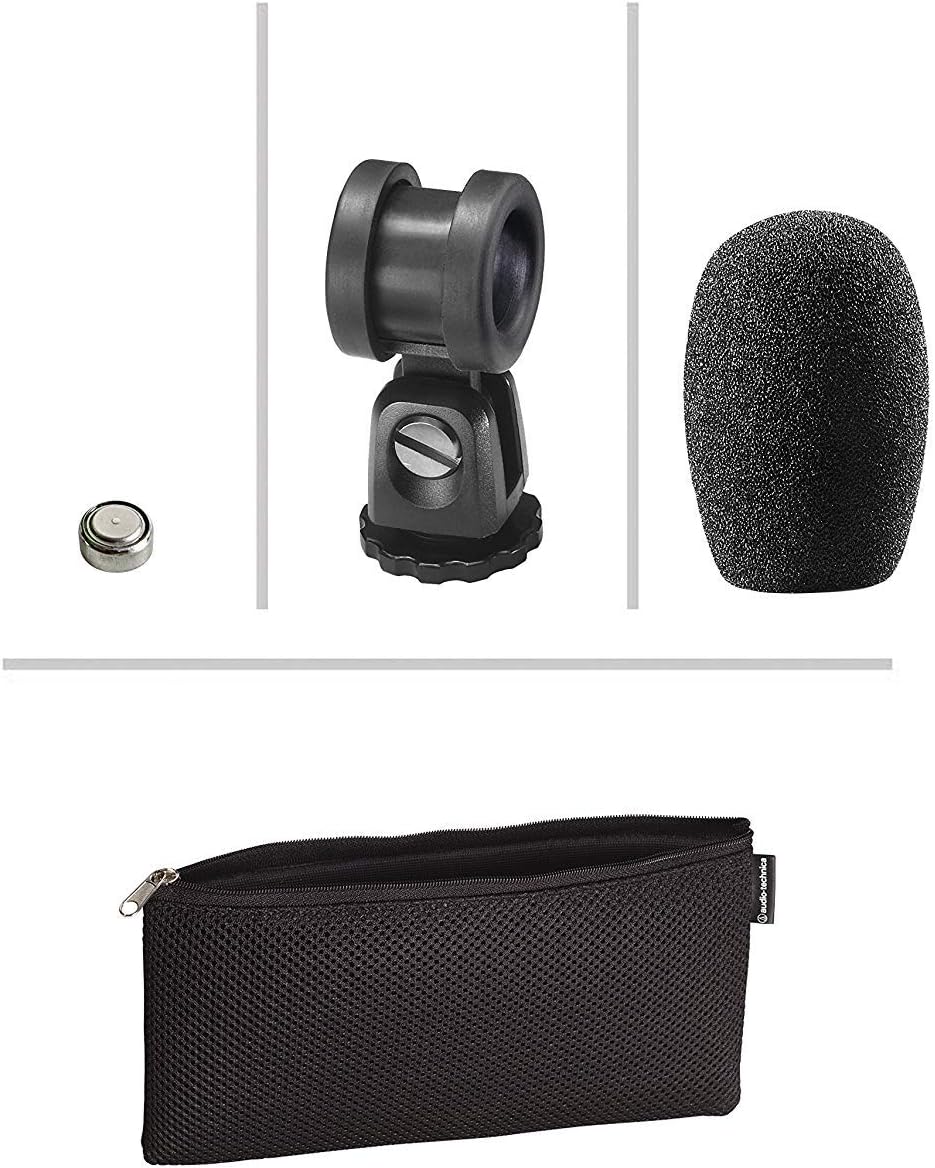
Image: The PRO24CM microphone with its on/off switch visible.
4.2 Recording Considerations
- Penempatan: Position the microphone to capture the desired sound source. The X-Y stereo configuration is designed to provide a natural stereo image.
- Pemantauan: Always monitor your audio through headphones connected to your camcorder to ensure optimal sound quality and to detect any unwanted noise.
- Tingkat Keuntungan: Adjust the input gain on your camcorder to prevent clipping (distortion) while ensuring a strong signal.
5. Pemeliharaan
- Pembersihan: Gunakan kain lembut dan kering untuk membersihkan badan mikrofon. Hindari penggunaan bahan kimia keras atau bahan abrasif.
- Penyimpanan: When not in use, store the microphone in its protective pouch to prevent dust and damage. Remove the battery if storing for extended periods to prevent leakage.
- Perawatan Kabel: Avoid sharp bends or kinks in the microphone cable.
6. Penyelesaian masalah
- Tidak ada suara:
- Ensure the microphone's on/off switch is in the "ON" position.
- Periksa apakah baterai terpasang dengan benar dan memiliki daya yang cukup. Ganti jika perlu.
- Verify the 3.5 mm plug is fully inserted into the camcorder's microphone input.
- Confirm the camcorder's audio input settings are correct and the input gain is not set to zero.
- Suara Terdistorsi:
- Reduce the input gain on your camcorder.
- Pastikan mikrofon tidak terlalu dekat dengan sumber suara, yang dapat menyebabkan kelebihan beban.
- Kebisingan Angin yang Berlebihan:
- Ensure the windscreen is properly installed.
- Consider using an additional furry wind muff for extreme conditions (not included).
7. Spesifikasi
| Fitur | Spesifikasi |
|---|---|
| Elemen | Pelat belakang muatan tetap kondensor terpolarisasi permanen |
| Pola Kutub | X/Y Stereo |
| Respon Frekuensi | Frekuensi 100-17,000Hz |
| Sensitivitas Sirkuit Terbuka | -50 dB (3.1 mV) kembali 1V pada 1 Pa |
| Impedansi | 600 ohm |
| Level Suara Masukan Maksimum | 119 dB SPL, 1 kHz pada 1% THD |
| Dynamic Range (typical) | 82 dB, 1 kHz pada SPL Maks |
| Signal-to-Noise Ratio | 57 dB, 1 kHz pada 1 Pa |
| Persyaratan Daya | 2-10V DC plug-in power or 1.5V LR44 battery |
| Jenis Baterai | Tegangan LR1.5 44V |
| Baterai Saat Ini / Hidup | 0.6 mA / 200 hours typical |
| Mengalihkan | Aktif/nonaktif |
| Berat | 3.9 oz (111 g) / 120 Grams |
| Dimensions (L x Max Body Dia.) | 4.59" (116.5 mm) long, 0.83" (21.0 mm) maximum body diameter |
| Konektor Output | 3.5 mm stereo mini plug on cable |
| Kabel | Permanently attached 152.4 mm - 304.8 mm (6"-12") coiled cable with right-angle molded 3.5 mm stereo mini-plug |
8. Informasi Keselamatan
- Jangan biarkan mikrofon terkena suhu ekstrem, kelembapan, atau sinar matahari langsung.
- Hindari menjatuhkan atau membenturkan mikrofon ke benda keras.
- Jauhkan mikrofon dari medan magnet yang kuat.
- Do not attempt to disassemble or modify the microphone. This will void any warranty.
- Buang baterai bekas secara bertanggung jawab sesuai dengan peraturan setempat.
9. Garansi dan Dukungan
For warranty information or technical support, please contact Audio-Technica customer service or visit their official websitus. Simpan struk pembelian Anda sebagai bukti pembelian.
Audio-Technica Contact Information:
- Official Audio-Technica Weblokasi
- Lihat kemasan produk Anda atau petunjuk resmi webKunjungi situs ini untuk detail kontak regional spesifik.