Perkenalan
This manual provides essential instructions for the safe operation, setup, and maintenance of your Protocol Director HD Foldable Drone. Please read this manual thoroughly before operating the drone to ensure proper function and to prevent damage or injury.
The Protocol Director HD is a foldable drone equipped with a live streaming HD camera, designed for capturing aerial video and photos. It features an intuitive 2.4 GHz remote control, an altitude sensor for stable flight, and a free downloadable app for enhanced camera control and flight path drawing.
Tindakan pencegahan keamanan
- Always operate the drone in open, unobstructed areas, away from people, animals, and obstacles.
- Do not operate near airports, restricted airspace, or sensitive facilities.
- Jaga jarak aman dari saluran listrik, pepohonan, dan badan air.
- Pastikan semua baling-baling terpasang dengan aman dan tidak rusak sebelum setiap penerbangan.
- Jangan terbang saat angin kencang atau kondisi cuaca buruk.
- Jauhkan jari dan rambut dari baling-baling yang berputar.
- Adult supervision is recommended for users under 18 years of age. Recommended age for operation is 14 years and up.
- Only use original Protocol replacement parts and accessories.
- Jangan mencoba memodifikasi drone atau komponennya.
- Matikan drone dan remote control saat tidak digunakan.
Isi Paket
Verifikasi bahwa semua item ada dalam paket:
- Protocol Director HD Foldable Drone with Camera
- Remote Control with Phone Mount
- Kabel Pengisian Daya USB
- 2 x Baterai Drone
- Tas Perjalanan
- Instruksi Manual (dokumen ini)
- Spare Parts: Blades, Screwdriver

Image: The Protocol Director HD Foldable Drone, showcasing its compact design with propellers extended and camera visible at the front.
Pengaturan
1. Mengisi Daya Baterai Drone
- Insert one of the drone batteries into the USB charging cable.
- Hubungkan kabel pengisi daya USB ke sumber daya USB (misalnya, port USB komputer, adaptor dinding USB).
- The charging indicator light on the USB cable will illuminate during charging and turn off when fully charged.
- Pengisian daya biasanya memakan waktu sekitar 60-90 menit. Jangan mengisi daya secara berlebihan.
2. Memasang Baterai Kontrol Jarak Jauh
- Buka tempat baterai di bagian belakang pengendali jarak jauh.
- Masukkan 4 baterai AA (tidak termasuk), pastikan polaritasnya benar (+/-).
- Tutup rapat tempat baterai.

Image: The drone's remote control with a smartphone securely mounted, displaying a live feed from the drone's camera.
3. Membuka Lipatan Drone
- Gently unfold each of the four rotor arms until they click into place.
- Ensure all arms are fully extended and locked before flight.
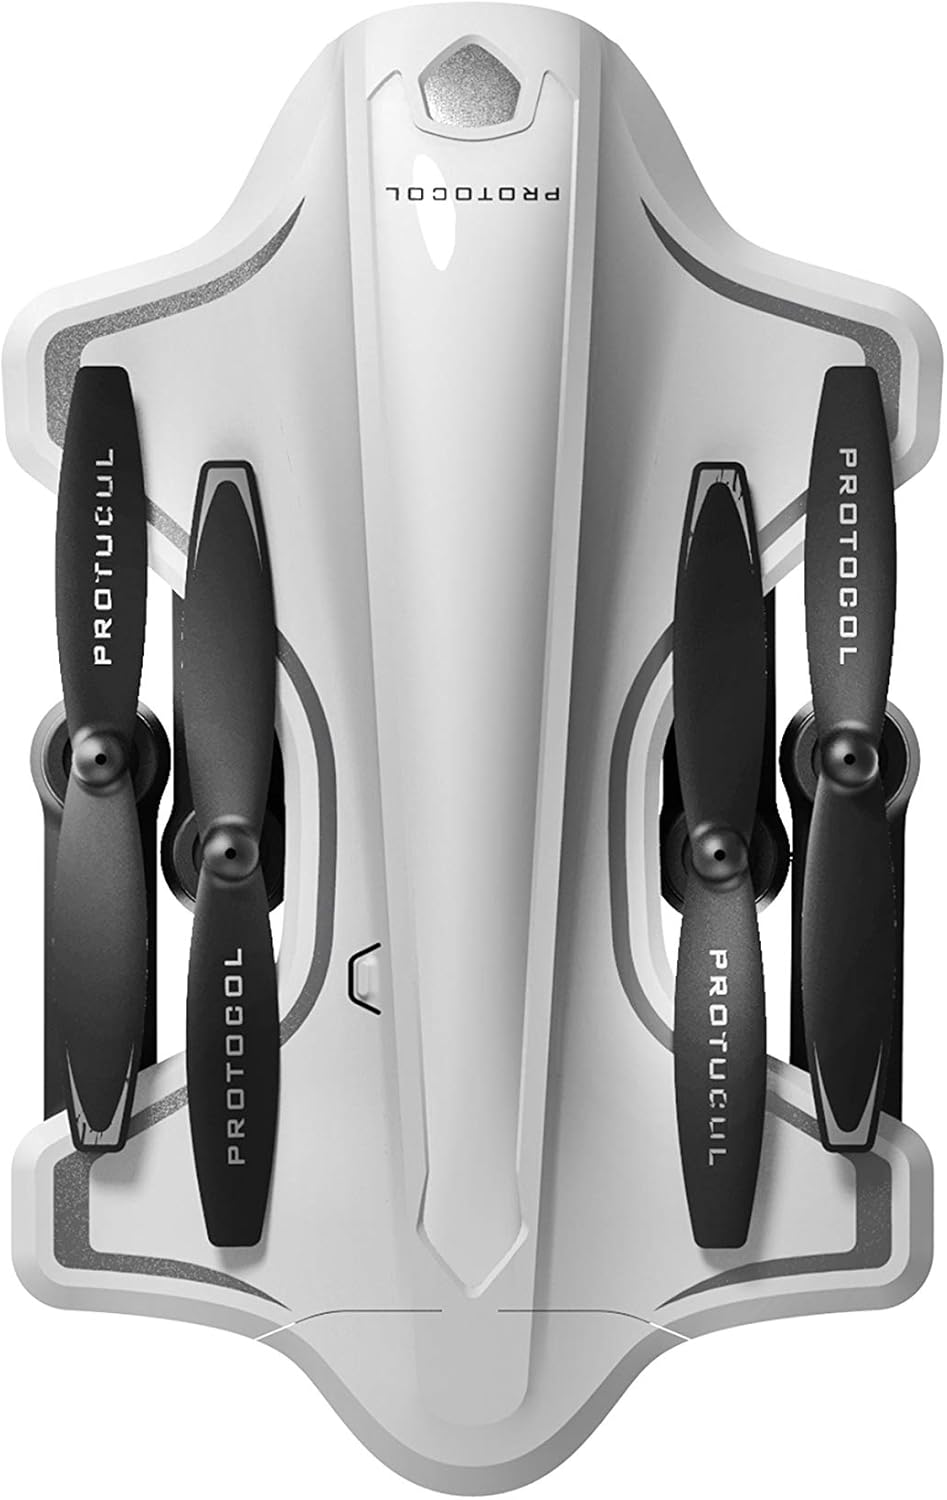
Image: The Protocol Director HD Foldable Drone in its compact, folded configuration, ready for transport.
4. Installing the Drone Battery
- Temukan lokasi baterai pada drone.
- Insert the fully charged drone battery, ensuring it is securely seated.
- Tutup penutup ruang baterai.
5. Downloading the App (Optional for Camera Features)
- Pencarian untuk the "Protocol Director HD" app in your smartphone's app store (iOS or Android).
- Download and install the free application.
- Mount your smartphone onto the remote control's phone mount.
Petunjuk Pengoperasian
1. Menghidupkan dan Memasangkan
- Tempatkan drone di permukaan yang rata dan rata.
- Turn on the drone by pressing the power button. The drone's lights will flash.
- Nyalakan kendali jarak jauh.
- Push the left joystick (throttle) all the way up, then all the way down. The drone's lights will become solid, indicating successful pairing.
2. Calibrating the Gyroscope
After pairing, it is recommended to calibrate the gyroscope for stable flight:
- With the drone on a flat surface, push both joysticks down and to the right simultaneously for a few seconds.
- The drone's lights will flash rapidly and then become solid, indicating calibration is complete.
3. Kontrol Penerbangan Dasar
The Protocol Director HD features auto launch, hover, and land functions due to its altitude sensor.
- Auto Launch: Press the dedicated auto launch button on the remote. The drone will ascend to a stable hovering altitude.
- Tuas Gas (Joystick Kiri):
- Push up: Increase altitude
- Push down: Decrease altitude
- Push left/right: Rotate drone left/right (yaw)
- Kontrol Arah (Joystick Kanan):
- Push up: Fly forward
- Push down: Fly backward
- Push left: Fly left (strafe)
- Push right: Fly right (strafe)
- Auto Land: Press the dedicated auto land button. The drone will slowly descend and land.
- Pemilihan Kecepatan: Use the speed button on the remote to cycle through three selectable speeds (low, medium, high).
4. Camera and App Features
Connect your smartphone to the drone's Wi-Fi network (usually named "Protocol_Drone_XXXXXX") to access live streaming and advanced camera functions via the app.
- Streaming Langsung: View the drone's camera feed in real-time on your smartphone.
- Rekaman Video: Initiate and stop video recording (480p resolution) through the app.
- Pengambilan Foto: Take still images through the app.
- Multiple Camera Angles: The app supports three different camera angles (Aerial, POV, Selfie) for varied content creation.
- Rekaman Audio: The app allows for audio recording alongside video.
- Draw Your Own Flight Path: Utilize the app's feature to draw a flight path on your screen, and the drone will follow it.
- VR Capability: The app is VR capable; VR goggles are sold separately.
Pemeliharaan
- Pemeriksaan Baling-Baling: Regularly check propellers for cracks, bends, or damage. Replace any damaged propellers using the provided spare parts and screwdriver.
- Pembersihan: Use a soft, dry cloth to clean the drone and remote control. Avoid using liquids or harsh chemicals.
- Perawatan Baterai:
- Jangan mengisi baterai secara berlebihan.
- Simpan baterai di tempat sejuk dan kering.
- Remove batteries from the drone and remote control during long periods of non-use.
- Penyimpanan: Fold the drone arms for compact storage in the provided travel bag when not in use. Store in a cool, dry environment.
Penyelesaian Masalah
| Masalah | Kemungkinan Penyebab | Larutan |
|---|---|---|
| Drone tidak mau menyala. | Baterai tidak terisi atau tidak terpasang dengan benar. | Pastikan baterai terisi penuh dan terpasang dengan benar. |
| Kontrol jarak jauh tidak dapat menyala. | AA batteries are dead or incorrectly installed. | Replace AA batteries, checking polarity. |
| Drone and remote do not pair. | Pairing sequence not followed correctly. | Ensure drone is on, then remote. Push left joystick up then down completely. |
| Drone melayang selama penerbangan. | Gyroscope needs calibration; uneven surface at launch. | Land the drone, place on a flat surface, and recalibrate the gyroscope (both joysticks down and right). |
| One propeller does not spin. | Propeller damaged or motor issue. | Check for obstructions. Replace damaged propeller. If issue persists, contact support. |
| No live video feed on smartphone. | Not connected to drone's Wi-Fi; app not open. | Ensure smartphone is connected to the drone's Wi-Fi network and the app is running. |
Spesifikasi
| Merek | Protokol |
| Nama Model | Director HD |
| Nomor Model | 6182-7RCHA |
| Dimensi (Dilipat) | Approximately 4.75 inches (length) |
| Dimensi (Diperpanjang) | Approximately 9 inches (length, including blades) |
| Berat | 0.94 Kilogram (940g) |
| Resolusi Kamera | 480p (Video Capture) |
| Konektivitas | Wi-Fi (for app control and live streaming), 2.4 GHz (for remote control) |
| Stabilisasi | 6-axis motion-sensitive auto stabilizers, Altitude sensor |
| Mode Kecepatan | Three selectable speeds |
| Baterai Drone | Dapat diisi ulang (2 buah disertakan) |
| Baterai Kontrol Jarak Jauh | 4 x baterai AA (tidak termasuk) |
| Bahan | Plastic (Crash-resistant) |
| Usia yang Direkomendasikan | 14 tahun ke atas |
Garansi dan Dukungan
For warranty information, technical support, or to purchase replacement parts, please visit the official Protocol websitus web atau hubungi layanan pelanggan mereka. Simpan struk pembelian Anda sebagai bukti pembelian.
Weblokasi: www.protocolny.com (Mantanamp(tautan sebenarnya mungkin berbeda)
Kontak: Refer to the Protocol website for contact details, including phone numbers or email support.


