1. Pendahuluan
This manual provides detailed instructions for the safe and efficient operation of your InFocus P120 INL412 Multimedia Projector (Model INL4128). Please read this manual thoroughly before using the projector and keep it for future reference. This projector is designed for high-quality image projection, suitable for various applications including presentations, home entertainment, and gaming.
2. Informasi Keselamatan
Perhatikan langkah-langkah keselamatan berikut untuk mencegah kerusakan pada proyektor dan memastikan keselamatan pengguna:
- Ventilasi: Pastikan ventilasi yang memadai di sekitar proyektor. Jangan menghalangi lubang ventilasi. Jaga jarak minimal 30 cm (12 inci) dari dinding atau benda lain.
- Sumber Daya: Gunakan hanya catu daya dan volume yang ditentukantage. Hubungkan kabel daya dengan aman.
- Panas: The projector generates heat during operation. Do not touch the projector's vents or exhaust areas directly after use.
- Keluaran Cahaya: Jangan melihat langsung ke lensa proyektor saat lampuamp menyala, karena cahaya yang kuat dapat menyebabkan kerusakan mata.
- Penempatan: Letakkan proyektor di permukaan yang stabil dan rata. Hindari meletakkannya di bawah sinar matahari langsung, di dekat sumber panas, atau di area dengan kelembapan tinggi atau berdebu.
- Pembersihan: Cabut kabel daya sebelum membersihkan. Gunakan kain lembut dan kering. Jangan gunakan pembersih cair atau aerosol.
- Pelayanan: Jangan mencoba memperbaiki proyektor sendiri. Serahkan semua perbaikan kepada teknisi servis yang berkualifikasi.
3. Produk Lebihview
3.1 Top Panel and Lens Area
The top panel features the control buttons for basic operation and the lens area with focus and zoom adjustments.

Gambar 3.1: Atas view of the InFocus P120 INL412 projector, highlighting the control panel on the right and the lens adjustment area on the left. The InFocus logo is visible on the top surface.
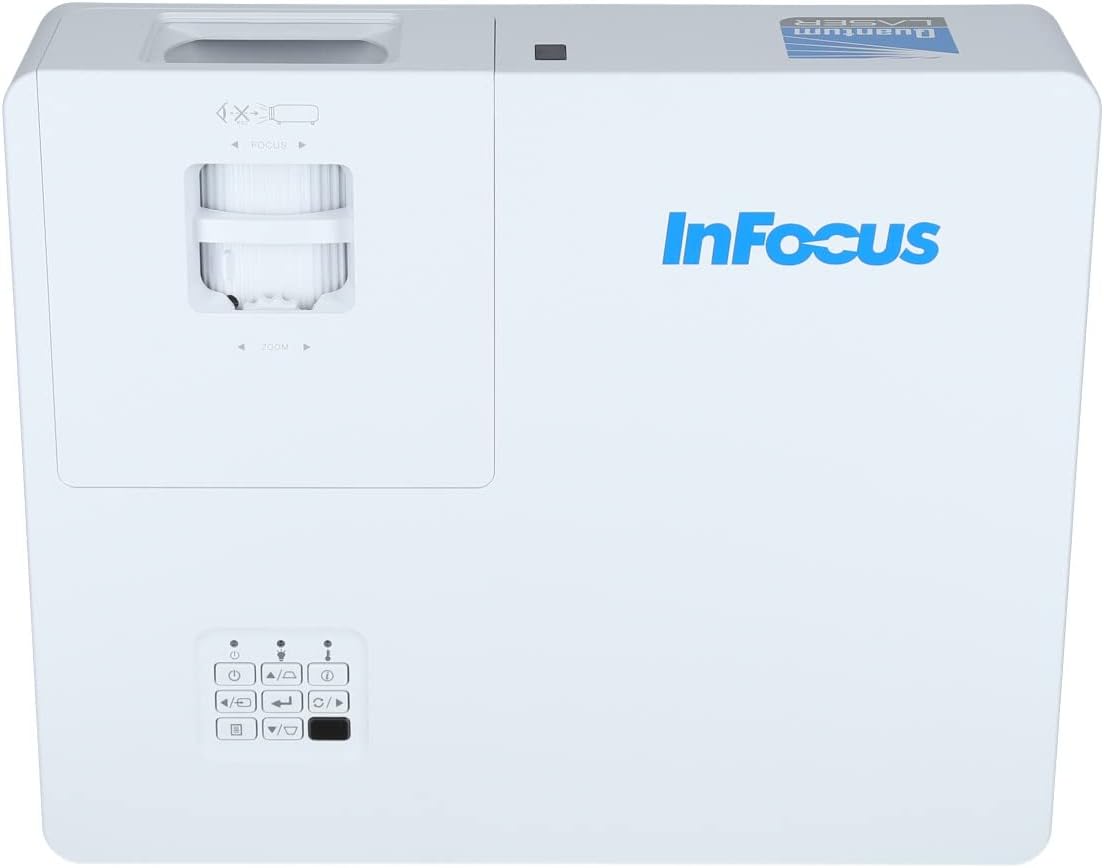
Gambar 3.2: Lebih dekat view of the projector's top panel, showing the focus and zoom rings near the lens opening and the array of control buttons for power, menu, source selection, and navigation.
3.2 Sambungan Panel Belakang
Panel belakang menyediakan berbagai port input dan output untuk menghubungkan perangkat eksternal.

Figure 3.3: Rear panel of the InFocus P120 INL412 projector, displaying a comprehensive array of connectivity options including HDMI (x2), USB, S-Video, Ethernet (LAN), VGA In (x2), VGA Out, RS232, and Audio In/Out ports. The power input is located on the bottom left.
Pelabuhan utama meliputi:
- HDMI 1 & 2: For connecting high-definition digital video and audio sources.
- Kabel USB: For connecting USB devices, potentially for media playback or firmware updates.
- S-Video: For connecting older video sources.
- VGA IN 1 & 2: Untuk menghubungkan komputer atau perangkat lain dengan output VGA.
- KELUARAN VGA: Untuk menghubungkan ke monitor eksternal.
- Ethernet (LAN): Untuk konektivitas dan kontrol jaringan.
- Audio IN 1 & 2 / Audio OUT: Untuk koneksi audio analog.
- RS232: Untuk kontrol serial.
- Masukan Daya: Untuk menyambungkan kabel daya AC.
3.3 Front and Side Panels
The front panel houses the projection lens and front ventilation, while the side panels feature additional ventilation grilles.

Gambar 3.4: Depan view of the InFocus P120 INL412 projector, displaying the main projection lens on the right and the extensive front ventilation grille on the left, crucial for heat dissipation.

Gambar 3.5: Sisi view of the InFocus P120 INL412 projector, illustrating the side ventilation grilles that contribute to maintaining optimal operating temperature.
4. Pengaturan
4.1 Penempatan Proyektor
Position the projector on a stable, flat surface or mount it securely. Ensure the projector is within the optimal projection distance for your screen size. Maintain clear space around the projector for proper ventilation.
4.2 Perangkat Penghubung
Before connecting any cables, ensure the projector and all source devices are powered off.
- Koneksi HDMI: Connect an HDMI cable from your source device (e.g., laptop, Blu-ray player, gaming console) to either the HDMI 1 or HDMI 2 port on the projector.
- Koneksi VGA: Connect a VGA cable from your computer to either VGA IN 1 or VGA IN 2. For audio, connect a separate audio cable from your computer's audio output to the corresponding Audio IN port on the projector.
- Koneksi USB: Insert a USB drive into the USB port for media playback (if supported by firmware) or service functions.
- Koneksi Ethernet (LAN): Connect an Ethernet cable to the LAN port for network control or updates.
- Keluaran Audio: If using external speakers, connect an audio cable from the Audio OUT port on the projector to your audio system.
4.3 Sambungan Daya
Connect the power cord to the projector's power input and then plug the other end into a grounded electrical outlet.
5. Petunjuk Pengoperasian
5.1 Menghidupkan/Mematikan
- Nyalakan: Tekan tombol Kekuatan button on the projector's control panel or the remote control. The power indicator light will change.
- Matikan: Tekan tombol Kekuatan button again. A confirmation message may appear. Press the button a second time to confirm shutdown. Allow the projector to cool down before unplugging it.
5.2 Menyesuaikan Fokus dan Zoom
Rotate the focus ring around the lens until the image appears sharp and clear. Use the zoom ring to adjust the image size to fit your screen.
5.3 Memilih Sumber Input
Tekan tombol Sumber button on the control panel or remote control to cycle through available input sources (HDMI 1, HDMI 2, VGA 1, VGA 2, S-Video, USB). Select the input corresponding to your connected device.
5.4 Navigasi Menu
Gunakan Menu button to access the on-screen display (OSD) menu. Use the arrow buttons to navigate through menu options and the Memasuki tombol untuk memilih. Tekan Menu lagi untuk keluar.
6. Pemeliharaan
6.1 Membersihkan Lensa
Usap lensa secara perlahan menggunakan kain lembut bebas serat yang dirancang khusus untuk permukaan optik. Jangan gunakan pembersih abrasif atau tenaga berlebihan, karena dapat menggores lensa.
6.2 Cleaning the Projector Exterior
Gunakan kain lembut dan kering untuk membersihkan bagian dalam proyektor.asing. For stubborn dirt, dampen the cloth slightly with water, then wipe dry immediately. Avoid getting liquids into the projector's openings.
6.3 Ventilation Care
Regularly check the projector's ventilation grilles for dust accumulation. Use a soft brush or a vacuum cleaner with a brush attachment to gently remove dust from the vents to ensure proper airflow and prevent overheating.
7. Penyelesaian masalah
7.1 Tidak Ada Gambar yang Ditampilkan
- Ensure the projector is powered on and the power indicator light is solid.
- Verify that the video cable (HDMI, VGA, etc.) is securely connected to both the projector and the source device.
- Check that the correct input source is selected on the projector.
- Confirm that the source device (laptop, player) is powered on and outputting a signal.
7.2 Gambar Buram atau Tidak Fokus
- Sesuaikan cincin fokus pada lensa proyektor hingga gambarnya tajam.
- Pastikan proyektor berada pada jarak yang tepat dari layar.
- Bersihkan lensa proyektor jika terlihat kotor.
7.3 Tidak Ada Suara
- If using HDMI, ensure the source device's audio output is set to HDMI.
- If using VGA, ensure a separate audio cable is connected from the source to the projector's Audio IN port.
- Periksa pengaturan volume pada proyektor dan perangkat sumber.
- If using external speakers, ensure they are properly connected to the Audio OUT port and powered on.
8. Spesifikasi
| Fitur | Detil |
|---|---|
| Merek | Fokus |
| Pabrikan | Dalam Fokus |
| Nama Model | P120 INL412 |
| Nomor Model | INL4128 |
| Tahun | 2023 |
| Antarmuka Perangkat Keras | Ethernet, HDMI, S-Video, USB |
| Jumlah Barang | 1 |
| Rasio Aspek | 16:9 |
| Apatage | 341 watt |
| Baterai Termasuk | TIDAK |
| Baterai Diperlukan | TIDAK |
| Faktor Bentuk | Meja kerja |
| Jenis Pemasangan | Pemasangan meja |
| Termasuk Kontrol Jarak Jauh | Ya |
| Dimensi Produk | Ukuran 56.13x46.48x25.15 cm |
| Berat Barang | 5.5 kg |
| Ukuran Gambar Maksimum | 308.28 inci |
| Ukuran Gambar Minimum | 910.63 Milimeter |
| Tanggal Pertama Tersedia | 5 Januari 2022 |
9. Garansi dan Dukungan
For warranty information and technical support, please refer to the documentation included with your purchase or visit the official InFocus websitus. Simpan bukti pembelian Anda untuk klaim garansi.


