Perkenalan
This manual provides detailed instructions for the setup, operation, and maintenance of your Gioteck SC3 Wireless Pro Controller. Designed for use with Nintendo Switch, PC, and mobile devices, this controller features programmable back buttons, customizable RGB lighting, and changeable magnetic thumb sticks for an enhanced gaming experience.
1. Pengaturan
1.1 Isi Paket
- Gioteck SC3 Wireless Pro Controller
- Kabel Pengisian Daya USB
- Additional Magnetic Thumb Sticks (if included)
- User Manual (dokumen ini)
1.2 Mengisi Daya Pengontrol
Before initial use, fully charge the controller. Connect the supplied USB charging cable to the controller's charging port and the other end to a USB power source (e.g., Nintendo Switch dock, PC USB port, or USB wall adapter).
- Indikator LED akan menunjukkan status pengisian daya.
- Pengisian daya penuh biasanya memakan waktu sekitar 2-3 jam.
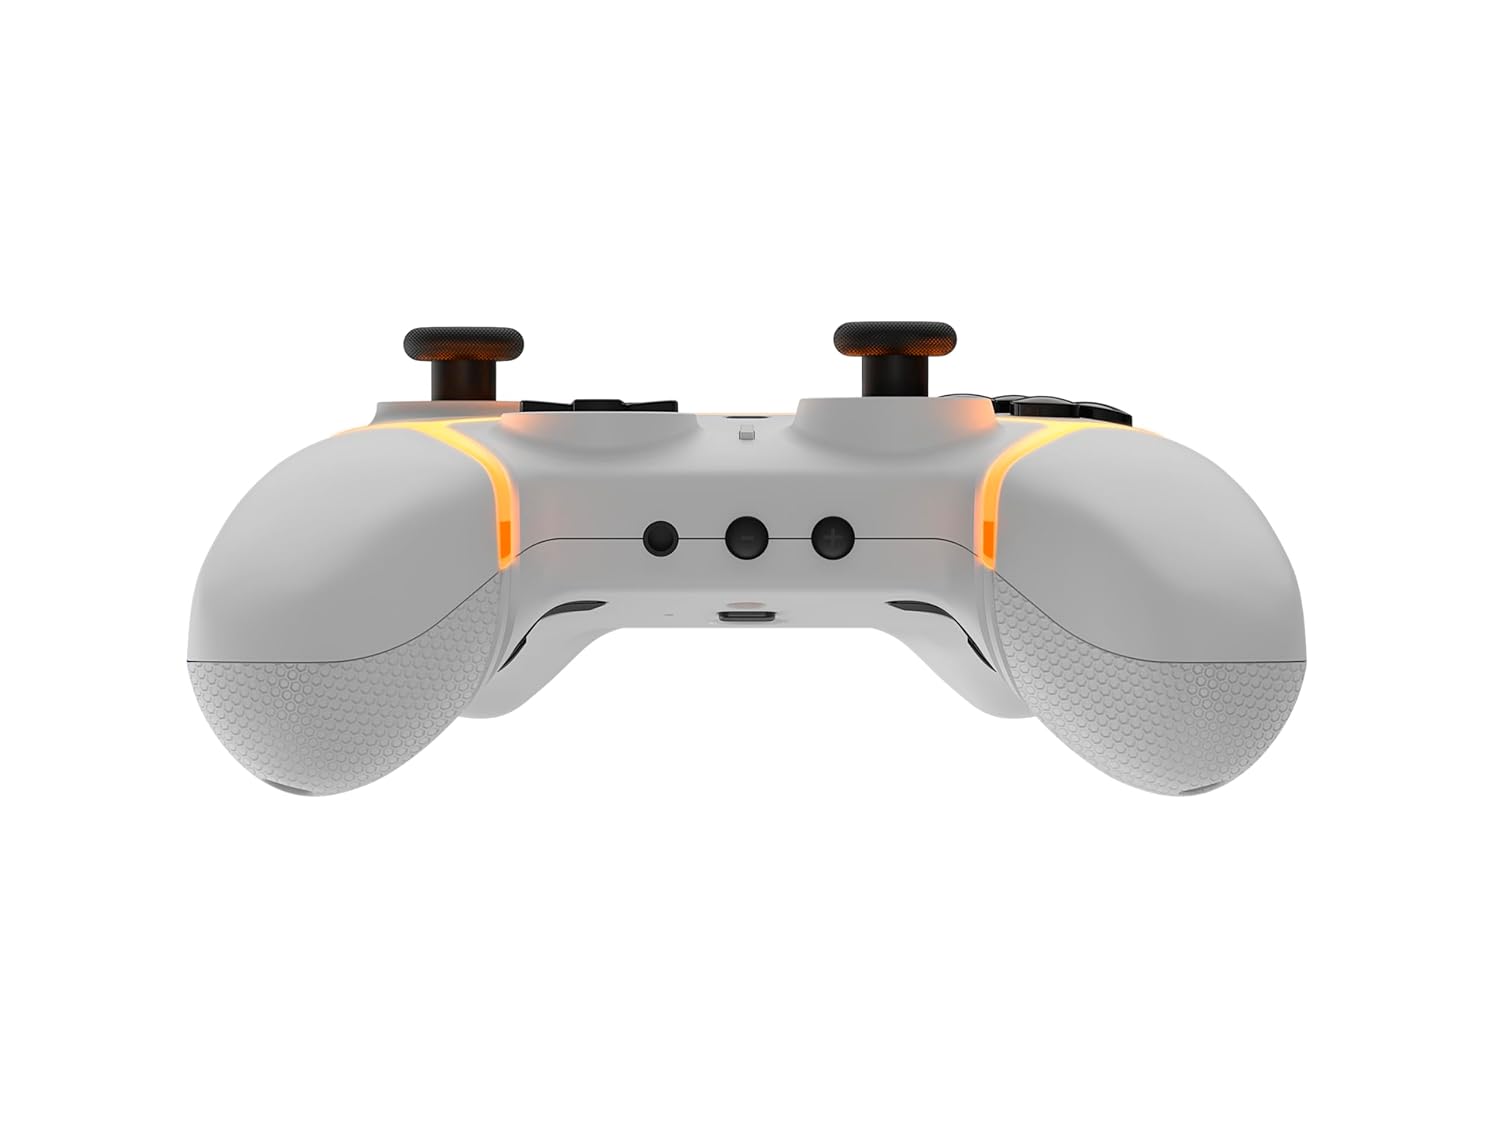
Gambar: Bawah view of the Gioteck SC3 controller, highlighting the USB-C charging port located between the two textured grips.
1.3 Memasangkan dengan Nintendo Switch
- Dari Menu HOME Nintendo Switch, pilih Pengendali, Kemudian Ubah Pegangan/Urutan.
- On the SC3 controller, press and hold the Tombol Pasangan (usually a small button on the top or back) for a few seconds until the LED indicators begin to flash rapidly.
- Once the controller is recognized by the Switch, the player LED(s) on the controller will illuminate solid, indicating successful pairing.
- Tekan tombol Sebuah tombol untuk mengonfirmasi.
Note: For subsequent uses, the controller should automatically reconnect to the last paired Switch console when powered on.
1.4 Connecting to PC/Mobile (Bluetooth)
- Ensure Bluetooth is enabled on your PC or mobile device.
- On the SC3 controller, press and hold the Tombol Pasangan for a few seconds until the LED indicators flash rapidly.
- On your PC/mobile device, navigate to Bluetooth settings and search for new devices.
- Select "Gioteck SC3" or similar from the list of available devices to pair.
- The controller's LED will become solid upon successful connection.
1.5 Installing Magnetic Thumb Sticks
The SC3 controller features changeable magnetic thumb sticks. To replace them:
- Gently pull the existing thumb stick straight up to remove it.
- Align the desired magnetic thumb stick with the base and gently push it down until it snaps into place.

Gambar: Depan view of the Gioteck SC3 controller, showcasing the magnetic thumb sticks and button layout.
2. Petunjuk Pengoperasian
2.1 Tata Letak Tombol
The SC3 controller features a traditional button layout. Refer to the image below for button identification.

Gambar: Bagian depan bersudut view of the Gioteck SC3 controller, displaying the full button layout including face buttons, D-pad, analog sticks, and shoulder buttons.
- Stik Analog Kiri/Kanan: Untuk pergerakan dan kontrol kamera.
- D-Pad: Masukan terarah.
- Tombol A/B/X/Y: Tombol aksi.
- Tombol L/R/ZL/ZR: Tombol bahu dan pemicu.
- +/- Tombol: Start/Select equivalents.
- Tombol Home: Returns to the console's home menu.
- Tombol Tangkap: Mengambil tangkapan layar.
2.2 Tombol Kembali yang Dapat Diprogram
The SC3 controller includes programmable back buttons (M1, M2, M3, M4) for custom assignments.

Gambar: Belakang view of the Gioteck SC3 controller, clearly showing the four programmable back buttons (M1, M2, M3, M4) and textured grips.
Langkah Pemrograman:
- Tekan dan tahan tombol Tombol Program (refer to diagram if available, usually a small button on the back) until the LED indicator flashes.
- Tekan tombol Tombol Kembali (M1, M2, M3, or M4) you wish to program. The LED will flash slowly.
- Tekan tombol Tombol Input (e.g., A, B, X, Y, L, R, ZL, ZR, D-pad direction) you want to assign to the back button.
- Tekan tombol Tombol Program again to save the assignment. The LED will stop flashing.
- Repeat for other back buttons as desired.
To clear a programmed button, follow steps 1-2, then press the Program Button again without pressing an input button.
2.3 Kustomisasi Pencahayaan RGB
The controller features customizable RGB lighting. Specific instructions for changing colors or effects are typically found in the product's quick start guide or by pressing a dedicated button combination (e.g., Function + R3).
Consult the quick start guide included with your controller for precise button combinations to adjust RGB lighting.
2.4 Motion Controls
The SC3 controller supports motion controls, allowing for immersive gameplay in compatible Nintendo Switch titles. No special setup is usually required; motion controls activate automatically when supported by the game.
2.5 Audio Headset Jack
A 3.5mm audio headset jack is located on the controller for connecting compatible headsets. It includes dedicated mute and volume control buttons.
- Volume Naik/Turun: Sesuaikan output audio.
- Tombol Bisu: Mute/unmute microphone input.

Gambar: Atas view of the Gioteck SC3 controller, highlighting the 3.5mm audio jack, volume controls, and mute button.
3. Pemeliharaan
3.1 Pembersihan
Untuk membersihkan kontroler Anda, gunakan kain lembut dan kering. Untuk kotoran yang membandel, gunakan kain yang sedikit kering.ampBasahi kain dengan air. Hindari penggunaan bahan kimia keras, pembersih abrasif, atau pelarut, karena dapat merusak lapisan permukaan dan komponen internal pengontrol.
- Do not immerse the controller in water or any other liquid.
- Ensure all ports are dry before charging or connecting devices.
3.2 Penyimpanan
Simpan pengontrol di tempat yang sejuk dan kering, jauhkan dari sinar matahari langsung dan suhu ekstrem. Hindari meletakkan benda berat di atas pengontrol untuk mencegah kerusakan.
3.3 Perawatan Baterai
The controller contains a rechargeable battery. To prolong battery life:
- Hindari mengosongkan baterai sepenuhnya secara sering.
- Charge the controller regularly, even if not in use for extended periods (e.g., once every 3-6 months).
- Do not expose the controller to temperatures above 60°C (140°F).
4. Penyelesaian masalah
4.1 Pengontrol Tidak Terhubung/Terpasang
- Periksa Baterai: Pastikan pengontrol terisi cukup daya.
- Memperbaiki: Follow the pairing instructions in Section 1.3 or 1.4.
- Gangguan: Move closer to the console/device and away from potential sources of wireless interference (e.g., Wi-Fi routers, other Bluetooth devices).
- Reset Pengontrol: Locate a small reset button (often a pinhole) on the back of the controller. Use a paperclip to press and hold it for a few seconds. Then attempt to re-pair.
- Update Console/Device Software: Ensure your Nintendo Switch, PC, or mobile device's operating system is up to date.
4.2 Buttons/Sticks Not Responding
- Re-sync: Lepaskan dan sambungkan kembali pengontrol.
- Membersihkan: Pastikan tidak ada kotoran yang tersangkut di sekitar tombol atau tuas.
- Test in another game/menu: Determine if the issue is specific to a game or system-wide.
- Reset Pengontrol: Lakukan reset paksa seperti yang dijelaskan di atas.
4.3 Motion Controls Not Working
- Kompatibilitas Permainan: Verify that the game you are playing supports motion controls.
- Kalibrasi ulang: On Nintendo Switch, you can recalibrate motion controls in the system settings.
- Reset Pengontrol: Lakukan pengaturan ulang paksa.
5. Spesifikasi
| Model: | Gioteck SC3 Wireless Pro Controller |
| Kesesuaian: | Nintendo Switch (Original, Lite, OLED), PC, Mobile Devices |
| Konektivitas: | Nirkabel Bluetooth |
| Dimensi (perkiraan): | 2.87 x 5.35 x 6.34 inci (7.29 x 13.59 x 16.1 cm) |
| Berat (kira-kira): | 10.6 ons (300 gram) |
| Jack Audio: | 3.5mm with mute and volume controls |
| Fitur Khusus: | Programmable back buttons, Magnetic thumb sticks, RGB lighting, Motion controls |
6. Informasi Garansi
The Gioteck SC3 Wireless Pro Controller comes with a manufacturer's warranty. For specific details regarding warranty coverage, duration, and claims process, please refer to the warranty card included with your product or visit the official Gioteck weblokasi.
Harap simpan bukti pembelian Anda untuk tujuan garansi.
7. Dukungan Pelanggan
If you encounter any issues or have questions not covered in this manual, please contact Gioteck customer support. Contact information can typically be found on the product packaging or the official Gioteck weblokasi.
Gioteck Resmi Weblokasi: www.gioteck.com


