1. Pendahuluan
Thank you for choosing the DELTACO Gaming PM80 Wireless Optical Gaming Mouse. This manual provides essential information for setting up, operating, and maintaining your new gaming mouse. Please read these instructions carefully before use to ensure optimal performance and longevity of your device.
2. Isi Paket
- DELTACO Gaming PM80 Wireless Optical Gaming Mouse
- Penerima Nirkabel USB
- Kabel Pengisian Daya USB
- Panduan Pengguna
3. Produk Lebihview
The DELTACO Gaming PM80 is a high-performance wireless optical gaming mouse designed for precision and comfort. It features 7 programmable buttons, adjustable DPI up to 4800, and customizable illumination. The mouse is rechargeable, ensuring uninterrupted gaming sessions.
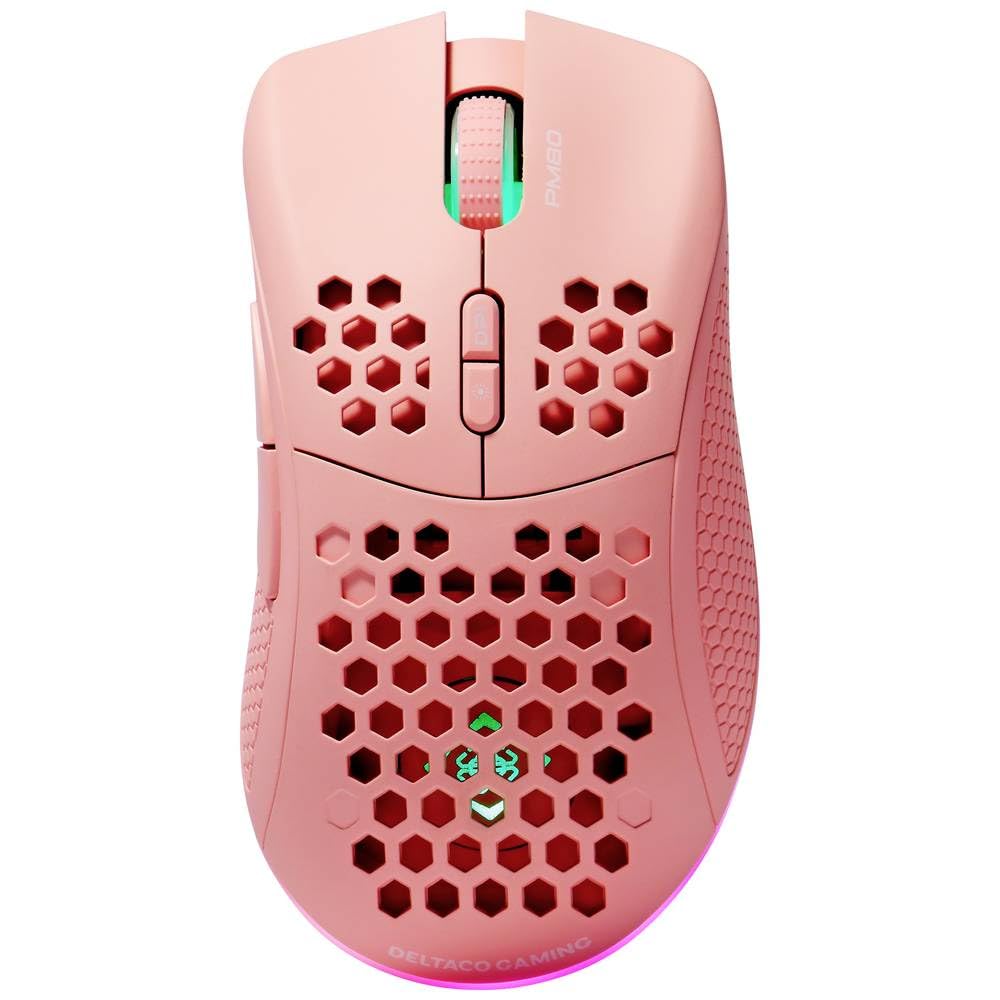
Image: DELTACO Gaming PM80 Wireless Optical Gaming Mouse. This image displays the mouse from a top-down perspective, highlighting its ergonomic design, the central scroll wheel, and the arrangement of its seven buttons.
Fungsi Tombol:
- Klik Kiri Tombol: Fungsi klik utama standar.
- Klik Kanan Tombol: Fungsi klik sekunder standar.
- Roda Gulir: Scrolls up/down, and acts as a middle click button.
- Tombol Siklus DPI: Changes the mouse's sensitivity (DPI).
- Tombol Maju: Navigasi maju dalam web browser atau file penjelajah.
- Tombol Mundur: Navigasi mundur di web browser atau file penjelajah.
- Illumination Mode Button: Cycles through different lighting effects or turns illumination on/off.
4. Pengaturan
4.1. Mengisi Daya Mouse
- Hubungkan ujung kecil kabel pengisi daya USB ke port pengisian daya di bagian depan mouse.
- Connect the larger end of the USB charging cable to an available USB port on your computer or a USB wall adapter.
- The mouse's illumination will indicate charging status (e.g., breathing effect, specific color). A full charge typically takes 2-3 hours.
- Once fully charged, the illumination may change or turn off. Disconnect the charging cable.
4.2. Menghubungkan Penerima Nirkabel USB
- Cari penerima nirkabel USB, biasanya tersimpan di kompartemen di bagian bawah mouse.
- Lepaskan receiver dari tempat penyimpanannya.
- Hubungkan penerima nirkabel USB ke port USB yang tersedia di komputer Anda.
- Komputer Anda akan secara otomatis mendeteksi dan menginstal driver yang diperlukan. Proses ini mungkin membutuhkan beberapa saat.
4.3. Menghidupkan/Mematikan
- Temukan saklar daya di bagian bawah mouse.
- Slide the switch to the 'ON' position to power on the mouse. The illumination will light up.
- To conserve battery life, slide the switch to the 'OFF' position when the mouse is not in use for extended periods.
5. Petunjuk Pengoperasian
5.1. Penggunaan Dasar
Once connected and powered on, the mouse is ready for use. Move the mouse on a flat surface to control the cursor on your screen. Use the left and right click buttons for primary and secondary actions, and the scroll wheel for navigation.
5.2. Penyesuaian DPI
The DPI (Dots Per Inch) setting determines the sensitivity of your mouse. The DELTACO Gaming PM80 offers multiple DPI levels up to 4800 DPI. To adjust the DPI:
- Tekan tombol Tombol Siklus DPI (typically located behind the scroll wheel).
- Each press will cycle through the available DPI settings. The mouse's illumination may change color or flash to indicate the current DPI level.
- Select the DPI setting that best suits your preference for gaming or general use.
5.3. Kontrol Pencahayaan
The DELTACO Gaming PM80 features customizable illumination. To change the lighting effects:
- Tekan tombol Illumination Mode Button (lihat Produk di Atas)view untuk lokasi).
- Each press will cycle through different lighting modes, such as static colors, breathing effects, or off.
6. Pemeliharaan
6.1. Pembersihan
- Pastikan mouse dimatikan sebelum membersihkan.
- Gunakan kain yang lembut, kering, dan tidak berbulu untuk menyeka permukaan tetikus.
- Untuk kotoran membandel, sedikit dampBilas kain dengan air atau pembersih ringan non-abrasif. Hindari kelembapan berlebih.
- Do not use harsh chemicals, solvents, or abrasive materials, as these can damage the mouse's finish.
- Gunakan kapas atau udara bertekanan untuk membersihkan area di sekitar roda gulir dan celah tombol.
6.2. Penyimpanan
When not in use for extended periods, store the mouse in a cool, dry place away from direct sunlight and extreme temperatures. Ensure the power switch is in the 'OFF' position to preserve battery life.
7. Penyelesaian masalah
- Mouse tidak merespons:
- Pastikan mouse dihidupkan.
- Check if the USB wireless receiver is securely plugged into a working USB port.
- Verify the mouse battery is charged. Connect the charging cable and try again.
- Coba hubungkan penerima ke port USB yang berbeda.
- Hidupkan ulang komputer Anda.
- Koneksi terputus-putus atau tersendat:
- Ensure the mouse is within close proximity to the USB receiver (ideally within 10 meters).
- Avoid placing the receiver near other wireless devices or sources of interference (e.g., Wi-Fi routers, cordless phones).
- Pastikan mouse terisi daya penuh.
- Pergerakan kursor tidak menentu atau tidak tepat:
- Bersihkan sensor optik pada bagian bawah mouse dengan kain lembut dan kering.
- Pastikan Anda menggunakan mouse di atas permukaan yang sesuai (misalnya, alas mouse). Hindari permukaan yang sangat reflektif atau transparan.
- Sesuaikan pengaturan DPI ke sensitivitas yang lebih rendah jika kursor terlalu cepat.
- Lampu tidak berfungsi:
- Pastikan mouse dihidupkan.
- Press the Illumination Mode Button to cycle through modes, ensuring it's not set to 'off'.
- Check battery level; low battery might disable illumination.
8. Spesifikasi
| Fitur | Detil |
|---|---|
| Merek | PERMAINAN DELTACO |
| Nomor Model | GAM-120-P |
| Konektivitas | Nirkabel (Penerima USB) |
| Jenis Sensor | Optik |
| DPI | Hingga 4800 DPI (Dapat disesuaikan) |
| Jumlah Tombol | 7 |
| Orientasi Tangan | Benar |
| Penerangan | Ya |
| Dapat diisi ulang | Ya |
| Baterai Diperlukan | No (Internal Rechargeable) |
9. Garansi dan Dukungan
For warranty information and technical support, please refer to the warranty card included with your product or visit the official DELTACO Gaming websitus. Simpan bukti pembelian Anda untuk klaim garansi apa pun.