1. Pendahuluan
This manual provides essential information for the proper installation, operation, maintenance, and troubleshooting of your OLUNCLE 2-in-1 Carbon Monoxide (CO) and Smoke Alarm. Please read this manual thoroughly before installation and retain it for future reference. This device is designed to detect both carbon monoxide gas and smoke, providing early warning of potential hazards in your home.

Gambar 1: Depan view of the OLUNCLE 2-in-1 Carbon Monoxide and Smoke Alarm.
2. Fitur Utama
- Deteksi Ganda: Detects both carbon monoxide and smoke, eliminating the need for separate devices.
- Deteksi Akurat: Equipped with dual high-stability sensors for enhanced sensitivity and accuracy.
- Layar LCD: Provides clear, easy-to-read information on carbon monoxide levels.
- Alarm Keras: Features an 85dB alarm to ensure prompt notification in case of danger.
- Instalasi Mudah: Designed for simple, drill-free installation.

Image 2: Functional description of the alarm's components.

Image 3: Visual representation of the 2-in-1 CO and smoke detection.
3. Isi Paket
Verifikasi bahwa semua item ada dalam paket:
- OLUNCLE 2-in-1 CO & Smoke Alarm Unit
- Mounting Bracket
- AA Batteries (Quantity: 2)
- Sekrup Pemasangan dan Sumbat Dinding
- Manual Instruksi

Gambar 4: Isi yang terdapat dalam kemasan produk.
Video 1: A demonstration of the accessories included in the CO & Smoke Detectors packaging box.
4. Instalasi
4.1 Pemasangan Baterai
- Remove the mounting bracket from the back of the alarm unit by twisting it counter-clockwise.
- Insert the two AA batteries into the battery compartment, ensuring correct polarity (+/-). The unit will emit a beep to confirm successful battery insertion.
- Reattach the mounting bracket to the alarm unit by aligning the notches and twisting clockwise until it locks securely.
4.2 Lokasi Pemasangan
Choose a central location on the ceiling or high on a wall, away from corners, windows, doors, and vents. Avoid placing near cooking appliances, heating vents, or in areas with high humidity.
4.3 Memasang Alarm
- Hold the mounting bracket against the chosen surface and mark the positions for the drill holes.
- Bor lubang pada posisi yang ditandai dan masukkan steker dinding.
- Kencangkan braket pemasangan ke dinding atau langit-langit menggunakan sekrup yang disediakan.
- Align the alarm unit with the mounted bracket and twist clockwise until it clicks into place.

Image 5: Simple installation process showing battery insertion and mounting.

Image 6: Detail of the mounting bracket and hardware.

Image 7: Securing the alarm unit to the bracket.
Video 2: A demonstration of the simple installation process for the Carbon Monoxide Detector.

Image 8: Recommended installation locations within a home.
5. Petunjuk Pengoperasian
5.1 Nyalakan
Once batteries are correctly installed, the alarm will automatically power on and perform a self-test. The LCD screen will activate.
5.2 Operasi Normal
During normal operation, the LCD screen will display '0 ppm' for carbon monoxide levels. The green 'POWER' indicator light will flash periodically.
5.3 Menguji Alarm
Press and hold the 'TEST' button for approximately 5 seconds. The alarm will sound a loud 85dB signal, and the LCD screen will display a test value (e.g., '363 ppm') to confirm proper functioning of both the CO and smoke detection circuits. Release the button to stop the test.

Image 9: Testing the alarm unit.
5.4 Kondisi Alarm
- Alarm Karbon Monoksida: If CO levels exceed safe thresholds, the alarm will sound, the red 'ALARM' indicator will flash, and the LCD will display the detected CO concentration.
- Alarm asap: If smoke is detected, the alarm will sound, and the red 'ALARM' indicator will flash.
- Peringatan Baterai Lemah: The unit will chirp periodically, and the LCD may display 'Lb' or a similar low battery indicator. Replace batteries immediately.
- Peringatan Kesalahan: If a fault is detected, the yellow 'FAULT' indicator will light up, and the unit may chirp. Refer to the troubleshooting section.

Image 10: Alarm activation with LCD display in a kitchen setting.
Video 3: Demonstration of the alarm's sensitivity and timely alerts for smoke detection.
Video 4: Selesaiview of the 2-in-1 CO and Smoke Detectors, highlighting sensitivity and timely alerts.

Image 11: The alarm provides accurate and timely alerts.
6. Pemeliharaan
6.1 Pembersihan
Clean the alarm regularly (at least once a month) using a soft, damp cloth. Do not use cleaning solvents or chemicals, as these can damage the sensor. Avoid spraying air fresheners, hair spray, or other aerosols near the alarm.
6.2 Penggantian Baterai
When the low battery warning sounds, replace both AA batteries immediately. Use only recommended battery types.
6.3 Pengujian Reguler
Test the alarm weekly by pressing the 'TEST' button to ensure it is functioning correctly.
7. Penyelesaian masalah
| Masalah | Kemungkinan Penyebab | Larutan |
|---|---|---|
| Alarm berbunyi secara berkala | Baterai lemah | Ganti baterai segera. |
| Alarm berbunyi tanpa adanya asap/CO yang terlihat. | False alarm due to steam, cooking fumes, or dust; high CO levels. | Ventilate the area. If CO is suspected, evacuate and call emergency services. Clean the alarm. |
| Alarm tidak merespons tombol uji | Tidak ada daya; unit rusak. | Check battery installation. Replace batteries. If issue persists, contact support. |
| 'FAULT' indicator lights up | Kesalahan internal. | Perform a test. If the fault persists, the unit may need replacement. |
8. Spesifikasi
- Merek: OLUNCLE
- Nomor Model: OL-905
- Sumber Daya: Battery Powered (2 x AA Zinc Carbon batteries)
- Volume alarm: 85dB
- Jenis Deteksi: Carbon Monoxide & Smoke
- Menampilkan: Layar LCD
- Dimensi Produk: 4.96"Panjang x 1.81"Lebar x 4.65"T
- Berat Barang: 3.68 ons

Gambar 12: Dimensi produk.
9. Informasi Keselamatan Penting
- Never ignore any alarm. Investigate the cause and take appropriate action.
- Do not paint the alarm unit. Paint can clog the sensor openings and interfere with proper operation.
- Regularly test your alarm as described in this manual.
- Replace the alarm unit every 10 years from the date of manufacture, even if it appears to be working.
- This device is not a substitute for proper maintenance of fuel-burning appliances, including adequate ventilation systems.
- In case of a CO alarm, immediately move to fresh air outdoors or open doors/windows. Call emergency services.
- In case of a smoke alarm, ensure everyone evacuates the premises and call emergency services from a safe location.
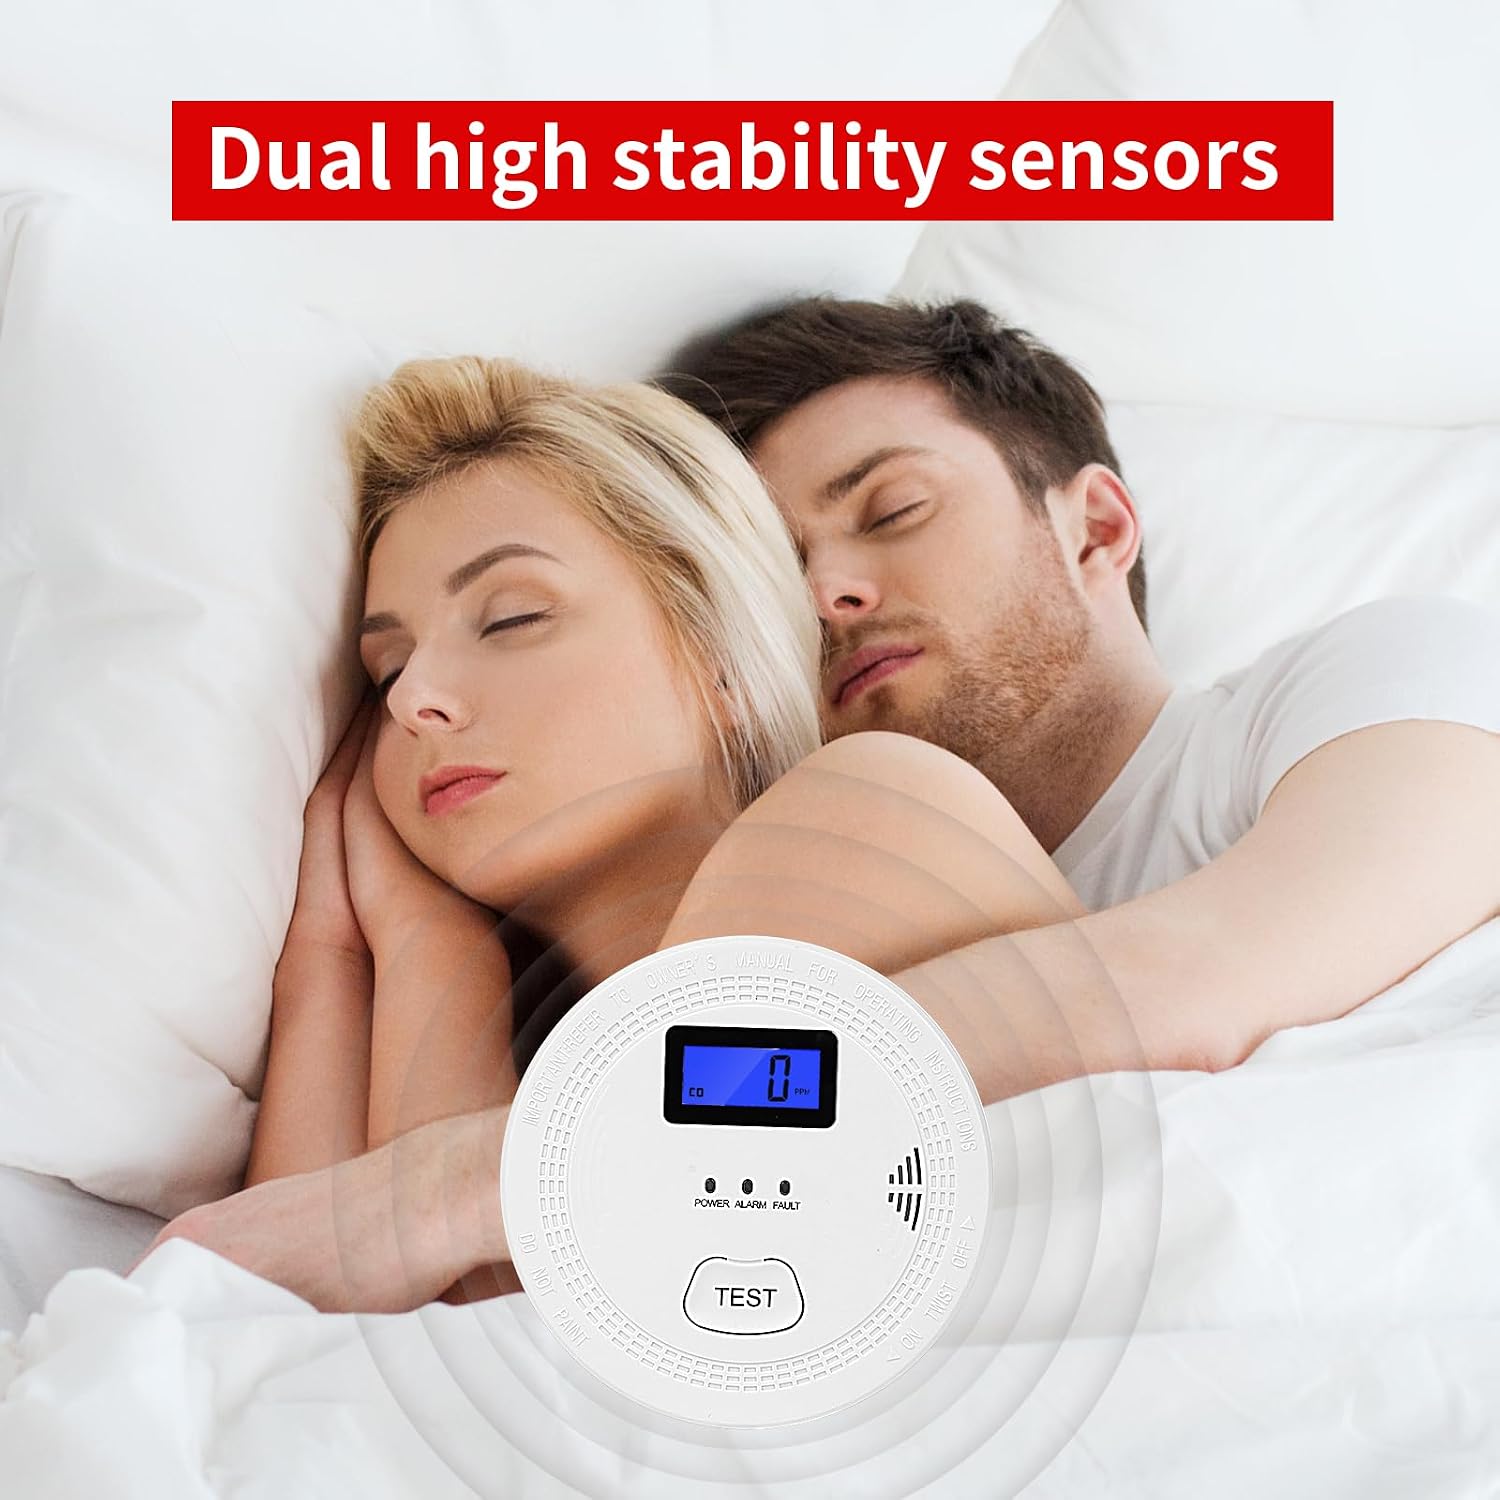
Image 13: Dual high stability sensors provide protection.
10. Garansi dan Dukungan
OLUNCLE products are designed for reliability and performance. For warranty information, technical support, or to report any issues, please refer to the contact information provided with your purchase or visit the official OLUNCLE websitus. Simpan struk pembelian Anda sebagai bukti pembelian untuk klaim garansi.
Untuk bantuan lebih lanjut, Anda dapat mengunjungi OLUNCLE Store on Amazon.


