1. Pendahuluan
This manual provides instructions for the safe and effective use of your Anykit Visual Ear Wax Removal Camera, Model AKE390i. This device is a digital otoscope designed to visualize the ear canal and assist in earwax removal. It features a camera with LED illumination and connects to compatible mobile devices for real-time viewing.
Harap baca manual ini dengan saksama sebelum mengoperasikan perangkat dan simpan untuk referensi di masa mendatang.

Figure 1: Anykit Visual Ear Wax Removal Camera with accessories.
2. Peringatan Keamanan Penting
- WARNING: THIS IS NOT A TOY. Jauhkan produk dari anak-anak di bawah 12 tahun.
- This otoscope camera is not intended to diagnose, treat, cure, or prevent any disease or health condition. Consult a medical professional for any health concerns.
- Do not insert the device too deeply into the ear canal. Excessive force or improper use can cause injury.
- Always use the provided specula and protective covers to prevent direct contact of the camera tip with the ear canal walls.
- Clean the device and accessories thoroughly before and after each use as described in the Maintenance section.
- If you experience pain, discomfort, or bleeding during use, discontinue immediately and seek medical advice.
3. Isi Paket
Verifikasi bahwa semua item ada dalam paket Anda:
- Anykit Visual Ear Wax Removal Camera (Otoscope)
- USB Type-C Cable (integrated)
- Soft Silicone Earpicks
- Adjustable Protection Covers
- Replacement Specula
- Panduan Pengguna
- Kantong Penyimpanan (dapat berbeda tergantung kemasan)

Gambar 2: Komponen yang termasuk dalam paket produk.
4. Pengaturan dan Penggunaan Pertama
4.1 Kompatibilitas
The Anykit Visual Ear Wax Removal Camera is compatible with:
- Android 8.0+ devices (must support OTG functionality).
- iPhone 15/15 Pro/15 Plus/15 Pro Max.
- iPad (12th generation and newer).
Tidak kompatibel dengan: PCs, iPad Pro (4th generation), iPad 4, or iPad 2. This otoscope does not include a Type-C to Lightning adapter. If using your own adapter, ensure it supports OTG.
4.2 Instalasi Aplikasi
- Download "Xscope" App: Pencarian untuk "Xscope" in the Google Play Store (for Android) or Apple App Store (for iOS) and download the application.
- Berikan Izin: After installation, open the app. When prompted, click "Allow" to grant necessary permissions for the device to function.

Gambar 3: Langkah-langkah pengunduhan dan koneksi aplikasi.
4.3 Koneksi Perangkat
- Connect Otoscope: Plug the USB Type-C connector of the otoscope into your compatible smartphone or tablet.
- Jalankan Aplikasi: Open the "Xscope" application. The device should automatically connect, and you will see a live view dari kamera.
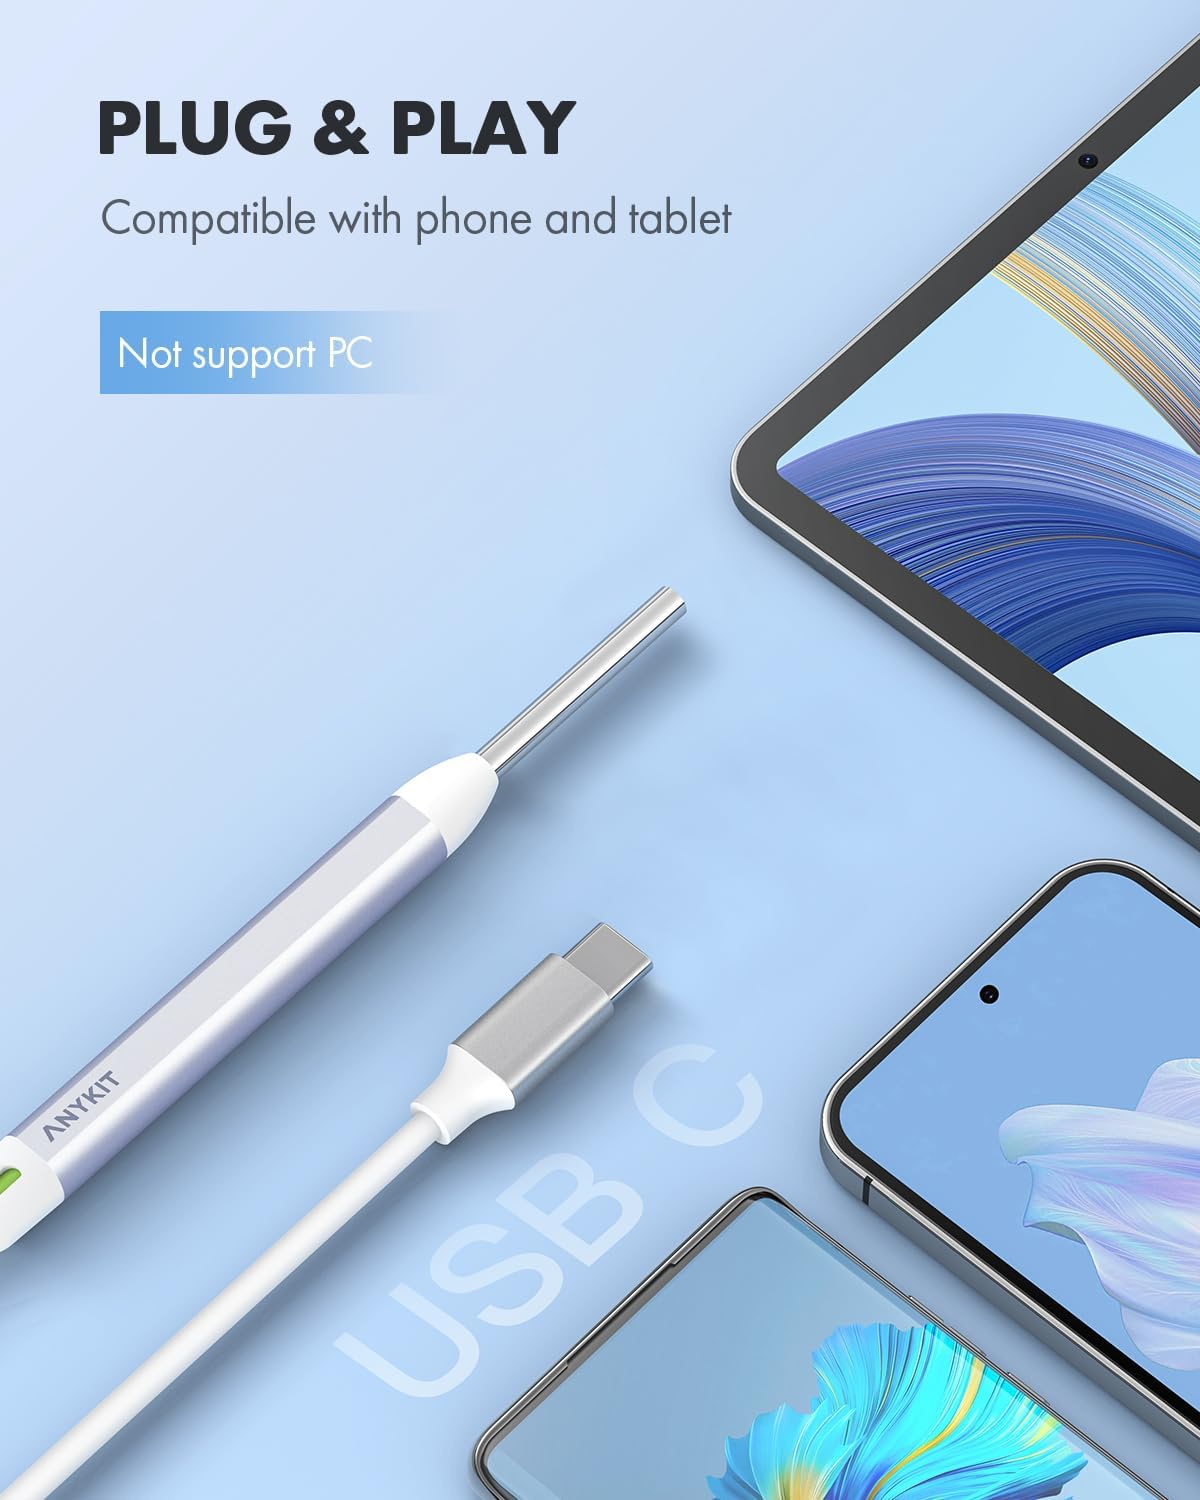
Figure 4: Connecting the otoscope to a mobile device.
5. Petunjuk Pengoperasian
5.1 Memasang Aksesori
Before use, attach a clean speculum and an adjustable protection cover to the tip of the otoscope. These accessories ensure safe insertion and prevent over-insertion into the ear canal.
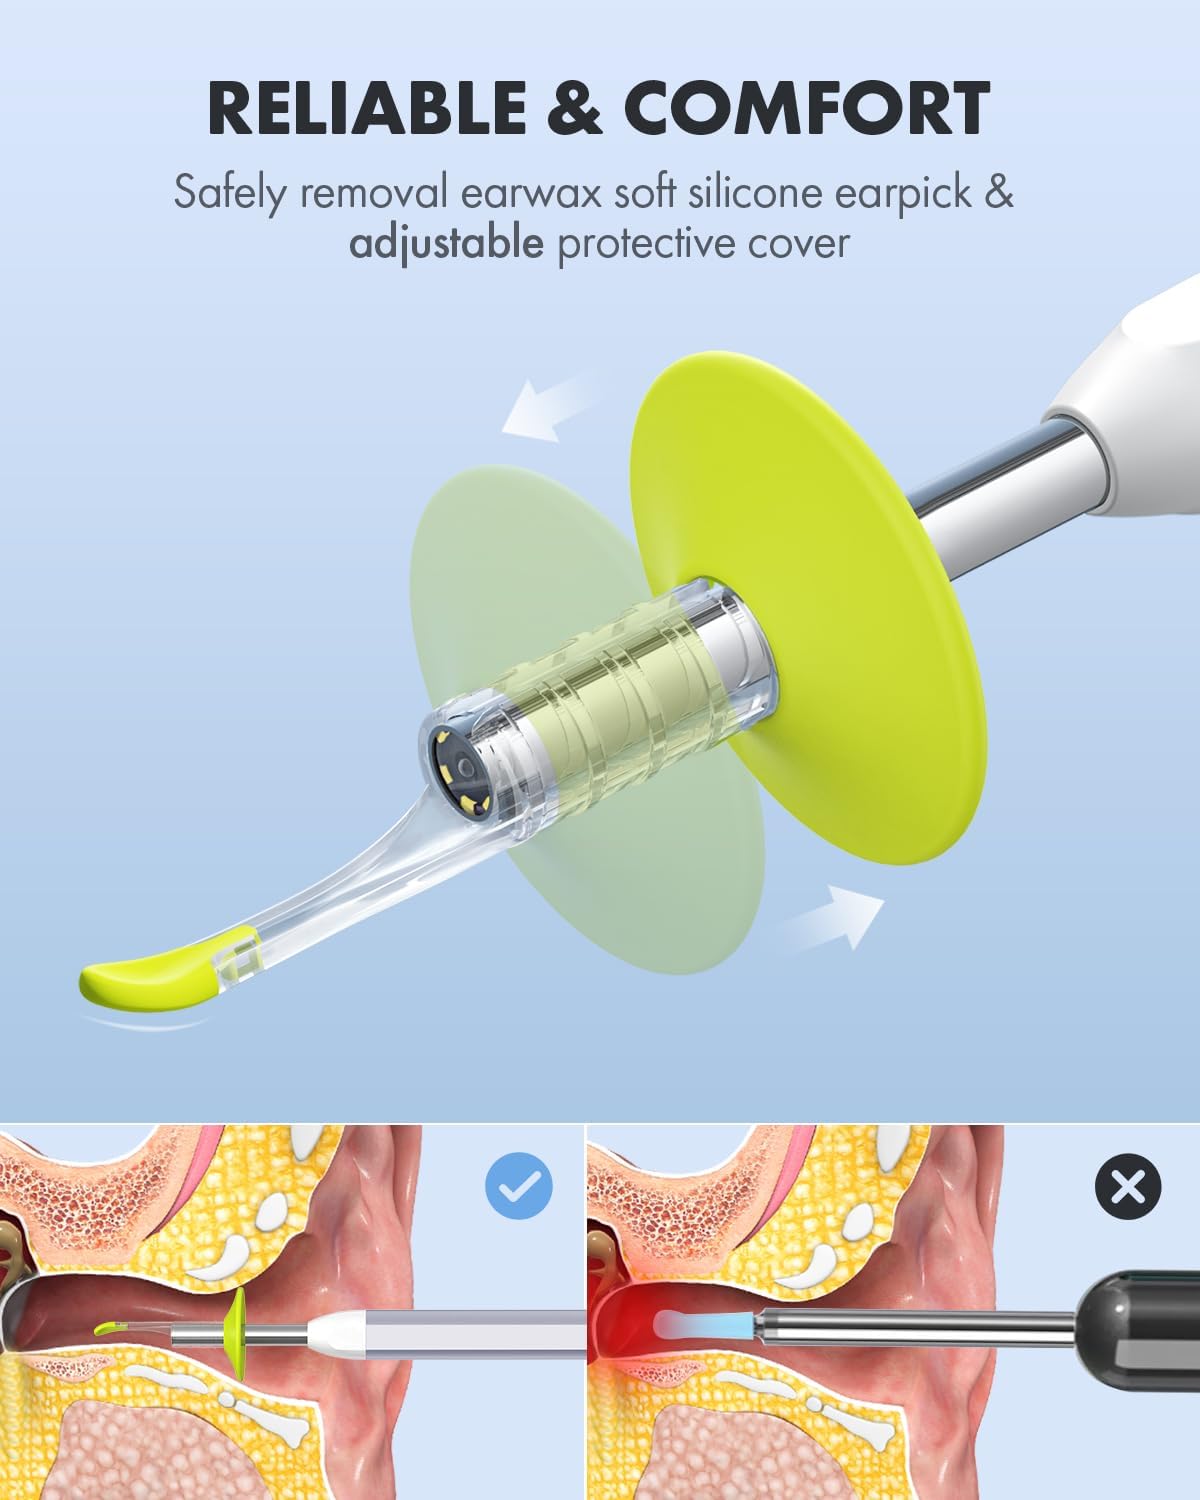
Figure 5: Attaching the protective cover and earpick.

Figure 6: Importance of using specula for safe operation.
5.2 Viewing and Navigation
Once connected and the app is running, you will see a live feed from the otoscope camera on your device screen. The device features a 1080p HD camera lens with 6 illumination LED lights for clear visualization.

Figure 7: High-definition camera lens and LED illumination.
5.3 View Mode
The "Xscope" app offers different view modes for enhanced monitoring:
- Mode layar penuh: Displays the real-time image from the otoscope across the entire screen.
- Mode Layar Terpisah: Allows for a clear comparison between a previously captured image and the real-time view. This is useful for tracking changes or progress.

Figure 8: Split-screen mode for ear health tracking.
5.4 Mengambil Gambar dan Video
The app allows you to capture still images and record videos of your ear canal. These can be saved to your device's gallery.
- Ambil Foto: Tap the camera icon within the app to capture a still image.
- Rekam Video: Ketuk ikon video untuk memulai dan menghentikan perekaman video.
Captured media can be shared with healthcare professionals for remote consultation, saving time and facilitating quick advice.

Figure 9: Sharing images and videos for remote consultation.
6. Pemeliharaan dan Perawatan
6.1 Cleaning the Otoscope
- Lensa Kamera: Gently wipe the camera lens with a soft, dry cloth or a cotton swab lightly dampened with rubbing alcohol. Ensure no liquid enters the device.
- Badan Perangkat: Wipe the main body of the otoscope with a clean, damp cloth. Do not submerge the device in water or any cleaning solutions.
6.2 Aksesori Pembersih
- Earpicks and Specula: Wash reusable earpicks and specula with mild soap and water. Rinse thoroughly and allow them to air dry completely before storage or next use. Disposable accessories should be discarded after a single use.
6.3 Penyimpanan
Store the otoscope and its accessories in the provided storage bag in a clean, dry place, away from direct sunlight and extreme temperatures.

Figure 10: Storage bag for organizing the otoscope and accessories.
7. Penyelesaian masalah
| Masalah | Kemungkinan Penyebab | Larutan |
|---|---|---|
| No image on screen / Device not recognized |
|
|
| Gambar buram atau tidak jelas |
|
|
| Aplikasi mogok atau macet |
|
|
8. Spesifikasi Produk
| Fitur | Detil |
|---|---|
| Nomor Model | AKE390i |
| Merek | Apa pun |
| Resolusi Kamera | Kualitas HD 1080p |
| Penerangan | Lampu LED 6 |
| Konektivitas | USB Tipe-C (Berkabel) |
| Kesesuaian | Android 8.0+ (OTG support), iPhone 15 series, iPad (12th Gen+) |
| Dimensi Paket | 6.02x2.56x1.65 inci |
| Berat Barang | 3.53 ons |
| ASIN | B0D2D8CT8X |
9. Garansi dan Dukungan
Specific warranty information is not provided in this manual. For details regarding warranty coverage, please refer to the product packaging or contact Anykit customer support directly.
For technical support, troubleshooting assistance, or inquiries about your Anykit Visual Ear Wax Removal Camera, please visit the official Anykit websitus web atau hubungi departemen layanan pelanggan mereka. Informasi kontak biasanya dapat ditemukan pada kemasan produk atau label produsen. weblokasi.
10. Penafian Hukum
Statements regarding dietary supplements have not been evaluated by the FDA and are not intended to diagnose, treat, cure, or prevent any disease or health condition. This product is not a medical device intended for diagnosis or treatment of medical conditions.


