1. Pendahuluan
This manual provides essential information for setting up, operating, and maintaining your GenMachine Mini PC AMD Ryzen 7 7735HS. Please read this manual thoroughly before using the device to ensure proper functionality and safety.
2. Informasi Keselamatan
Patuhi panduan keselamatan berikut untuk mencegah kerusakan pada perangkat atau cedera pada diri Anda:
- Jangan biarkan perangkat terkena air, kelembapan, atau suhu ekstrem.
- Pastikan ventilasi yang baik untuk mencegah panas berlebih. Jangan halangi lubang ventilasi.
- Gunakan hanya adaptor daya yang disediakan.
- Hindari menjatuhkan atau membenturkan perangkat dengan keras.
- Jangan mencoba membuka atau memperbaiki perangkat sendiri. Serahkan semua perbaikan kepada teknisi yang berkualifikasi.
3. Isi Paket
Verifikasi bahwa semua item ada dalam paket:
- GenMachine Mini PC
- Panduan Pengguna
- Adaptor Daya
- Kabel HDMI
- Braket pemasangan (dengan sekrup)

Gambar: Isi Paket. This image displays the items included in the GenMachine Mini PC box: the Mini PC unit, user manual, power adapter, HDMI cable, and a mounting bracket with screws.
4. Produk Lebihview
The GenMachine Mini PC is a compact, high-performance computer designed for various applications, from home office tasks to multimedia consumption. Its small footprint allows for versatile placement.

Gambar: Depan View of GenMachine Mini PC. This image shows the front panel of the GenMachine Mini PC, featuring the power button, USB-C port, audio jack, and two USB 3.0 ports.
4.1 Panel Depan
- Tombol Daya: Tekan untuk menghidupkan/mematikan perangkat.
- Port USB-C: Untuk transfer data dan tampilan output.
- Jack Audio: Untuk headphone atau speaker eksternal.
- Port USB 3.0 (x2): Untuk menghubungkan perangkat periferal seperti keyboard, mouse, atau penyimpanan eksternal.
4.2 Panel Belakang

Gambar: Belakang View of GenMachine Mini PC. This image illustrates the rear panel of the Mini PC, highlighting the power input, HDMI ports, Ethernet ports, and additional USB ports.
- Input Daya (DC IN): Hubungkan adaptor daya di sini.
- Port HDMI (x2): Connect to monitors or TVs for video output. Supports 4K resolution.
- Ethernet Ports (x2): For wired network connections (Dual 2.5G).
- Port USB 2.0 (x2): Untuk menghubungkan berbagai perangkat USB.
4.3 Desain dan Dimensi

Image: GenMachine Mini PC Size Comparison. This image compares the compact size of the GenMachine Mini PC to a traditional tower chassis, illustrating its space-saving design. Dimensions are shown as 126mm x 130mm x 40mm.
The GenMachine Mini PC features an ultra-durable, lightweight metal casing. Its compact design (approximately 126 x 130 x 40 mm) makes it significantly smaller than traditional desktop computers, ideal for any work environment.
5. Pengaturan
5.1 Menghubungkan Periferal
- Connect your monitor(s) to the HDMI ports or the USB-C port using appropriate cables.
- Hubungkan keyboard dan mouse USB Anda ke port USB yang tersedia.
- If using wired internet, connect an Ethernet cable to one of the Ethernet ports.
- Connect the power adapter to the DC IN port on the Mini PC, then plug it into a power outlet.
5.2 Menghidupkan
Press the power button on the front panel of the Mini PC. The power indicator light will illuminate, and the system will begin to boot.
5.3 Initial Operating System Setup
Upon first boot, you will be guided through the operating system setup process (e.g., Windows 11). Follow the on-screen instructions to configure language, region, network, and user accounts.
6. Petunjuk Pengoperasian
6.1 Konektivitas Jaringan
- Wifinya: During initial setup or via the operating system's network settings, select your Wi-Fi network and enter the password. The Mini PC supports Wi-Fi 6 for faster and more stable wireless connections.
- Eternet: If an Ethernet cable is connected, the system should automatically detect and connect to the wired network. The Mini PC features dual 2.5G network ports for enhanced connectivity.
6.2 Perangkat Bluetooth
The Mini PC supports Bluetooth 5.2. To pair a Bluetooth device (e.g., headphones, keyboard, mouse):
- Enable Bluetooth on your device and set it to pairing mode.
- On the Mini PC, go to the operating system's Bluetooth settings.
- Pencarian untuk and select your device from the list, then follow any on-screen prompts to complete pairing.
6.3 Pengaturan Multi-Tampilan
The GenMachine Mini PC supports up to four displays simultaneously, utilizing its two HDMI ports and one full-function USB-C port (which supports 4K display output).
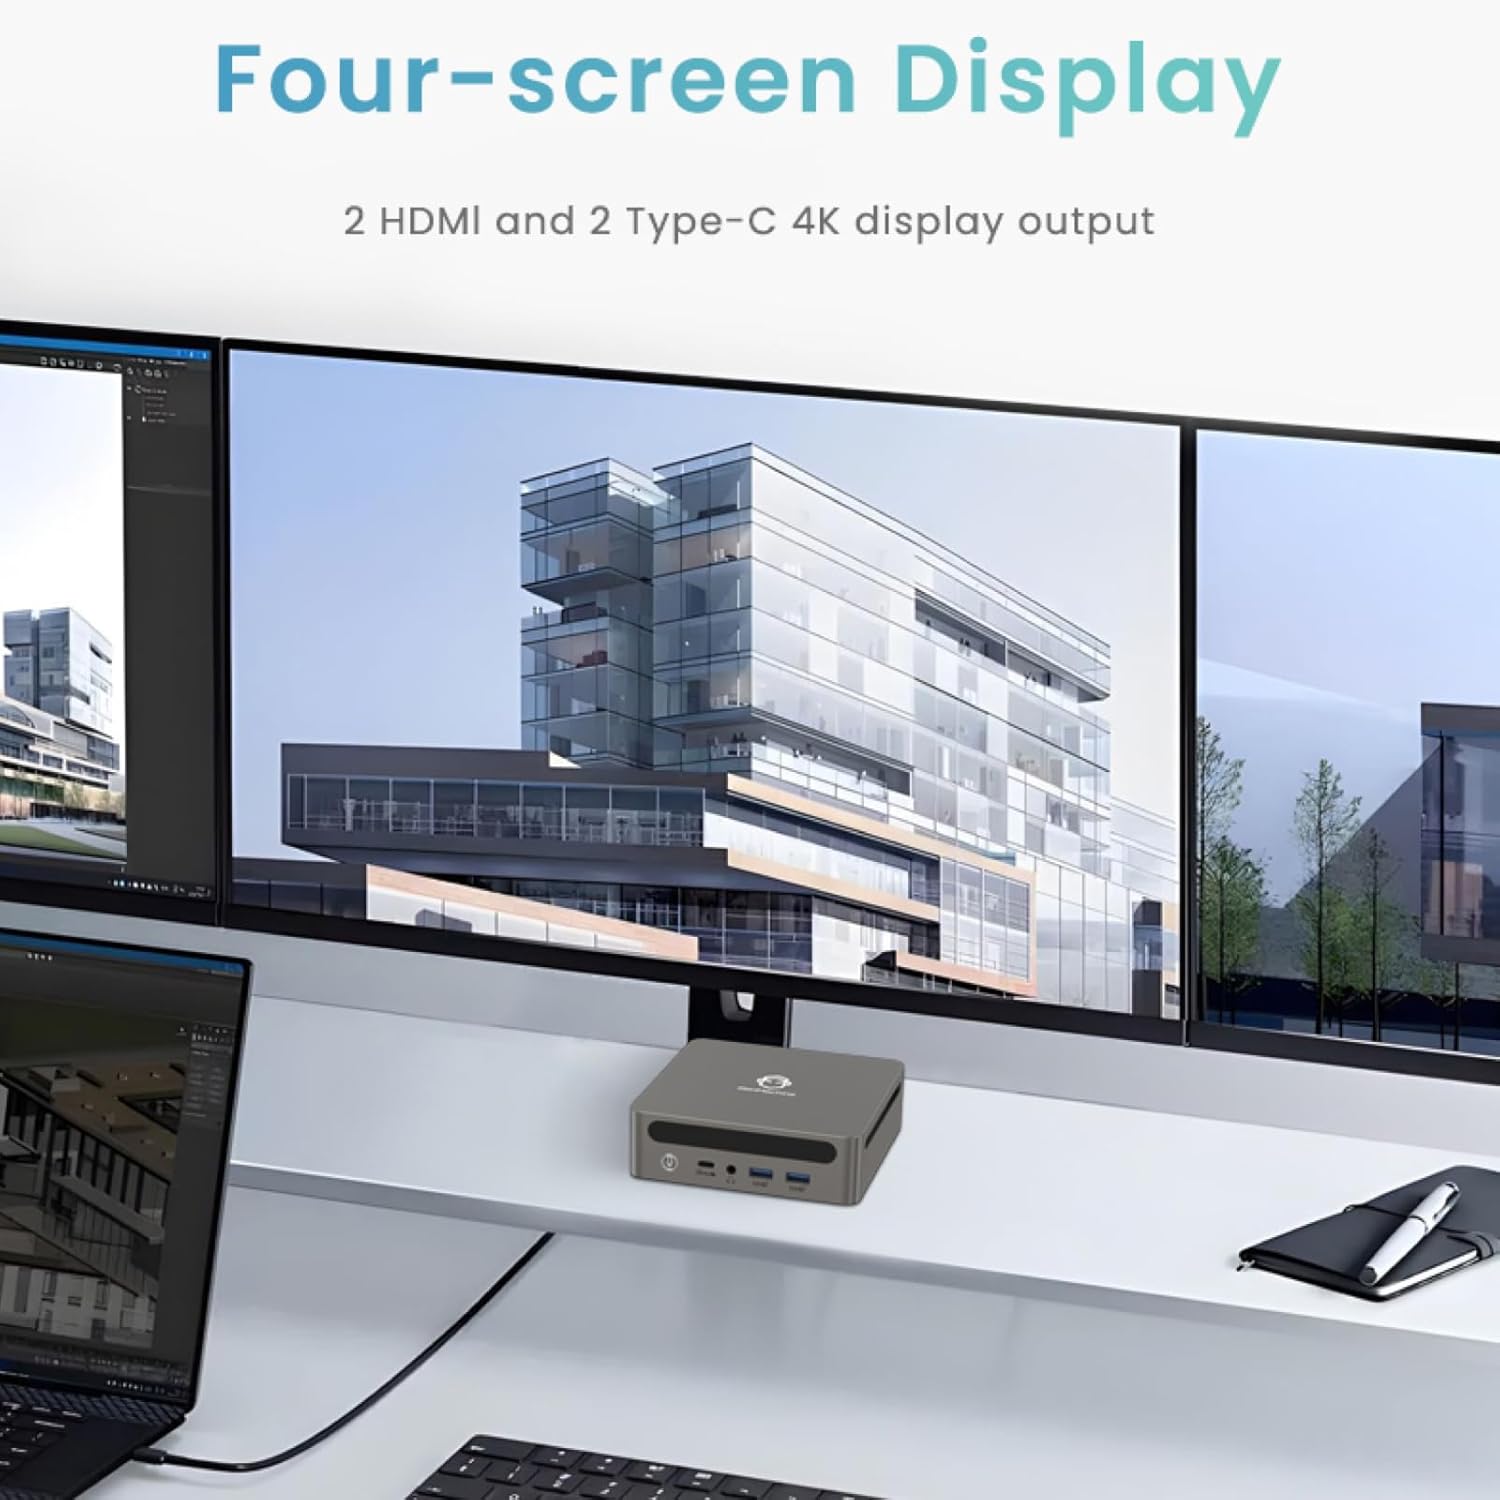
Image: Four-Screen Display Setup. This image demonstrates the GenMachine Mini PC connected to four monitors, showcasing its multi-display capabilities for enhanced productivity.
To configure multiple displays, connect your monitors and then adjust display settings within your operating system (e.g., Extend, Duplicate, or Second screen only).
7. Pemeliharaan
7.1 Pembersihan
Regularly clean the exterior of the Mini PC with a soft, dry cloth. For stubborn dirt, slightly dampen the cloth with water. Do not use harsh chemicals or abrasive cleaners. Ensure ventilation openings are free of dust buildup.
7.2 Pembaruan Perangkat Lunak
Keep your operating system and drivers updated to ensure optimal performance and security. Check for updates regularly through your operating system's settings.
7.3 Penyimpanan
When not in use for extended periods, store the Mini PC in a cool, dry place, away from direct sunlight and extreme temperatures.
8. Penyelesaian masalah
| Masalah | Kemungkinan Penyebab | Larutan |
|---|---|---|
| Tidak ada daya | Adaptor daya tidak tersambung; stopkontak rusak. | Pastikan adaptor daya terhubung dengan aman ke Mini PC dan stopkontak yang berfungsi. Coba stopkontak lain. |
| Tidak ada tampilan di monitor. | Monitor not connected; incorrect input source selected on monitor; faulty cable. | Check HDMI/USB-C cable connections. Ensure the monitor is set to the correct input source. Try a different cable or monitor. |
| Wi-Fi tidak terhubung | Incorrect password; router issue; Wi-Fi adapter driver issue. | Verify Wi-Fi password. Restart your router. Check operating system settings for Wi-Fi adapter status and drivers. |
| Sistem lambat atau tidak responsif | Too many applications running; insufficient free storage; outdated drivers. | Close unnecessary applications. Free up disk space. Update operating system and drivers. Restart the Mini PC. |
9. Spesifikasi
The following table details the technical specifications of the GenMachine Mini PC AMD Ryzen 7 7735HS:
| Fitur | Detil |
|---|---|
| Prosesor | AMD Ryzen 7 7735HS (3.2 GHz, 8 Cores, 16 Threads, up to 4.75 GHz Max Boost Clock) |
| Grafik | AMD Radeon Graphics (Integrated, 680 MB RAM) |
| RAM | 32GB LPDDR5 (up to 6400 Mb/s) |
| Penyimpanan | 512GB 2280 SSD (PCIE x 16 interface) |
| Sistem Operasi | OS (Windows 11 typically pre-installed) |
| Keluaran Video | 2x HDMI (4K @ 60Hz), 1x USB-C (4K display output), supports up to 3 displays |
| Port USB | 2x USB 3.0, 2x USB 2.0, 1x USB-C (full-function USB 4.0 port) |
| Jaringan | Wi-Fi 6, Bluetooth 5.2, Dual 2.5G Ethernet |
| Suara | Soket Audio |
| Ukuran | 6.34 x 6.3 x 3.62 inci (sekitar 16.1 x 16 x 9.2 cm) |
| Berat | 2.4 pon (sekitar 1.09 kg) |
| Warna | Perak |

Image: AMD Ryzen 7 7735HS Processor. This image highlights the specifications of the AMD Ryzen 7 7735HS processor, including its 8 cores, 16 threads, and up to 4.75 GHz max boost clock.

Image: LPDDR5 Memory Performance. This image illustrates the enhanced speed of LPDDR5 RAM, showing a 50% increase in maximum DRAM bandwidth compared to LPDDR4X, reaching up to 6400 Mb/s.
10. Garansi dan Dukungan
For warranty information and technical support, please refer to the documentation included with your purchase or visit the official GenMachine websitus. Simpan bukti pembelian Anda untuk klaim garansi.
For further assistance, you may contact GenMachine customer service through their official channels.