1. Pendahuluan
The Kienzle Wireless Weather Station with Projection is a sophisticated device designed to provide comprehensive weather and indoor climate information. It features a clear color display and can project the current time and temperature onto a wall or ceiling. This manual will guide you through its setup, operation, and maintenance, ensuring you get the most out of your device.
2. Isi Paket
Harap periksa apakah semua barang ada dan dalam kondisi baik saat dibuka kotaknya:
- Stasiun Pangkalan
- 1 Thermo-Hygrometer Outdoor Sensor
- Adaptor Daya
- Panduan Pengguna (Dokumen ini)
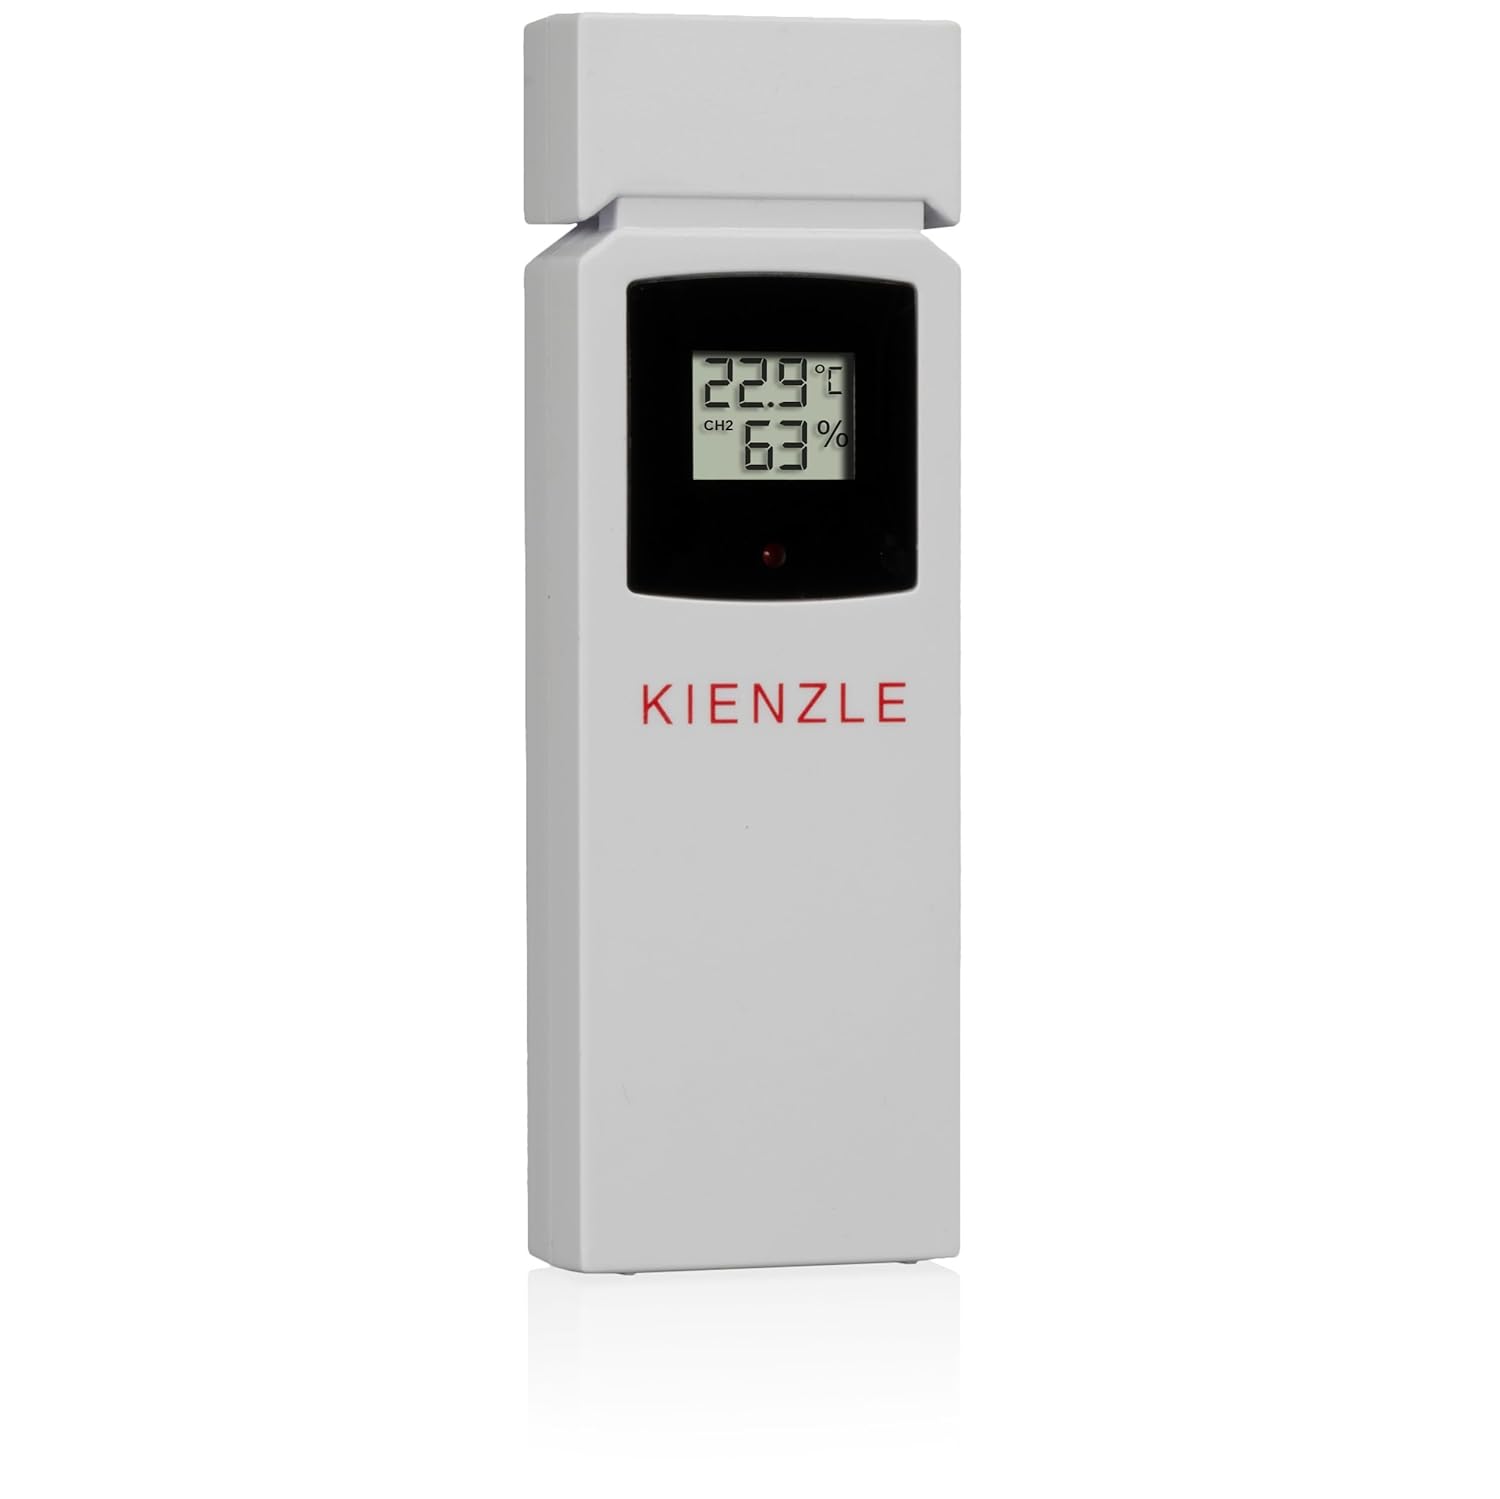
Image: The Kienzle weather station base unit and its accompanying outdoor thermo-hygrometer sensor.
3. Fitur Produk
The Kienzle Wireless Weather Station offers a range of advanced features for monitoring your environment:
- Fungsi Proyeksi: Projects time and indoor/outdoor temperature onto a wall or ceiling.
- Tampilan Warna: Clear, vibrant display showing all relevant data at a glance.
- Indoor Climate Monitoring: Measures indoor temperature, humidity, and atmospheric pressure.
- Data Luar Ruangan: Displays outdoor temperature and humidity from the included wireless sensor.
- Prakiraan Cuaca: Provides weather predictions based on atmospheric pressure changes.
- Indikator Kenyamanan: A smiley icon provides a quick visual assessment of indoor climate comfort.
- Mold Risk Index: A 3-level indicator helps identify and prevent potential mold formation.
- Peringatan Es: A snowflake icon flashes when the outdoor temperature is between -1.0 °C and 2.9 °C, indicating potential icy conditions.
- Max/Min Value Recording: Automatically records and allows viewing of maximum and minimum temperature and humidity readings.
- Automatic Time Setting (DCF): Automatically sets date and time via the DCF radio signal for precise timekeeping.
- Jam Alarm Ganda: Features two independent, adjustable alarm times with a convenient snooze function.
- Lampu latar: Provides illumination for the display, improving visibility in low-light conditions.
- Wireless Sensor Range: The outdoor sensor communicates wirelessly with the base station up to 80 meters in open areas.
4. Panduan Pengaturan
4.1. Memberi Daya pada Stasiun Pangkalan
Connect the provided power adapter to the DC 4.5V port on the back of the base station and plug it into a standard power outlet. The display will light up. For backup power during outages, insert 4 x AAA batteries (not included) into the battery compartment on the underside of the base station, ensuring correct polarity.
4.2. Memasang Sensor Luar Ruangan
The outdoor sensor requires 2 x AAA batteries (not included). Open the battery compartment on the back of the sensor and insert the batteries, observing the correct polarity. Close the compartment securely. Place the outdoor sensor in a sheltered location outdoors, away from direct sunlight and rain, to ensure accurate readings and prolong its lifespan. Ensure it is within 80 meters of the base station and free from major obstructions.


Gambar: Depan dan belakang views of the Kienzle outdoor thermo-hygrometer sensor, showing its display and battery compartment.
4.3. Sinkronisasi Awal
Once both the base station and the outdoor sensor are powered, the base station will automatically attempt to connect with the outdoor sensor and receive the DCF time signal. This process may take a few minutes. Ensure both units are close to each other during initial setup. If synchronization fails, refer to the Troubleshooting section for assistance.
5. Petunjuk Pengoperasian
5.1. Tampilan Selesaiview
Layar berwarna memberikan gambaran menyeluruh.view of various environmental data:
- Suhu dan Kelembaban Dalam Ruangan
- Suhu dan Kelembaban Luar Ruangan
- Tekanan Atmosfer
- Weather Forecast Icons (e.g., Sunny, Partly Cloudy, Rainy)
- Waktu dan Tanggal Saat Ini
- Mold Risk Indicator
- Comfort Level Indicator (Smiley)
- Ice Warning Icon (Snowflake)
- Indikator Status Alarm

Image: The main display of the Kienzle weather station, showing various readings including time, indoor/outdoor temperature and humidity, and weather forecast icons.
5.2. Setting Time and Date (Manual Adjustment)
While the DCF signal typically sets the time automatically, you can manually adjust it if needed. Refer to the buttons on the top of the device (e.g., 'SET', 'MODE') to enter time setting mode. Use the '+' and '-' buttons to adjust values and 'SET' or 'MODE' to confirm and move to the next setting.
5.3. Mengatur Alarm
The device supports two independent alarms. Locate the 'ALARM1' and 'ALARM2' switches on the back of the unit. Set the desired alarm times by pressing the corresponding 'ALARM' button and using the '+' and '-' buttons to adjust the hour and minute. Press the 'ALARM' button again to confirm. When an alarm sounds, press the 'SNOOZE' button to temporarily silence it for a few minutes, or any other button to turn it off completely.
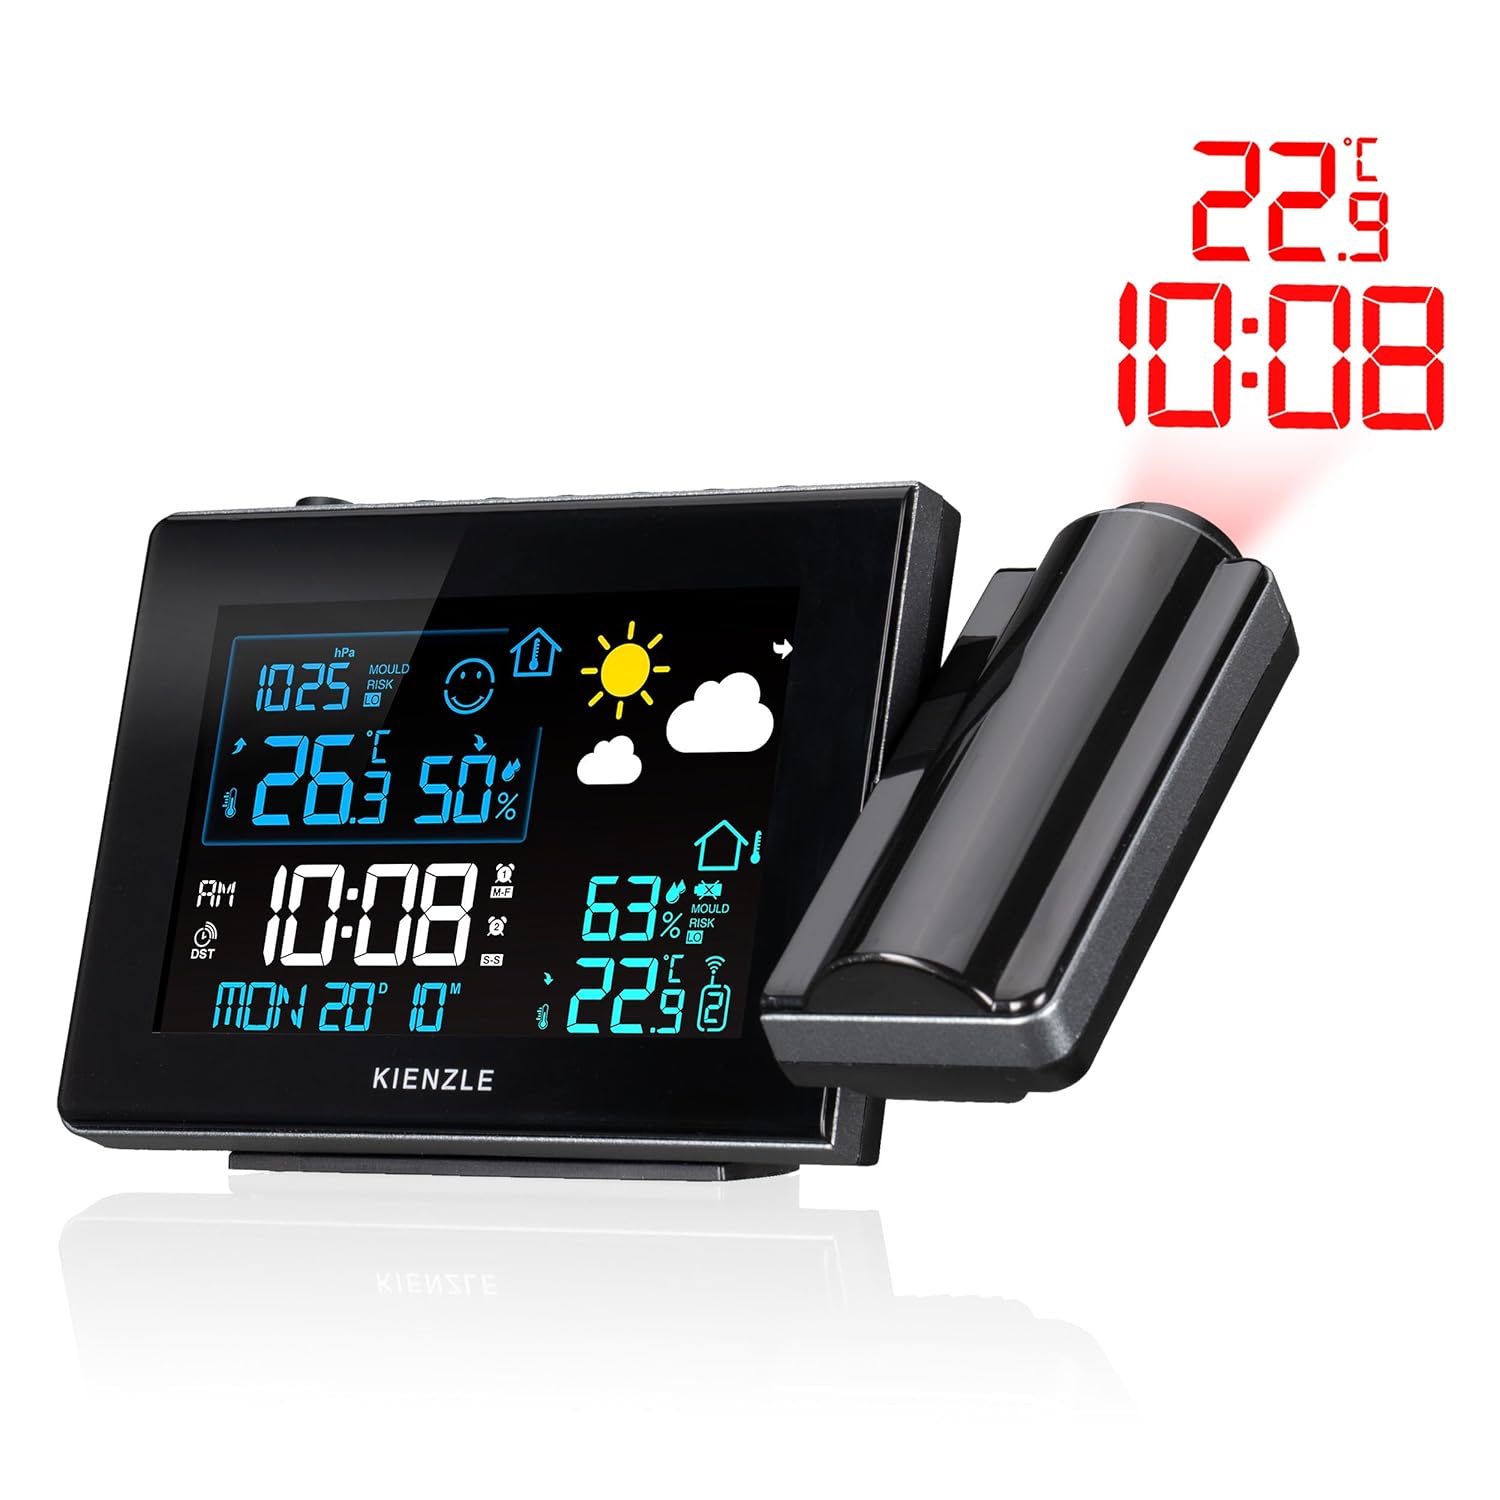
Image: The rear panel of the Kienzle weather station, highlighting the alarm switches and power input port.
5.4. Menggunakan Fitur Proyeksi
The integrated projector can display the current time and indoor/outdoor temperature onto a wall or ceiling. To activate the projection, ensure the 'Projection' switch on the back of the unit is set to 'ON'. Adjust the projection angle by rotating the projector arm. Use the focus ring on the projector lens to achieve a clear image on your desired surface.
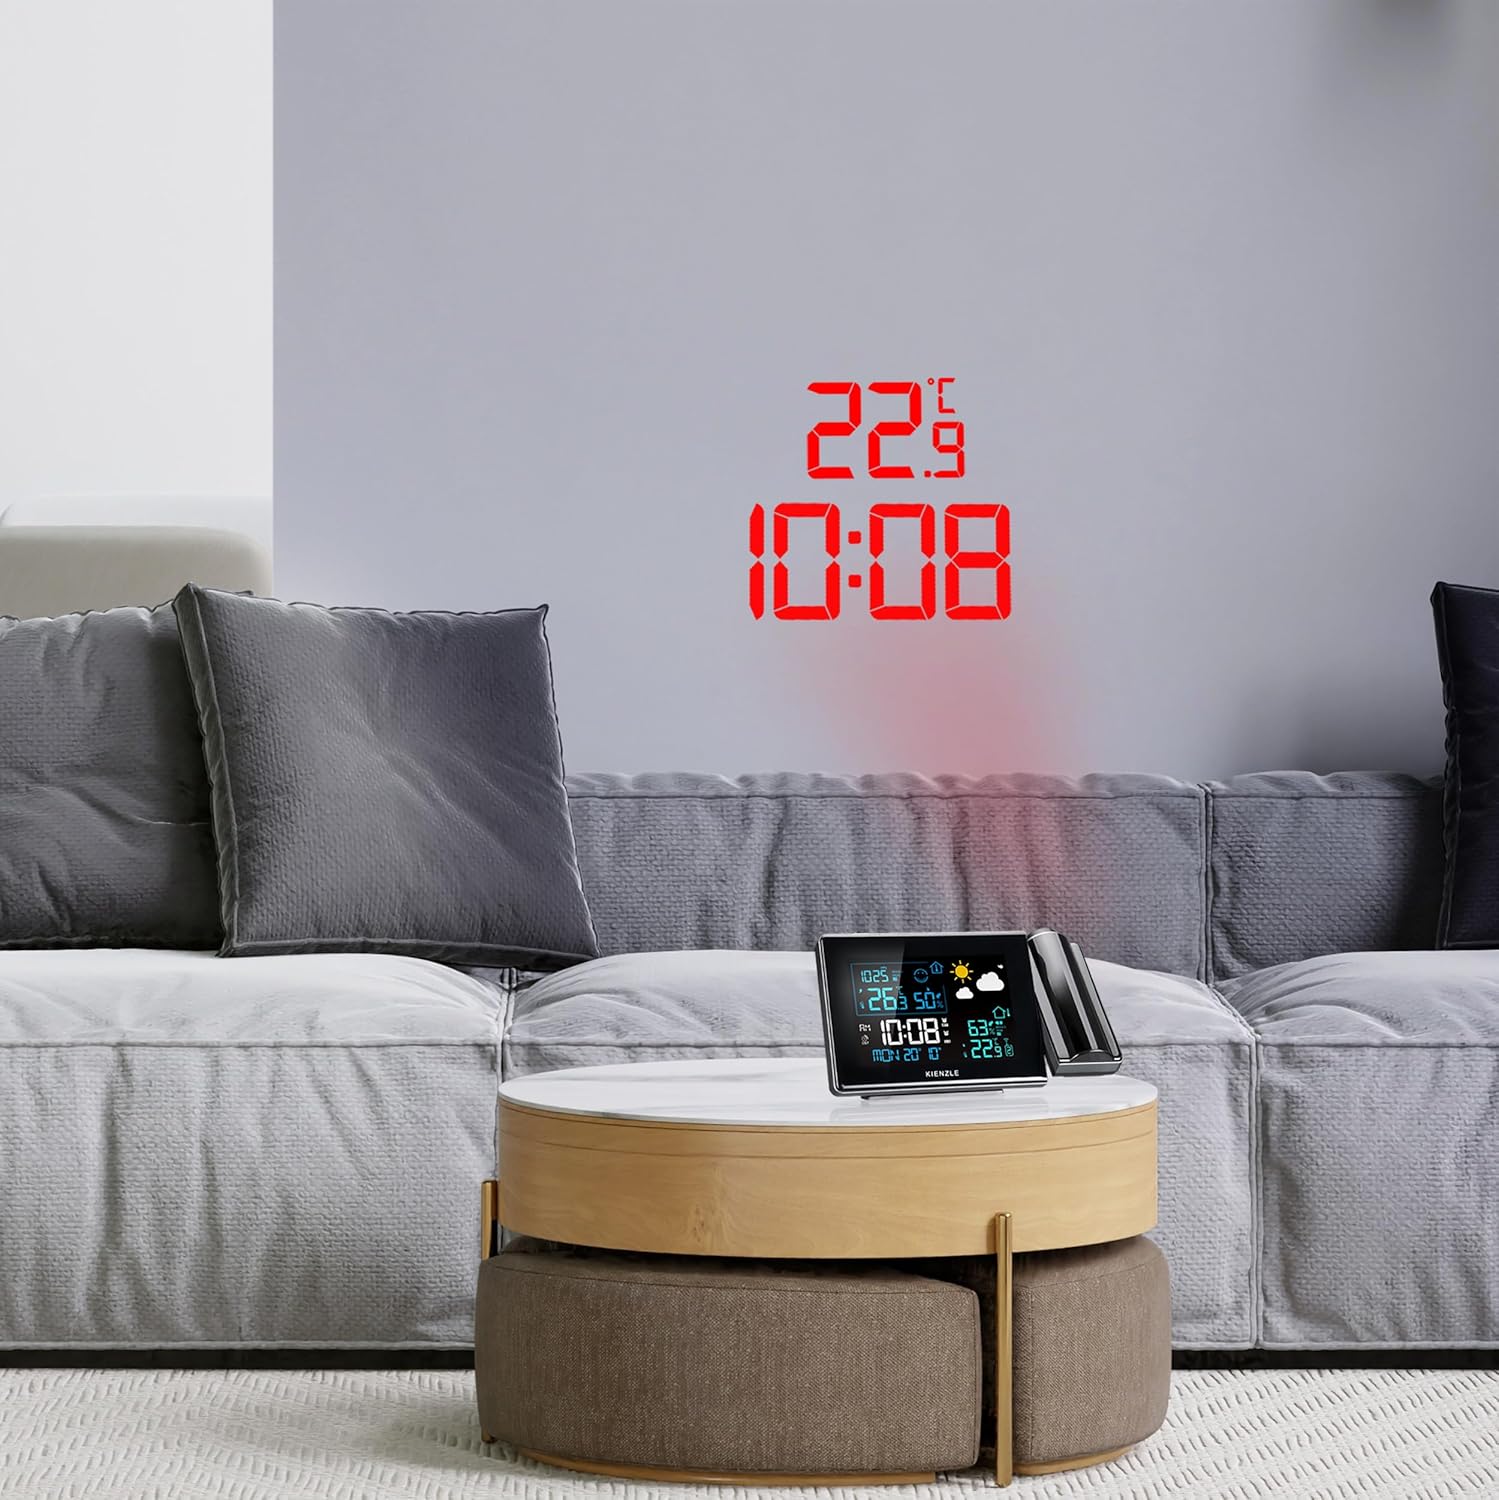

Image: The Kienzle weather station actively projecting the time and temperature onto a wall, demonstrating its projection capability in a home setting.
5.5. ViewNilai Maks/Min
Press the 'MAX/MIN' button on the top of the unit to cycle through the maximum and minimum recorded values for indoor temperature, outdoor temperature, indoor humidity, and outdoor humidity. Pressing the button repeatedly will show each value in sequence.
6. Pemeliharaan
- Pembersihan: Wipe the device and sensor with a soft, dry cloth. Do not use abrasive cleaners, solvents, or corrosive chemicals, as these can damage the surfaces and internal components.
- Penggantian Baterai: Replace batteries in both the base station and outdoor sensor when the low battery indicator appears on the display. Always replace all batteries in a unit at the same time with new ones of the same type.
- Penempatan: Ensure the outdoor sensor remains in a sheltered location to protect it from extreme weather conditions and prolong its lifespan, while also maintaining accurate readings.
7. Penyelesaian masalah
| Masalah | Kemungkinan Penyebab | Larutan |
|---|---|---|
| No display / Device not powering on | Adaptor daya tidak terhubung; Baterai habis atau terpasang dengan tidak benar. | Check power adapter connection; Replace batteries, ensuring correct polarity. |
| Outdoor temperature not displayed / Incorrect readings | Sensor out of range; Sensor batteries depleted; Interference. | Move sensor closer to base station; Replace sensor batteries; Relocate units away from electronic interference. |
| Time not setting automatically (DCF) | Sinyal DCF lemah; Interferensi. | Move base station to a location with better signal reception (e.g., near a window); Avoid placing near electronic devices; Manually set time if necessary. |
| Projection unclear or out of focus | Incorrect focus adjustment; Incorrect projection distance. | Adjust the focus ring on the projector; Adjust the distance of the base station from the projection surface. |
| Alarm tidak berbunyi | Alarm tidak aktif; Volume terlalu rendah. | Ensure alarm is set to "ON"; Check alarm settings. |
8. Spesifikasi
- Nomor Model: 14993
- Dimensions (Base Station): Ukuran 16.5x16.5x2.9 cm
- Weight (Base Station): 206 gram
- Sumber Daya (Stasiun Pangkalan): Power adapter (included), 4 x AAA batteries (not included) for backup
- Sumber Daya (Sensor Luar Ruangan): 2 baterai AAA (tidak termasuk)
- Frekuensi Nirkabel: 433MHz, 868MHz
- Jangkauan Nirkabel: Hingga 80 meter (di area terbuka)
- Akurasi Suhu: Suhu ±1 °C
- Bahan: Plastik
- Warna: Black (Base Station), White (Sensor)
- Fitur Khusus: Mold alarm, Ice warning, Alarm function, Room temperature indicator, Max/Min value memory, Projection, Backlight, DCF time signal.
9. Garansi dan Dukungan
For warranty information and technical support, please refer to the contact details provided with your purchase documentation or visit the official Kienzle webInformasi mengenai ketersediaan suku cadang tidak tercantum dalam manual ini.


