Perkenalan
This manual provides comprehensive instructions for the setup, operation, and maintenance of your V7 Dual Bay Docking Station USB 3.0. This device is designed to provide convenient access to 2.5-inch and 3.5-inch SATA hard disk drives (HDDs) and solid-state drives (SSDs), offering high-speed data transfer and a standalone cloning function.
Harap baca manual ini dengan saksama sebelum menggunakan produk untuk memastikan fungsi yang benar dan mencegah kerusakan.
Isi Paket

Image: The side of the V7 Dual Bay Docking Station packaging, detailing the included items.
Verifikasi bahwa semua item yang tercantum di bawah ini ada dalam paket Anda:
- 1x V7 Dual Bay Docking Station
- 1x USB 3.0 A to B Cable
- 1x DC 12V/3A Power Adapter
- 1x Panduan Pengguna (dokumen ini)
Produk Selesaiview
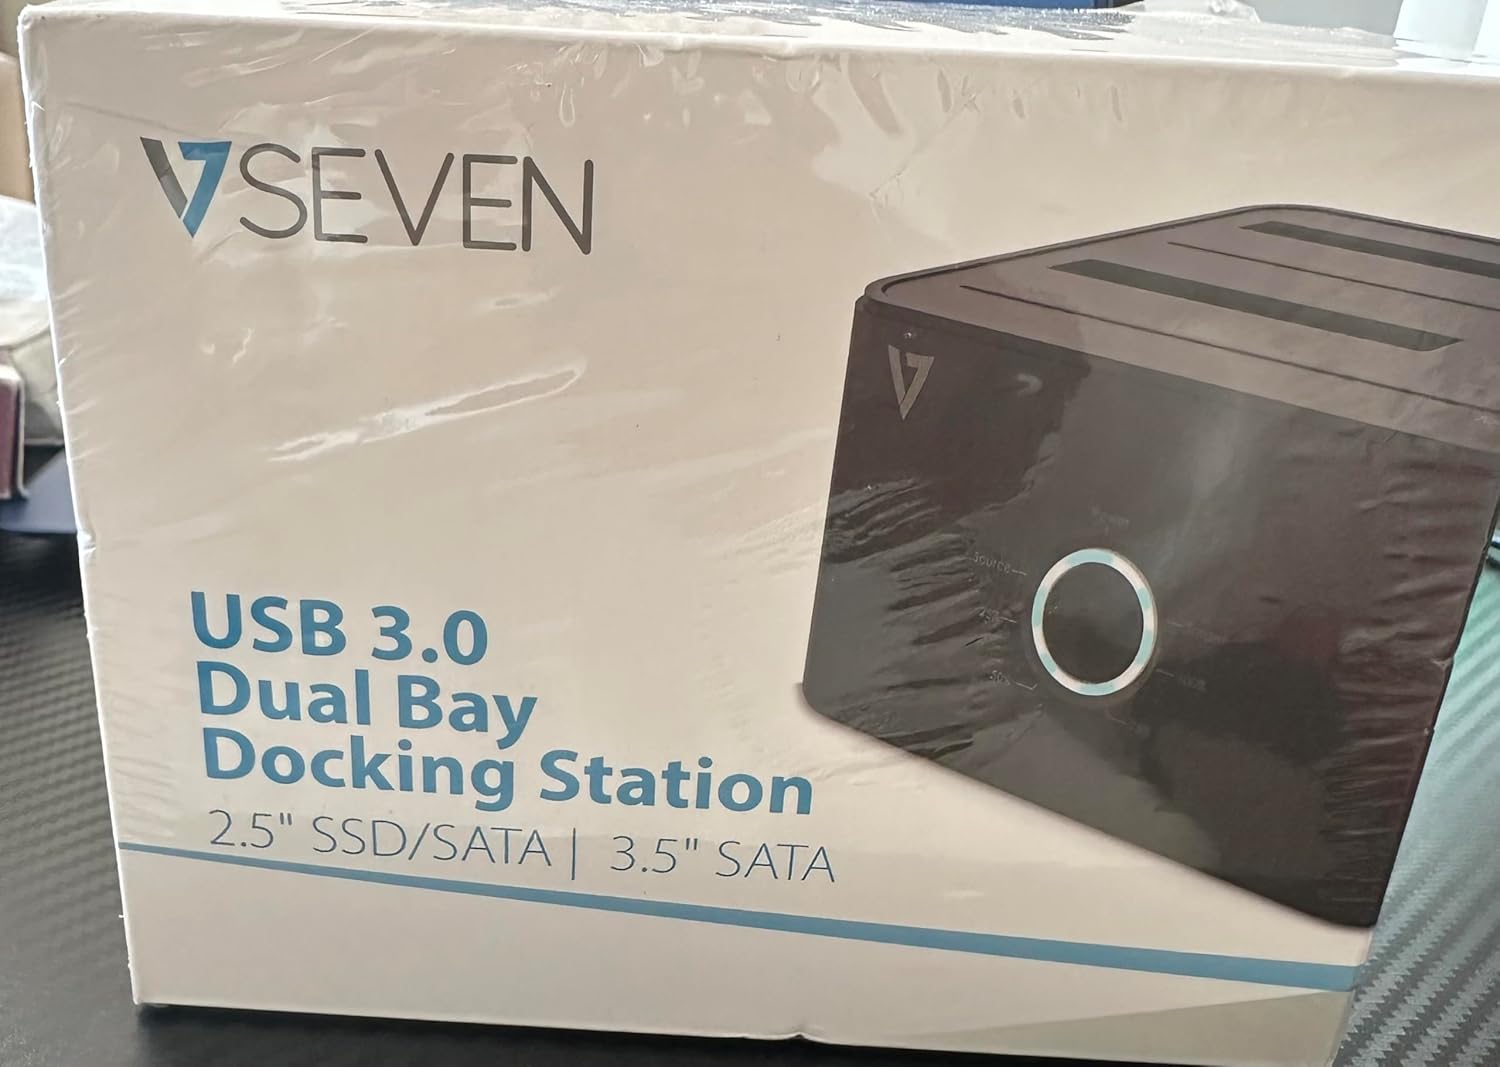
Image: The front of the V7 Dual Bay Docking Station packaging, displaying the product and its name.
The V7 Dual Bay Docking Station provides a versatile solution for managing your 2.5-inch and 3.5-inch SATA drives. Key features include:
- USB 3.0 Super-Speed Data Transfer: Achieves speeds up to 5 Gbps, significantly faster than USB 2.0.
- Desain Dua Teluk: Supports two SATA I/II/III HDDs or SSDs simultaneously.
- Standalone Clone Function: Allows direct cloning of one drive to another without requiring a computer.
- Display LED: Provides status indication during operation, especially for cloning.
- Bahan Daur Ulang: Constructed with recycled materials, contributing to environmental sustainability.

Image: The back of the V7 Dual Bay Docking Station packaging, illustrating key features and benefits, including the use of recycled materials.
Port dan Indikator:
- USB-B Port (1x): Connects the docking station to your computer.
- SATA Drive Bays (2x): For inserting 2.5-inch or 3.5-inch SATA HDDs/SSDs.
- DC Power Input (1x): Untuk menghubungkan adaptor daya 12V/3A.
- Power Button/LED: Controls power and indicates operational status.
- Clone Button/LEDs: Initiates the cloning process and indicates progress.
Pengaturan
- Hubungkan Daya: Insert the DC 12V/3A power adapter into the "DC Power Input" port on the docking station, then plug the adapter into a wall outlet.
- Masukkan Drive:
- Gently slide your 2.5-inch or 3.5-inch SATA HDD/SSD into the drive bay(s) until it is securely seated. Ensure the SATA connector aligns correctly.
- For cloning, insert the source drive into Bay 1 (Source) and the target drive into Bay 2 (Target). The target drive must be equal to or larger in capacity than the source drive.
- Connect to Computer (for data transfer): If you intend to use the docking station for data transfer with a computer, connect one end of the USB 3.0 A to B cable to the USB-B port on the docking station and the other end to an available USB 3.0 port on your computer.
- Nyalakan: Press the power button on the docking station. The power LED should illuminate.
Petunjuk Pengoperasian
A. Data Transfer Mode (Connected to Computer)
- Ensure the docking station is powered on and connected to your computer via the USB 3.0 cable.
- Masukkan satu atau dua drive SATA ke dalam rongganya.
- Your operating system should detect the drives as external storage. You may need to initialize and format new drives through Disk Management (Windows) or Disk Utility (macOS) before use.
- You can now access, read, and write data to the inserted drives as you would with any external storage device.
- Always safely eject the drives from your operating system before powering off the docking station or removing the drives.
B. Standalone Clone Function (Without Computer)
The clone function allows you to duplicate a source drive to a target drive without a computer connection. The target drive must have a capacity equal to or greater than the source drive.
- Persiapan:
- Ensure the docking station is disconnected from any computer.
- Masukkan Sumber Drive (the drive you want to copy FROM) into Teluk 1.
- Masukkan Penggerak Target (the drive you want to copy TO) into Teluk 2.
- Warning: All data on the target drive will be erased during the cloning process. Back up any important data on the target drive before proceeding.
- Inisiasi Klon:
- Nyalakan stasiun dok.
- Press and hold the "Clone" button for approximately 3-5 seconds until the clone progress LEDs begin to flash.
- Konfirmasi Kloning:
- Release the "Clone" button. The 25% progress LED should start blinking.
- Press the "Clone" button again briefly to confirm and start the cloning process.
- Memantau Kemajuan: The progress LEDs (25%, 50%, 75%, 100%) will illuminate sequentially to indicate the cloning status.
- Penyelesaian: When the 100% LED remains solid, the cloning process is complete.
- Matikan daya dan cabut: Power off the docking station before removing the drives.
Pemeliharaan
- Jaga kebersihan dan bebas debu pada stasiun dok. Gunakan kain lembut dan kering untuk membersihkannya.
- Hindari memaparkan perangkat pada suhu ekstrem, kelembapan, atau sinar matahari langsung.
- Jangan mencoba membongkar atau memperbaiki perangkat sendiri. Hal ini akan membatalkan garansi.
- Pastikan ventilasi yang memadai di sekitar perangkat selama pengoperasian.
Penyelesaian Masalah
| Masalah | Kemungkinan Penyebab | Larutan |
|---|---|---|
| Perangkat tidak menyala. | Adaptor daya tidak tersambung atau rusak. | Ensure the power adapter is securely connected to both the docking station and a working power outlet. Try a different outlet. |
| Drives not detected by computer. | USB cable not connected properly; drive not seated correctly; drive uninitialized/unformatted. | Check USB cable connection. Re-seat the drive(s). For new drives, initialize and format them via Disk Management (Windows) or Disk Utility (macOS). Try a different USB port on your computer. |
| Clone function not starting. | Incorrect drive placement; target drive too small; clone button not held long enough. | Ensure source drive is in Bay 1 and target drive in Bay 2. Verify target drive capacity is equal to or larger than source. Hold the clone button for 3-5 seconds until LEDs flash. |
| Kecepatan transfer data lambat. | Connected to USB 2.0 port; faulty USB cable. | Ensure the docking station is connected to a USB 3.0 port on your computer. Try a different USB 3.0 cable. |
Spesifikasi
- Model: 9UDBBS-BLK
- Antarmuka Perangkat Keras: USB 3.0 (kompatibel dengan USB 2.0)
- Kecepatan Transfer Data: Up to 5 Gbps (USB 3.0 Super-Speed)
- Kompatibilitas Drive: 2.5" and 3.5" SATA I/II/III HDDs and SSDs
- Drive Bay: 2
- Pelabuhan: 1x USB-B (Host), 2x SATA (Internal), 1x DC Power Input
- Masukan Daya: DC 12V/3A (12 Watts)
- UPC-nya: 662919116557
- Pabrikan: Ingram Micro Inc
- Bahan: Made from Recycled Materials
Garansi dan Dukungan
For warranty information and technical support, please refer to the official V7 websitus web atau hubungi penjual Anda. Simpan bukti pembelian Anda untuk klaim garansi.
Untuk bantuan lebih lanjut, silakan kunjungi: www.v7world.com/support (Mantanamp(tautan sebenarnya mungkin berbeda)